To Top

CJ-3B Fiberglass Bodies

• CATEGORIES: Body Parts, Builds, Features • TAGS: , This site contains affiliate links for which I may be compensated.

UPDATE: Since I wrote this back in April of 2008, I have learned that someone in the Seattle Area purchased the Parkette molds, but I still haven’t learned who.

In April of 2008 there was an ad from a buyer looking for a CJ-3B Fiberglass body.  Frankly, he was the only person I have come across on Craigslist looking for a fiberglass jeep body other than I.  The CJ-3B bodies are very rare.

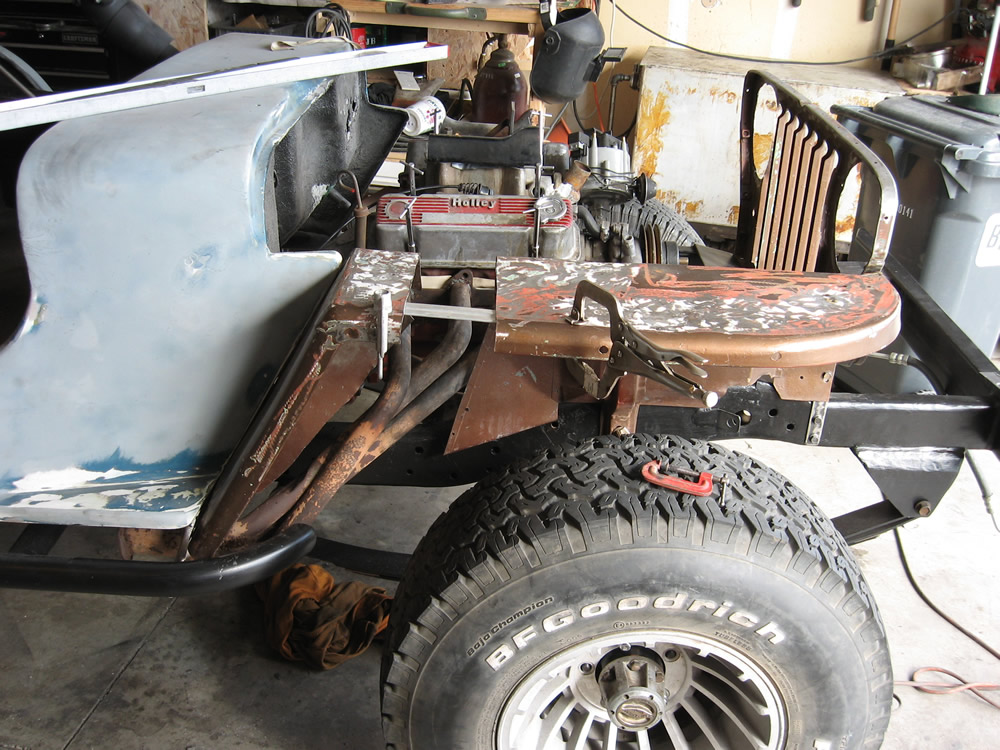
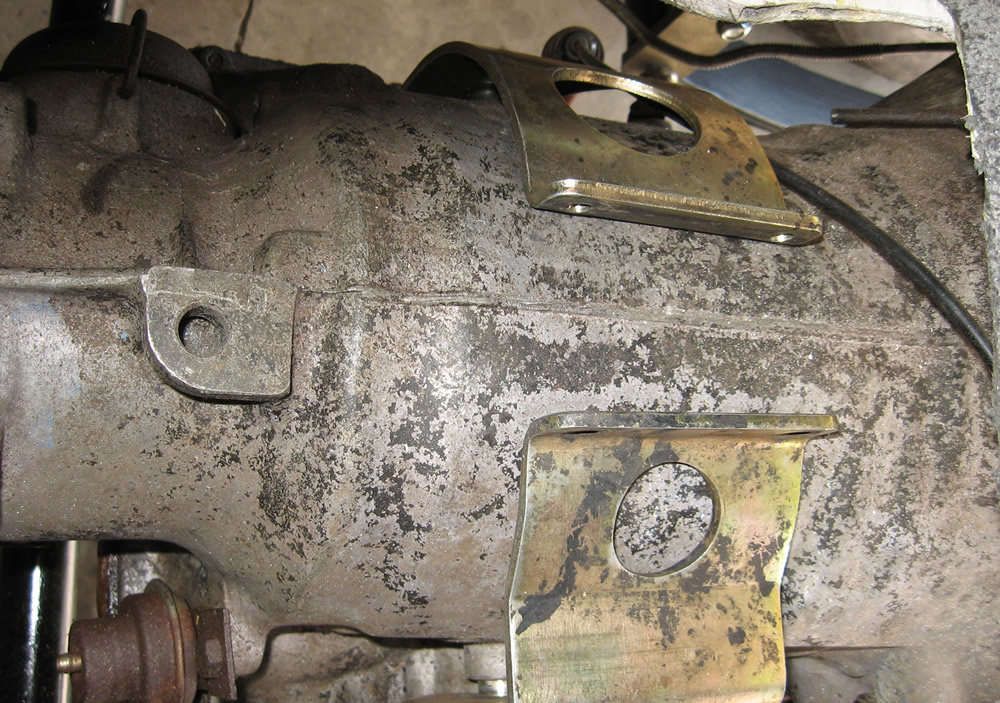
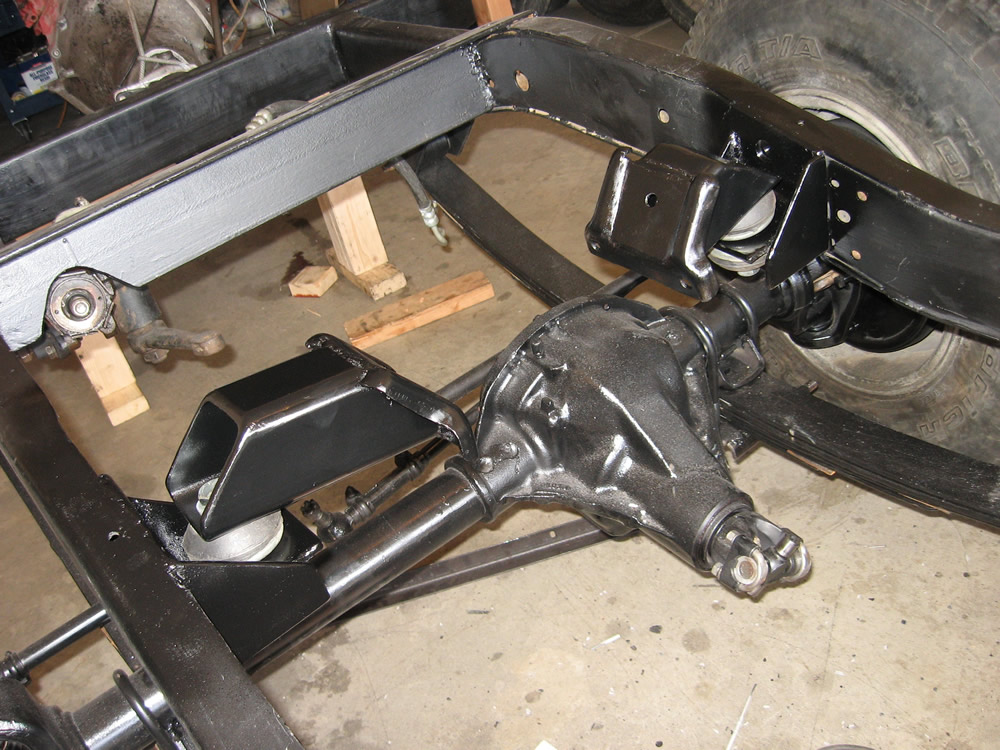
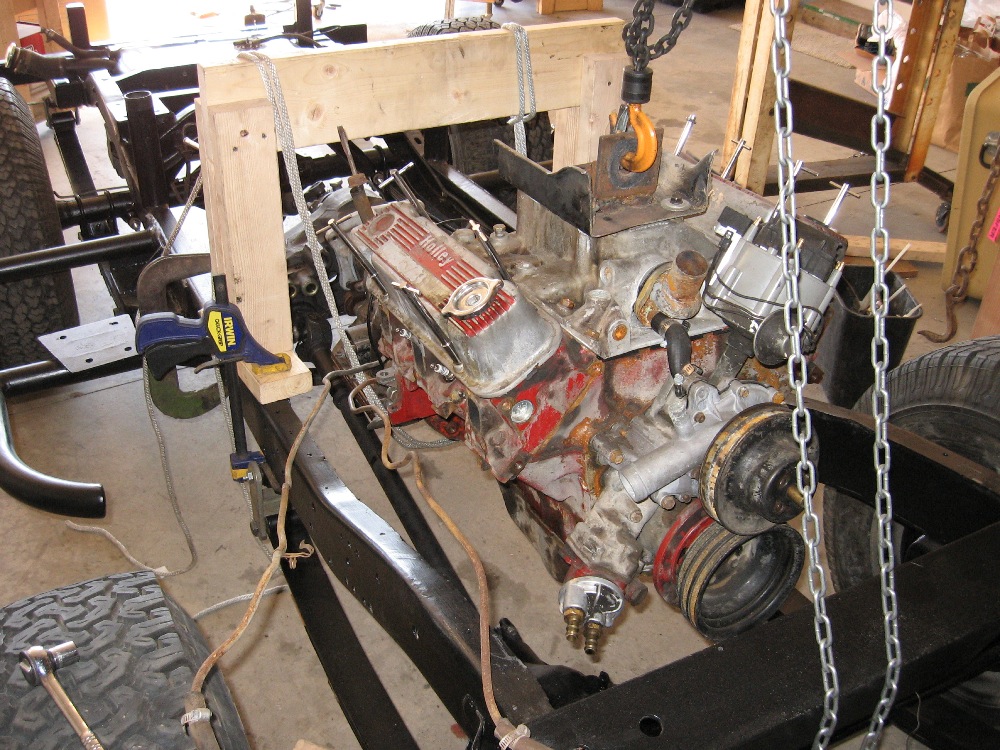
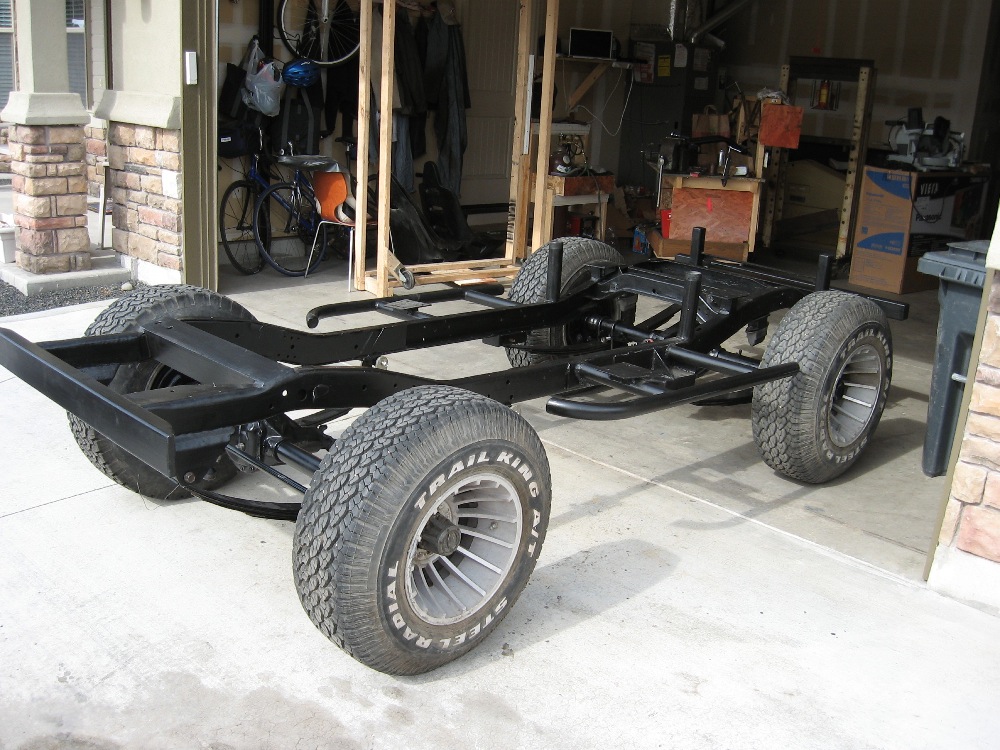
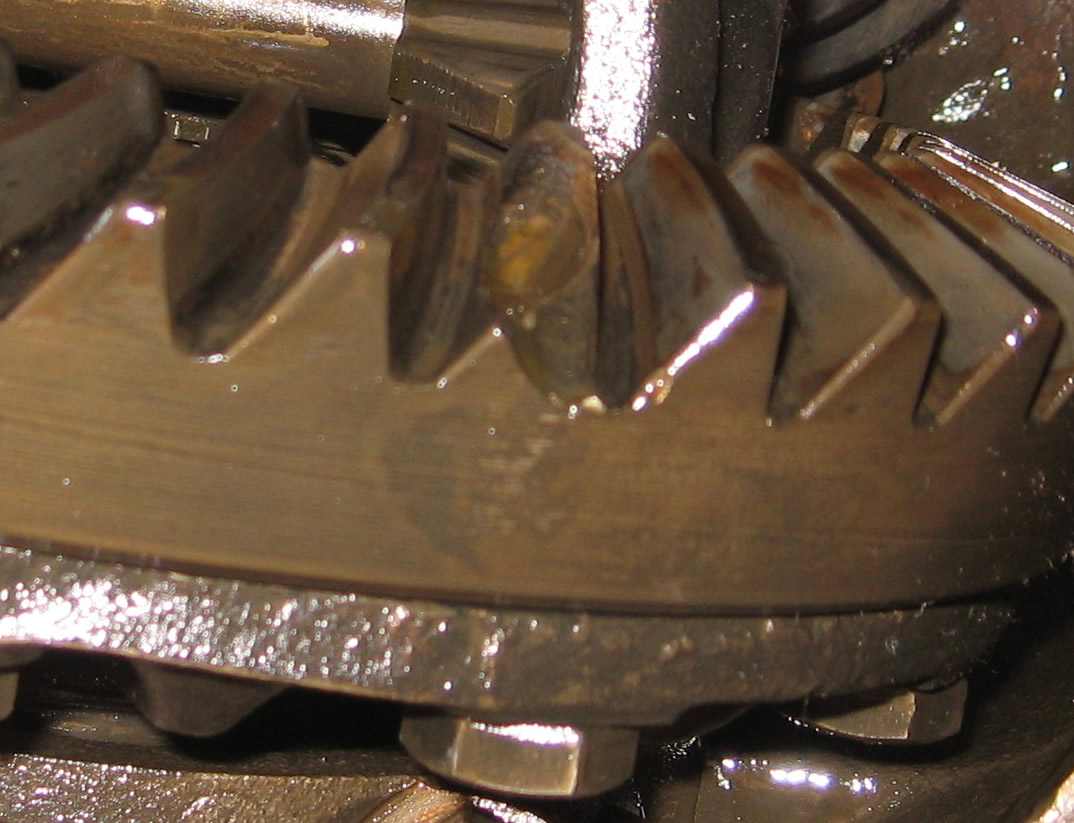
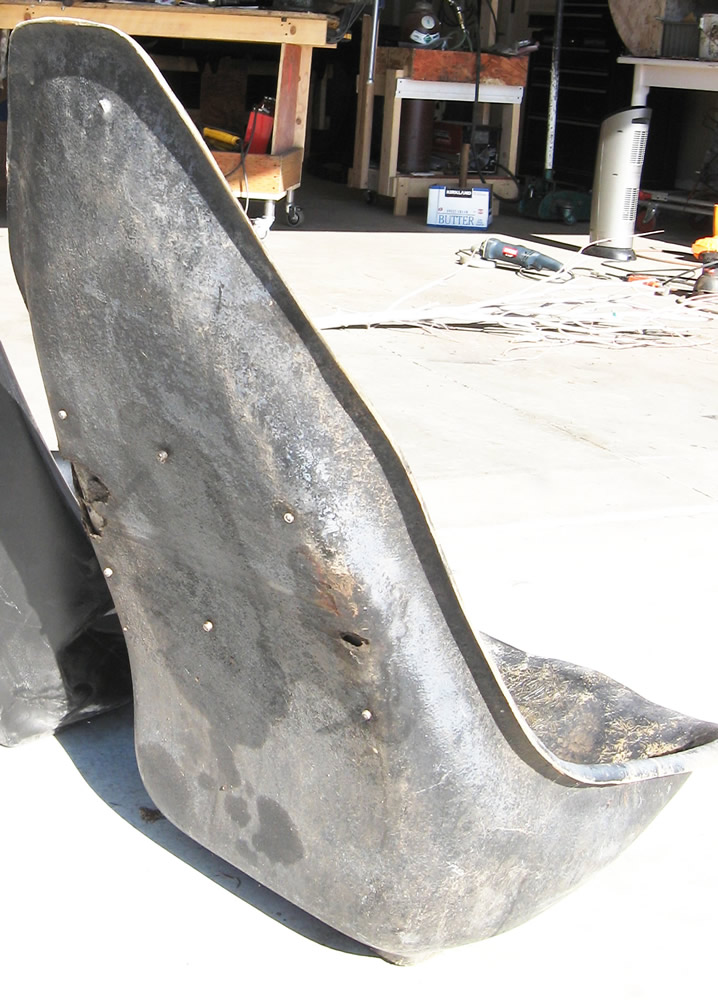
I did search and found a guy named Rick in the Northwest who says he has a CJ-3B mold (looks like a parkette mold with the side stripe).  Here’s a website that show’s a variety of pics of him building his CJ-3B. (see more of his pics below)

According to the CJ-3B Page, there are no sellers of CJ-3B fiberglass bodies.
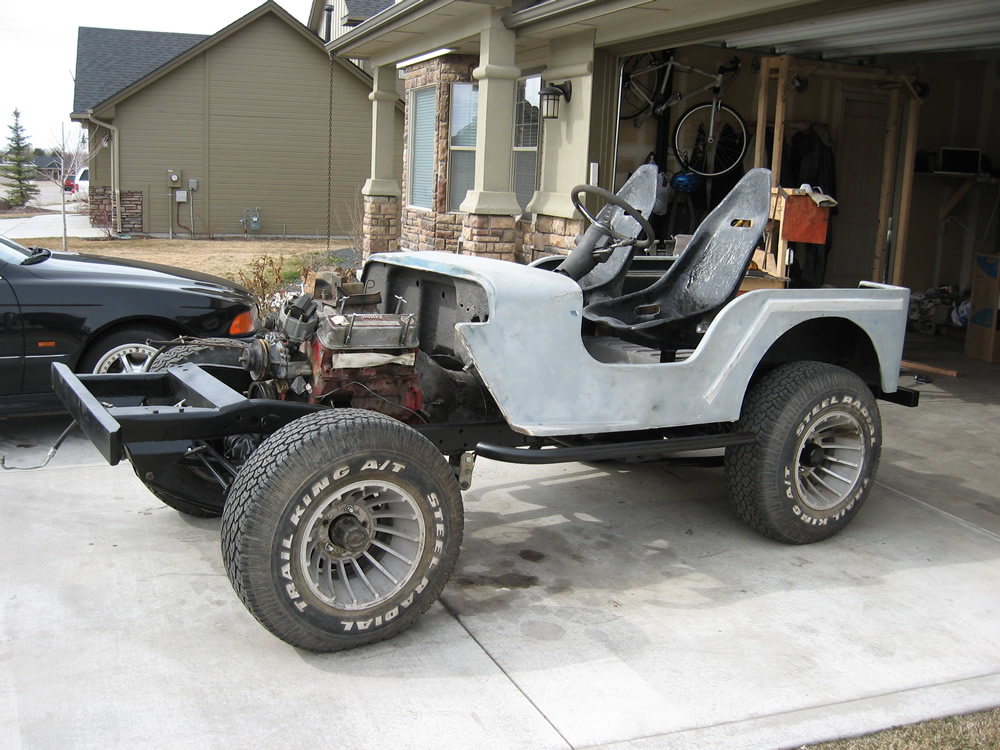
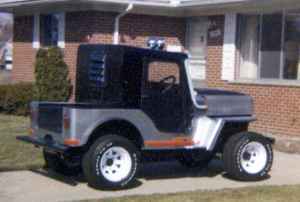
To the right is a fiberglass CJ-3B body I found for sale back in 2008.

“This is a Willy’s Jeep that i got off a friend in a trade. it was sitting in his field for years. it used to be covered but the tarp blew off a couple of years ago. someone put it together in the 80’s with a fiberglass body tub and fenders. they didn’t do such a good job, the wiring is atrocious and it needs alot of other work, but they did put lockouts and disc brakes up front, thats a plus. it needs to be completely stripped down and re-done.”

Here’s more pics of Rick’s Fiberglass CJ-3B with a Parkette (?) Fiberglass Body.  You can read more about it here:

ricks-cj-3b-jeep-home-made-2

ricks-cj-3b-jeep-home-made-12

ricks-cj-3b-jeep-home-made-20

 
To Top

March 2008 Attaching the Grille

• CATEGORIES: Biscuit This site contains affiliate links for which I may be compensated.

Another item I felt comfortable installing with the engine in place is the grille.  I was already pretty confident where it would go, but I wanted to be sure.  As a reminder, because I'm using the post '72 Cj-5 frame, I have to extend the fenders and hood approximately 3" as you can see here in this test setup below.  So, there was no default location for the grille anymore.

Continue reading

 
To Top

March 2008 Fixing the Transmission Shifter

• CATEGORIES: Biscuit This site contains affiliate links for which I may be compensated.

After installing the engine, tranny and tc, I thought I'd better test to make sure the body fit over all three.  The good news was that it did.  The bad news was that the shifter was hitting the dashboard when I shifted into park.

So, I took the bracket and extended it with a piece of halved 2×2 square tubing.  Then, I used a convenient hole bracket in the tranny (I have no idea what it is for) to add a back mount to the bracket.  The results are below:

Continue reading

 
To Top

March 2008 Putting a few things together

• CATEGORIES: Biscuit This site contains affiliate links for which I may be compensated.

I put the body on and placed the seats on their mounts.  The body slopes backward a bit, but that will be fixed when I put the correct suspension brackets on the back. 

 
To Top

March 2008 Engine Mounts

• CATEGORIES: Biscuit, Features This site contains affiliate links for which I may be compensated.

The CJ-5 I bought last year had been modified to accept a GM 350. I really liked the way they put together the engine mounts, so I chose to reuse the mounts and then modified my frame to accept the mounts.

To make the mounts, I took the standard buick v6 mounts and removed the rubber blocks, leaving only the steel.  Then, I cut and welded some 3×3 square tubing to the mounts.  

To make the holders that are welded to the frame, I used some recycled angle iron and added side braces to create the triangular look.  I look this setup much better than what I did in my first jeep. 

Continue reading

 
To Top

March 2008 aligning the Engine, tranny and TC

• CATEGORIES: Biscuit This site contains affiliate links for which I may be compensated.

The tricky part of putting the engine, transmission and TC into position was making sure the TC was in the right location.  If I got it back into the right place, I would not have to change the lengths of the drivelines.  Fortunately, I had plenty of room for the engine, so I had lots of flexibility upfront.  

Once Transfercase was in place, then I could position and weld the engine mounts.

Continue reading

 
To Top

March 2008 Frame Rebuild part 2

• CATEGORIES: Biscuit, Features This site contains affiliate links for which I may be compensated.

These shots show the painted frame with the Dana 44 rear and Dana 30 front painted and attached.

Continue reading

 
To Top

January 2008 Dana 44 Putting it together with a Detroit Locker

• CATEGORIES: Biscuit, Features This site contains affiliate links for which I may be compensated.

With my Dana 44 all taken apart (See article below), it was time to put everything back together.  One aspect I have left out of the rebuild process is the importance I placed on using the appropriate language to assemble and disassemble the R&P properly; lets just say I'm glad my children weren't about.

Gathering tools and parts

In terms of parts, I needed to gather a rebuild kit, a locker, and axle kits.  Using Craigslist, I found a locker for 3:73 gearing locally for $325.  The rebuild kit I got at half price from a jeeper in Bend, Oregon. The axle bearings, cones, and outer seals were purchased online through Tellico4x4.com. The inner axle seals I purchased at Schucks. At first, when I realized I had forgotten to order these (oops), I went to tellico's website.  The seals themselves were around $5 a piece, but the cost for shipping was going to more than double the price.  I thought that was ridiculous.  So, I dropped by the local Schucks to see what it would cost to get the seals (I figured they would have to order them).  Well, to my surprise, they had them in stock! $10 later, I was out the door with them. 

Continue reading

 
To Top

January 2008 Dana 44 Taking it apart

• CATEGORIES: Biscuit, Features This site contains affiliate links for which I may be compensated.

The Goal .. take apart my Dana 44 housing and install a Detroit Locker along with new bearings and seals.  Sounds easy enough, right?

When building my last jeep, I did not have to rebuild either of the axle housings.  In the rear I had a Dana 44 from a mail jeep.  Mail jeeps come with detroit lockers:  note that the housing is a little narrower than a standard jeep by approx 2".  To fix this, you can have some shims machined that will allow you to use standard flanged jeep axles.  

Fast forward to the new jeep.  I had a Dana 44 I knew nothing about and a detroit locker I wanted to install inside it.  I figured this would be a good opportunity to learn about ring and pinions; and, learn a thing or two I did!

The First Issue – Broken teeth

Naturally, the first step was to pull off the housing cover and examine the condition of the gears.  Unfortunately, the news was not good.  I quickly discovered that I had a very broken tooth on the ring gear.

Interestingly, there was no evidence of broken pieces in the oil.  This lead me to suspect that the previous owner may have discovered the damage while changing the gear oil and 'forgotten' to mention it to me.  Also, once I pulled everything apart, I would also find the pinion gear broken as well.  

Continue reading

 
To Top

February 2008 Fiberglass Seats

• CATEGORIES: Biscuit This site contains affiliate links for which I may be compensated.

Last year I purchased some plastic racing seats to put into Gus.  However, I was never very happy with them.  I never felt like I fit as well in them as I did in the seats I put into my first jeep.  After searching for months for seats, I finally discovered a pair of beat up seats exactly like what I used to own on Craigslist for only $20.  

To get them to meet my my needs, I needed to repair the fiberglass (extensive holes and cracks) and then drill holes for side belts and shoulder belts.

Continue reading