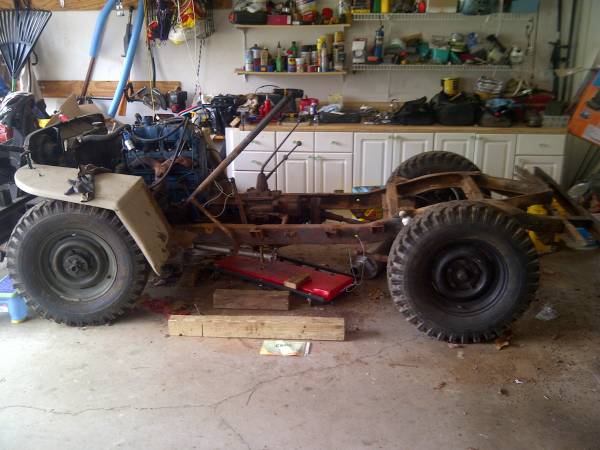
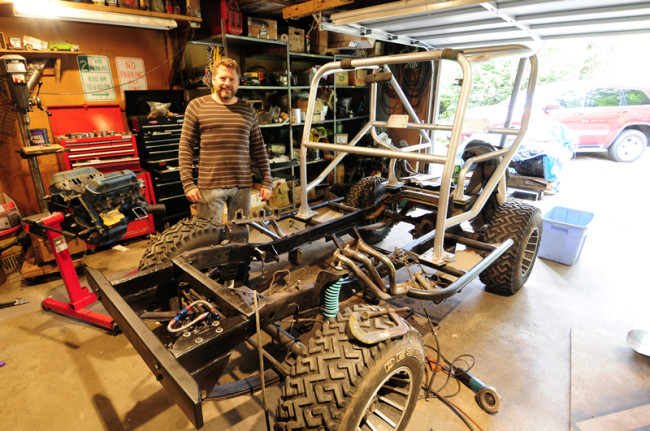
 For the last few days I’ve been in Seattle taking advantage of the nice weather to get some work done on Biscuit. Fortunately there weren’t too many ‘sonny-do’ projects, so I had a chance to get right to work.
First, I tackled the custom bracket I made for the transfer case. You might remember that I installed Dana 18 gears into a Dana 20 (a good way to improve the gearing) and turned the single Dana shifter into a dual shifter. When I built the bracket, I designed it to fit alongside the TH 350. I didn’t know it wouldn’t fit right against a T-18.
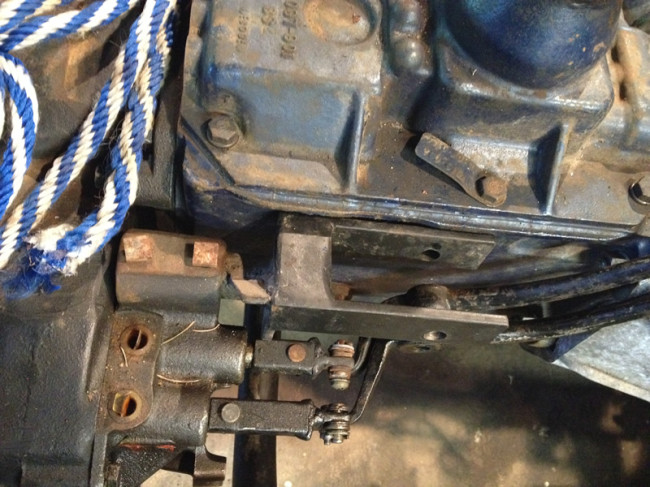
As you can see, the side of the shifter bracket tong sits against the transmission. There was no room to attach a bolt on the backside of the tong.
Since the shifter bracket is more functional then beautiful, I reused most of the parts. I simply cut off the old tongs, welded them onto a plate, and welded the plate back onto the bracket.

Not pretty, but works.
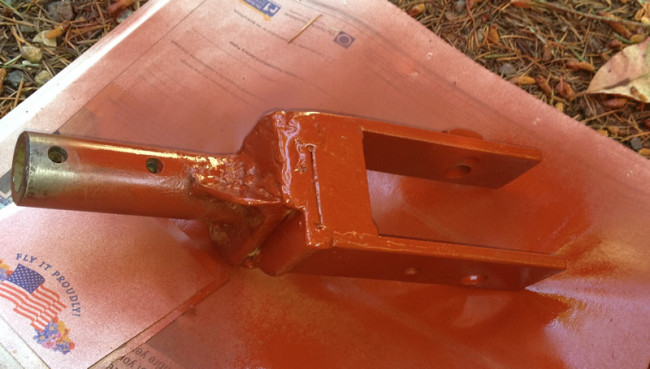
The ‘finished’ bracket with some primer on it. You can just see the bolt that I welded to the back side to make it simpler to bolt the shift levers into place.
Next, since the transfer case sits slightly lower than it did before, I created a new side bracket. I made a template out of aluminum. To build the bracket I took a piece of an angle I had around the garage, cut it, and bent it into the shape of the template. Again, it’s nothing pretty, but gets the job done.
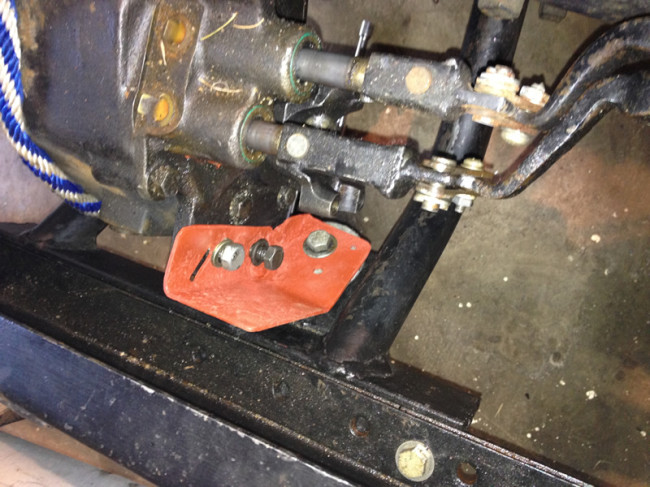
Transfercase side support with primer on it (so it would photograph better).
As I explained in a post a couple weeks ago, while I was puling apart my jeep I discovered that the powersteering was rotating slightly as I spun the steering wheel. That’s a problem! So, I dedicated the last few days to fixing that problem and changing the way the front bumper connects.
The basic problem was that the stock power steering mount unit only used three of the four holes to attach the steering unit. Therefore, I planned to add a cross piece to provide a place for a fourth bolt to attach. However, that meant I had to cut the plate on top so the bolt could be attached and removed. And, since I was doing that, I figured I would change the way the bumper attached.
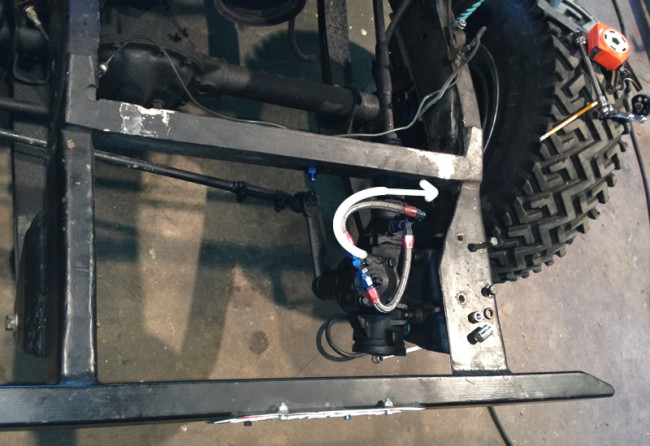
The white arrow shows how the unit was rotating to the driver’s side.
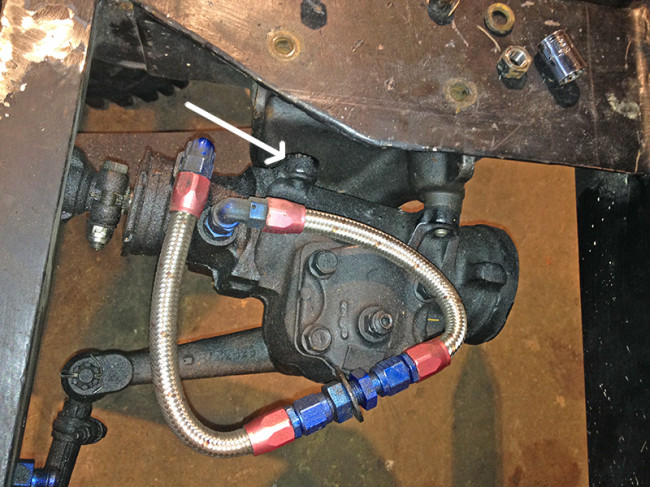
This arrow demonstrates where the power steering needed to attach.
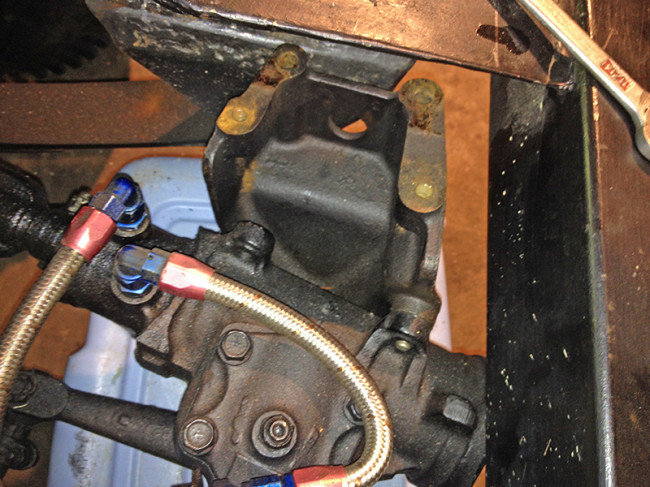
Here I’ve removed the bracket from the frame to provide a better look at it. This is the stock bracket from a 1973 CJ-5.
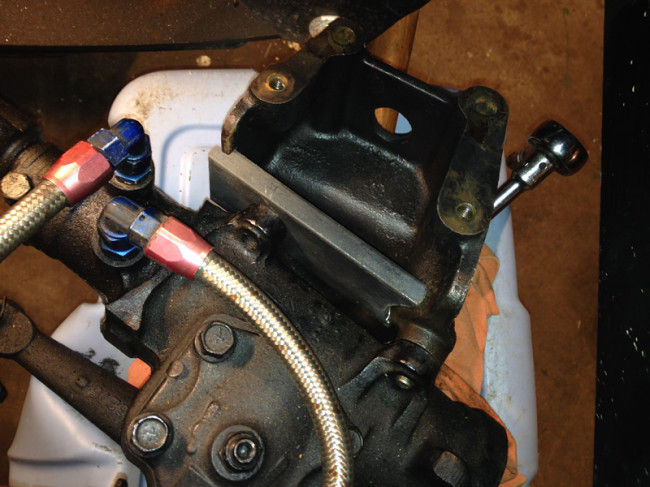
This shows the cross brace I made from 1/2″ steel.
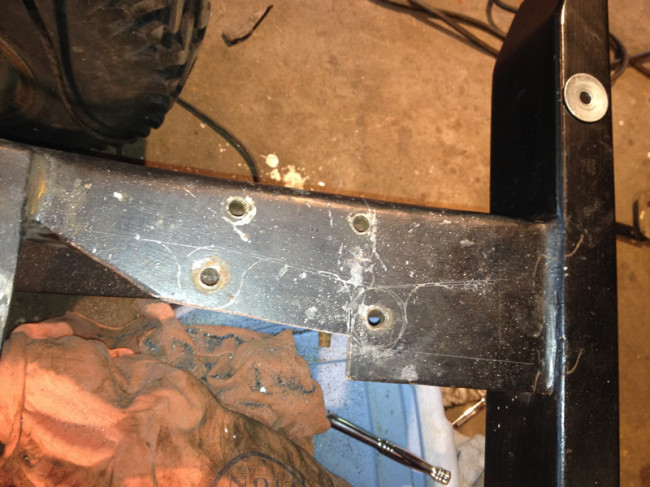
Next up was the alternation of this top piece. You can see the outlines I’ve scratched into the plate.
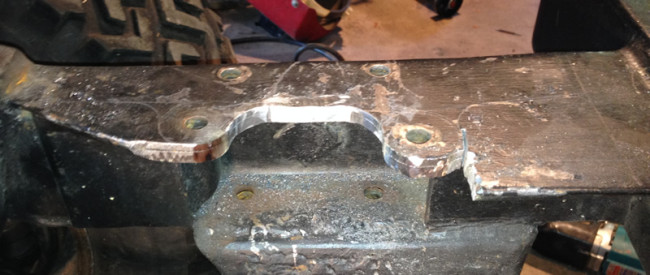
Using a cutting blade and a saws-it-all I removed chunks of the plate.
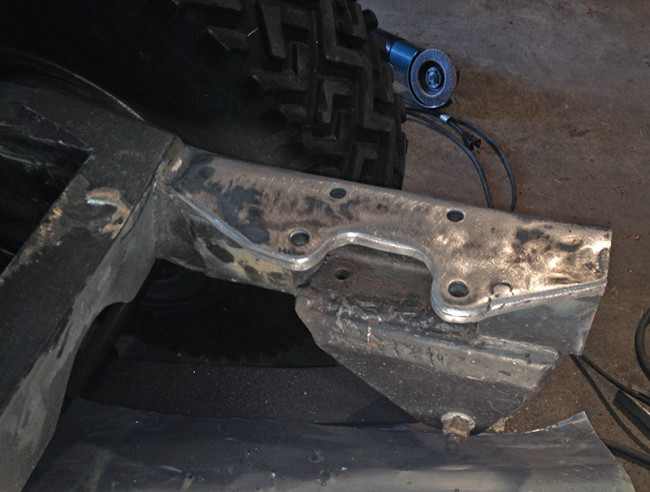
Now it’s looking a little better.
Next off came the bumper:
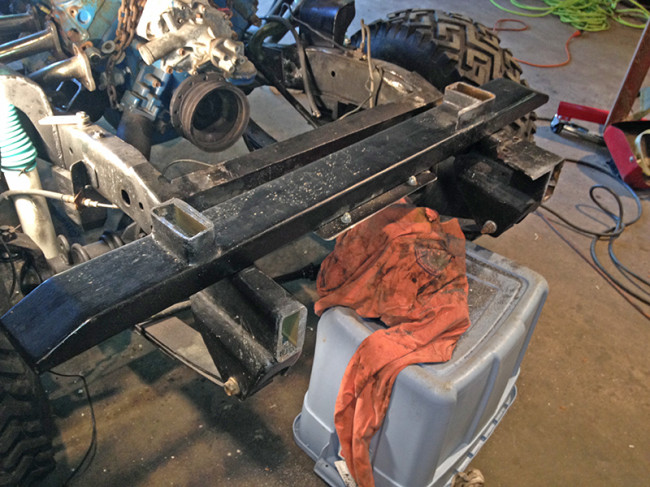
The length of the bumper in from of the jeep annoyed me a little. So, I wanted to remove a couple inches.
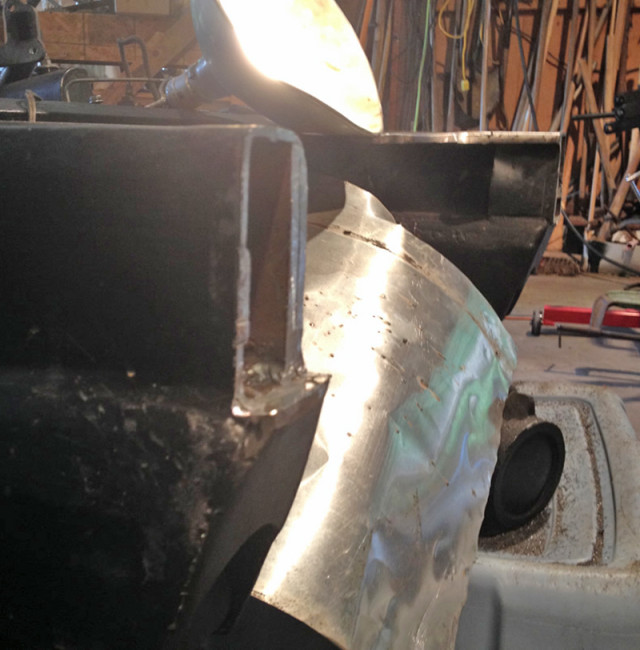
The frame rail on the left has been cut back so the plate can fit snuggly over the custom front shackle. The far right frame rail has not been cut back yet.
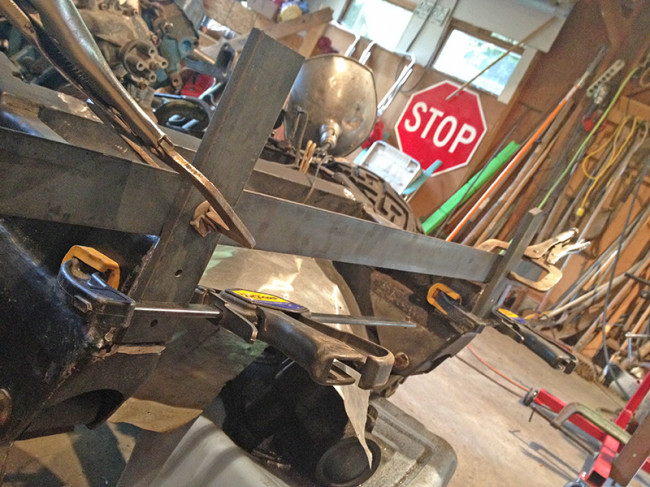
In order to bolt the bumper on to the front of the jeep, I created a set of flat plates and drilled some initial holes into them. The plates are tall so that I can weld a cross piece on to them. The cross piece will allow me to properly position the holes in the bumper with the holes in the plates.
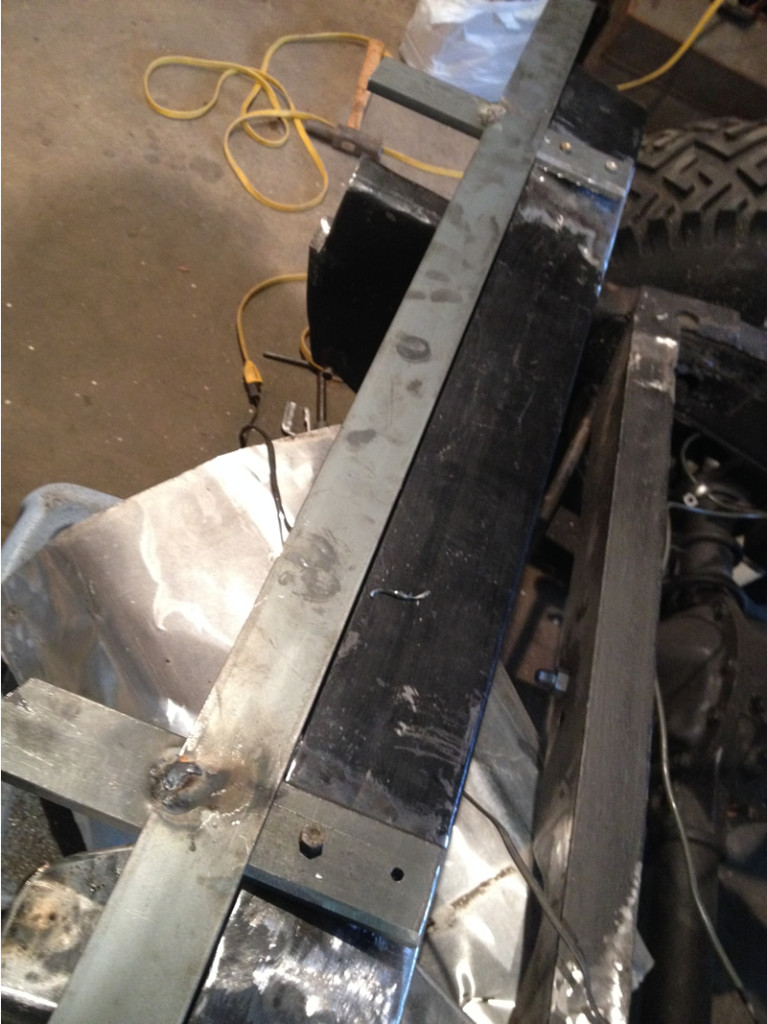
I clamped the new plates with the cross bracket onto the bumper so I could drill the holes. (for the pics I removed the clamps.
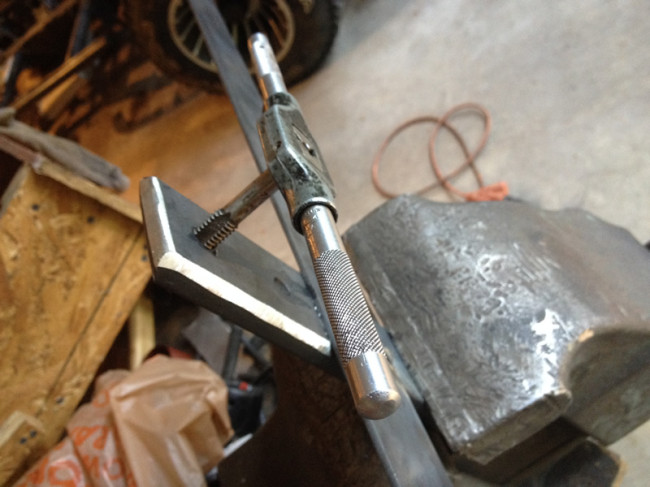
With the bumper holes drilled, I can how set threads into the brackets.
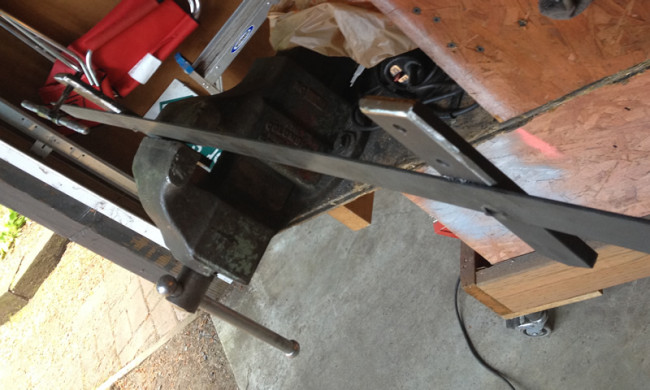
This is another view that shows the brackets, the cross piece and the tap at the far end.
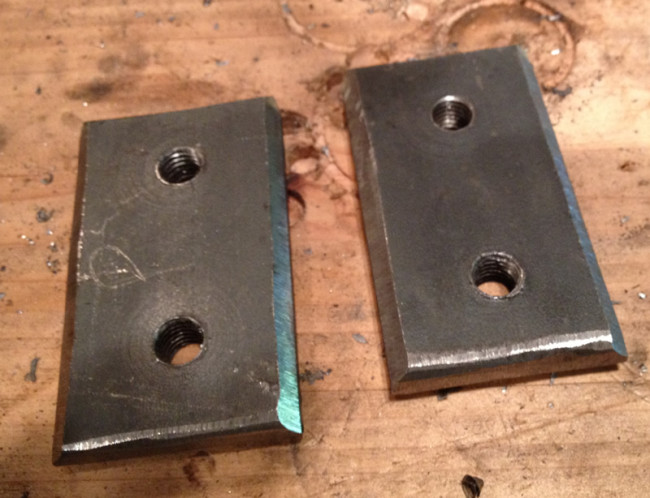
These are the brackets cut down and tapped. I had a little problem threading the hole on the lower right, which is why it doesn’t look quite right. It works fine though. I have also ground down the sides to make it easier to weld and fill the plates to the end of the frame.
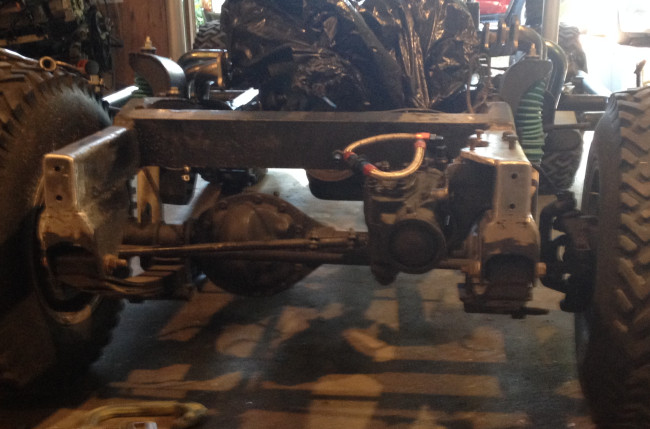
This show the plates welded and cleaned up on the end of the frame.
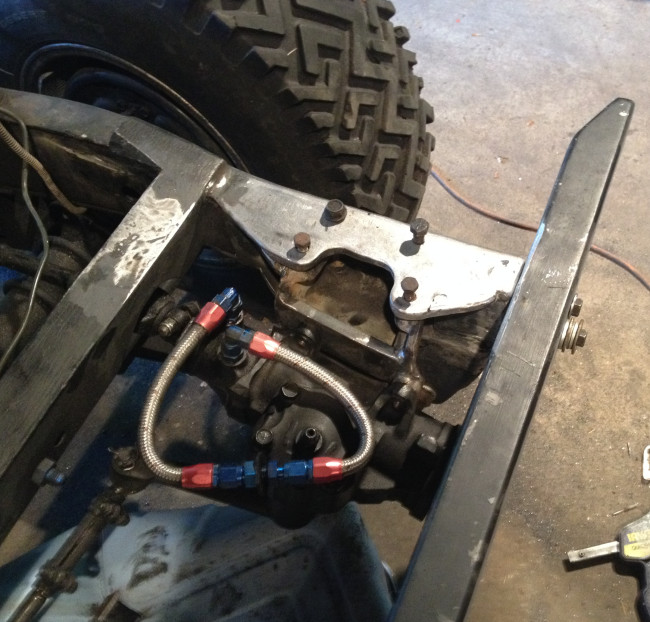
This is a top view.
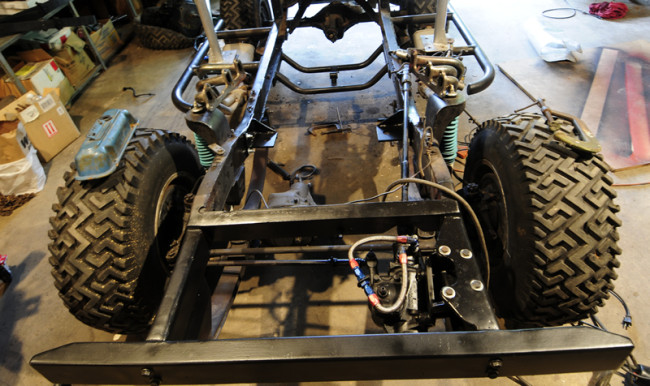
This shows the bumper attached, everything painted, and the power steering affixed to the new and improved bracket.
With those projects out of the way I turned my attention to the engine I bought from Daryl last summer. I discovered the motor has stock bores. The pistons appeared cleaned, but never run. The engine looks like it was rebuilt, but never run. The spark plug ends are clean and shiny.
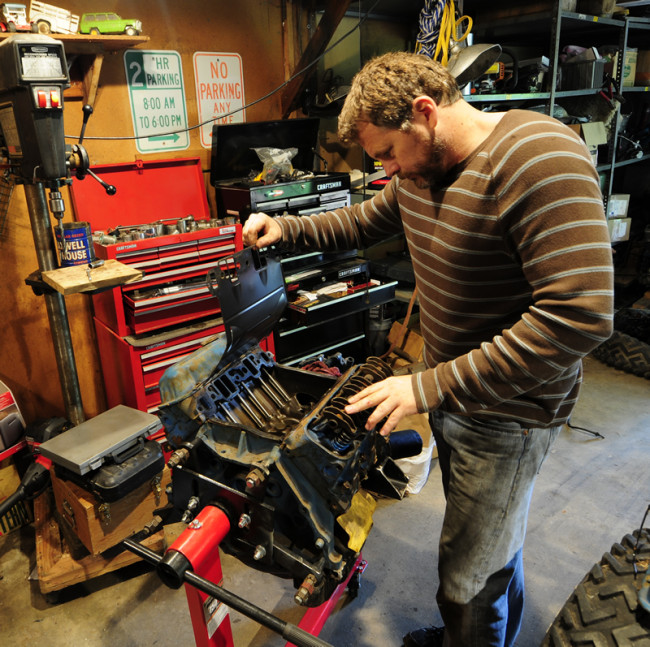
Me checking out the motor. It came without an intake manifold.
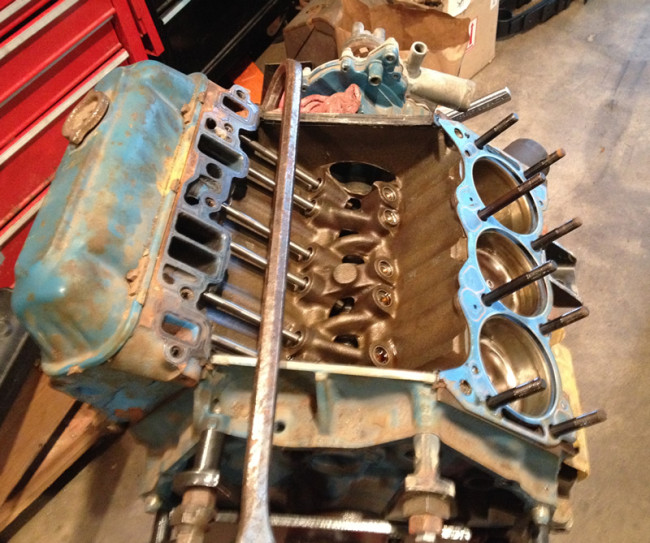
With the head pulled I was relieved to see clean cylinders. Then I noticed there was no build up at all on the gaskets.
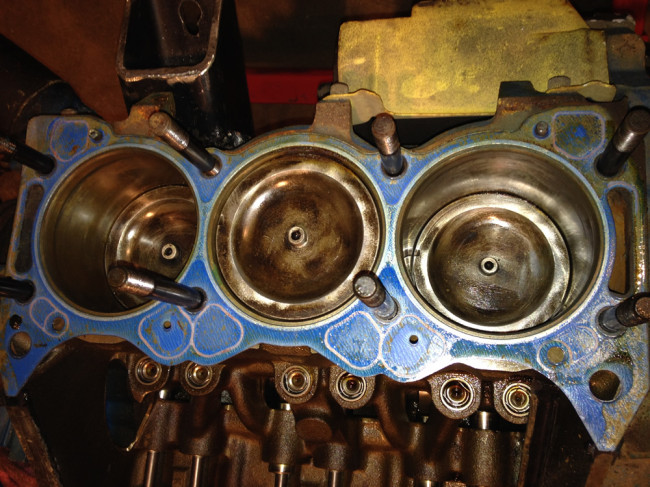
The tops of the pistons showed they weren’t new, but they appeared to have been scrubbed cleaned.
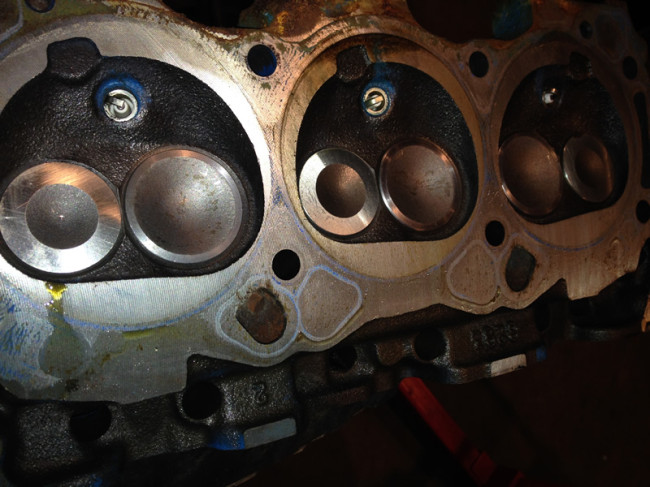
The underside of the heads show no carbon and the plugs look unused.
Given the engine looks unused, I’m not going to attempt to rebuild it. Instead, I’m going to run it as it is and focus resources on properly rebuilding my other motor (with its new heads and updated cam) later this year. In the meantime, I can run with this motor and focus on getting the other parts I need to get Biscuit running. Since they are both Buick V6s switching out motors at some future date won’t take very long.
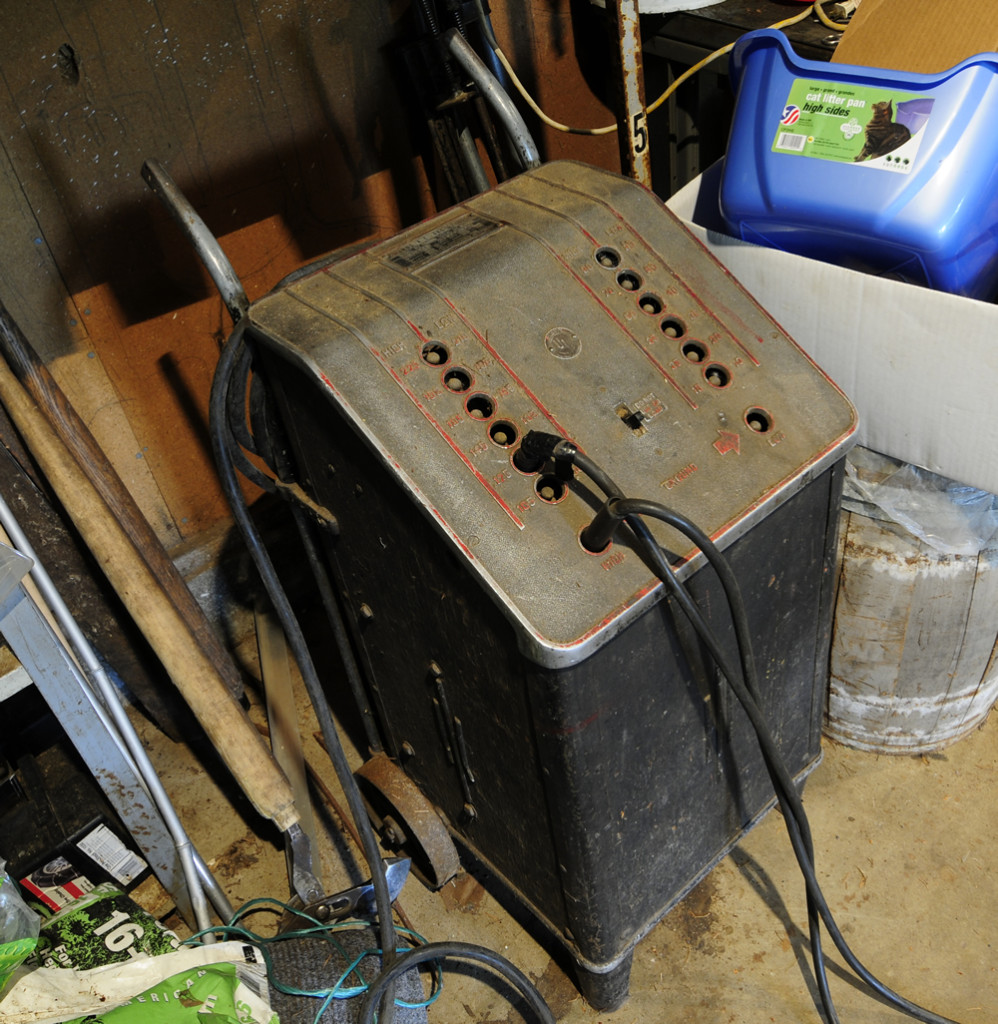
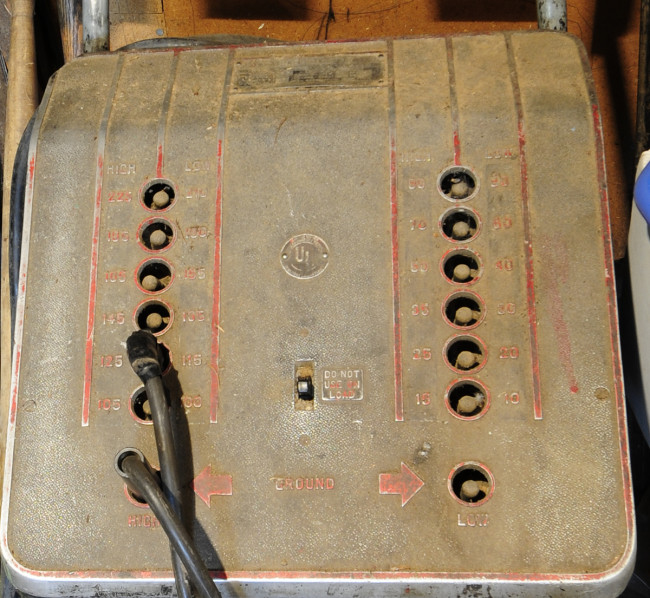
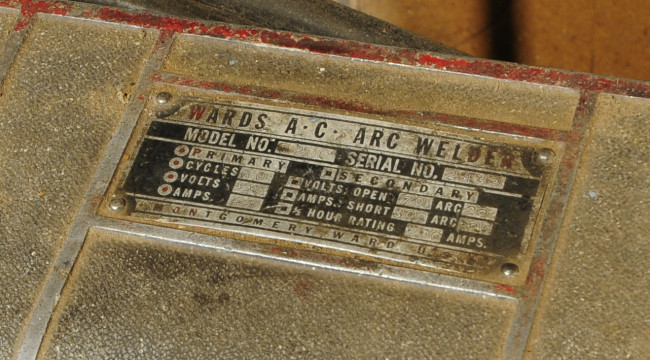
Lastly, I thought you might enjoy seeing the welder I’ve been using. Dad tells me he got this Montgomery Ward classic as a hand-me-down from a local jeep builder (Al Carrol) in the late 1960s. It’s still works real well.
 I hope to return later this month to complete some more work. I will be updating the front brakes to discs. Thanks to R&P for the brake kit! I’m also hoping to have all the parts to install the drive train. Here are a few more parts I’ll be adding to the mix:
- Holley 390 carb (i have a kenne belle intake)
- Clutch kit & pilot bushing
- Brake Calipers for the new disc brakes
- Brake power CJ-7 unit with proportioner
- Bushings for my new rear emu springs (thanks to Mitch at ARB for helping out with those)
- Possibly a different set of headers (am waiting to see what I can find online)
So, stay tuned!

