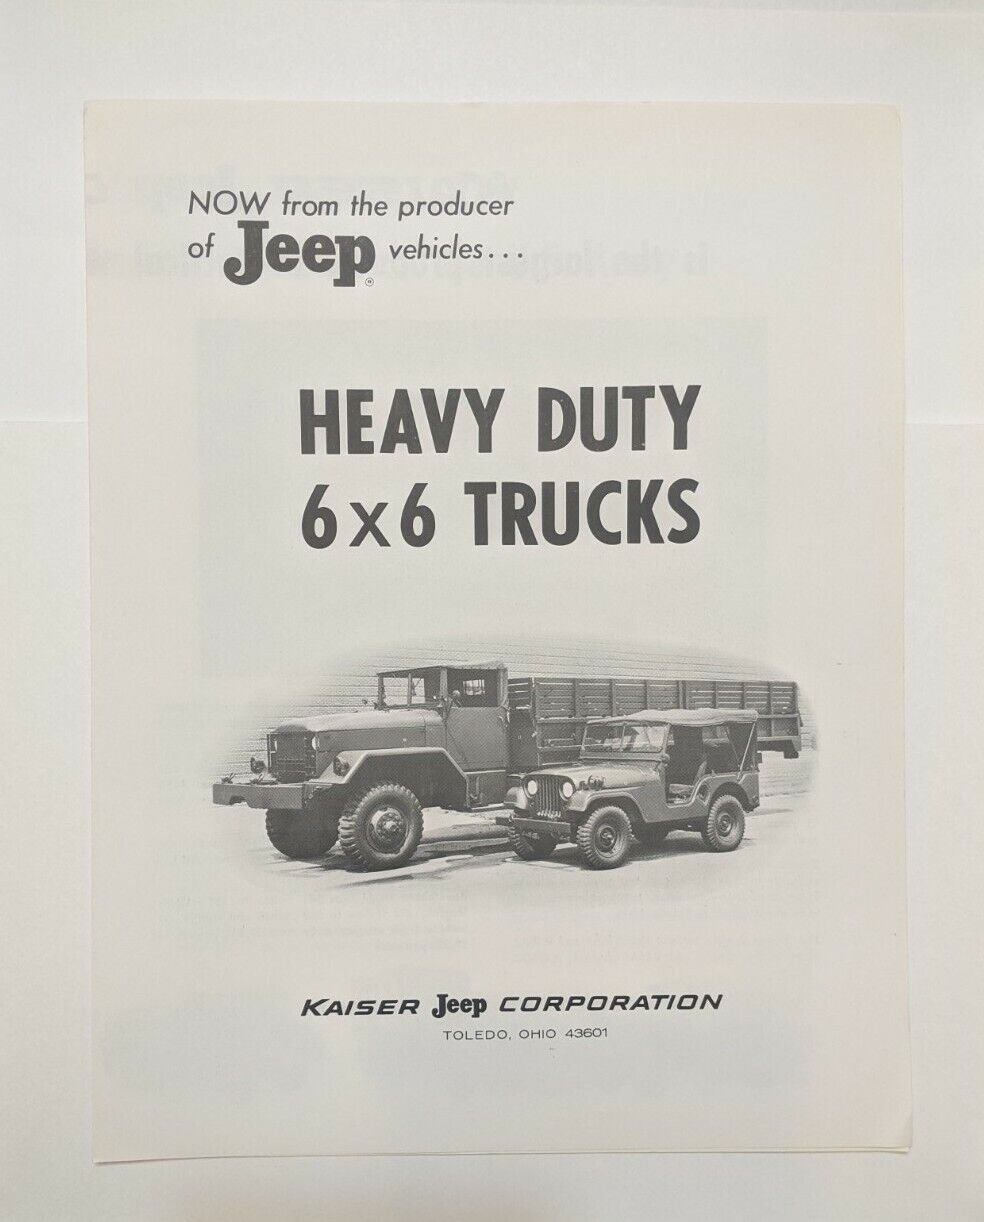
This Kaiser Jeep brochure features 6×6 rigs. The seller has eight of them.
View all the information on eBay
“1967 Kaiser Jeep Heavy Duty 6×6 Fold Out Sales Brochure.”
emailNeed to contact me and don't have my email? Click on email button.

Welcome to eWillys.com, a website for vintage jeep enthusiasts. I update this website nearly every day with jeep deals, jeep history, interesting reader projects, jeep related info, and more.
These quick searches can help you find things on eBay. People list in the wrong categories all the time, so don't be surprised to see brochures in the parts area for example.
The links to posts below show jeeps grouped by models, condition, and other ways. Some of these jeeps are for sale and others have been sold. If you are unsure whether a vehicle is still for sale or not, email me at d [at] ewillys.com for more info.
There are plenty of interesting, unusual, historic and surprising stories related to Jeeps and their owners. In addition, some of these features have nothing to do with jeeps. This link will display all featured stories starting from the latest.
Looking for parts and not sure where to go? There are a variety of large and small new and used parts sellers both online and offline.
Importantly, the allure of buying a project jeep can be romantic. The reality of restoring a jeep can be quite different, expensive and overwhelming without the right tools and resources. So, tread carefully when purchasing a "project". If you have any concerns about buying a vintage jeep, or run across a scam, feel free to contact me for help, comments or concerns .
This Kaiser Jeep brochure features 6×6 rigs. The seller has eight of them.
View all the information on eBay
“1967 Kaiser Jeep Heavy Duty 6×6 Fold Out Sales Brochure.”

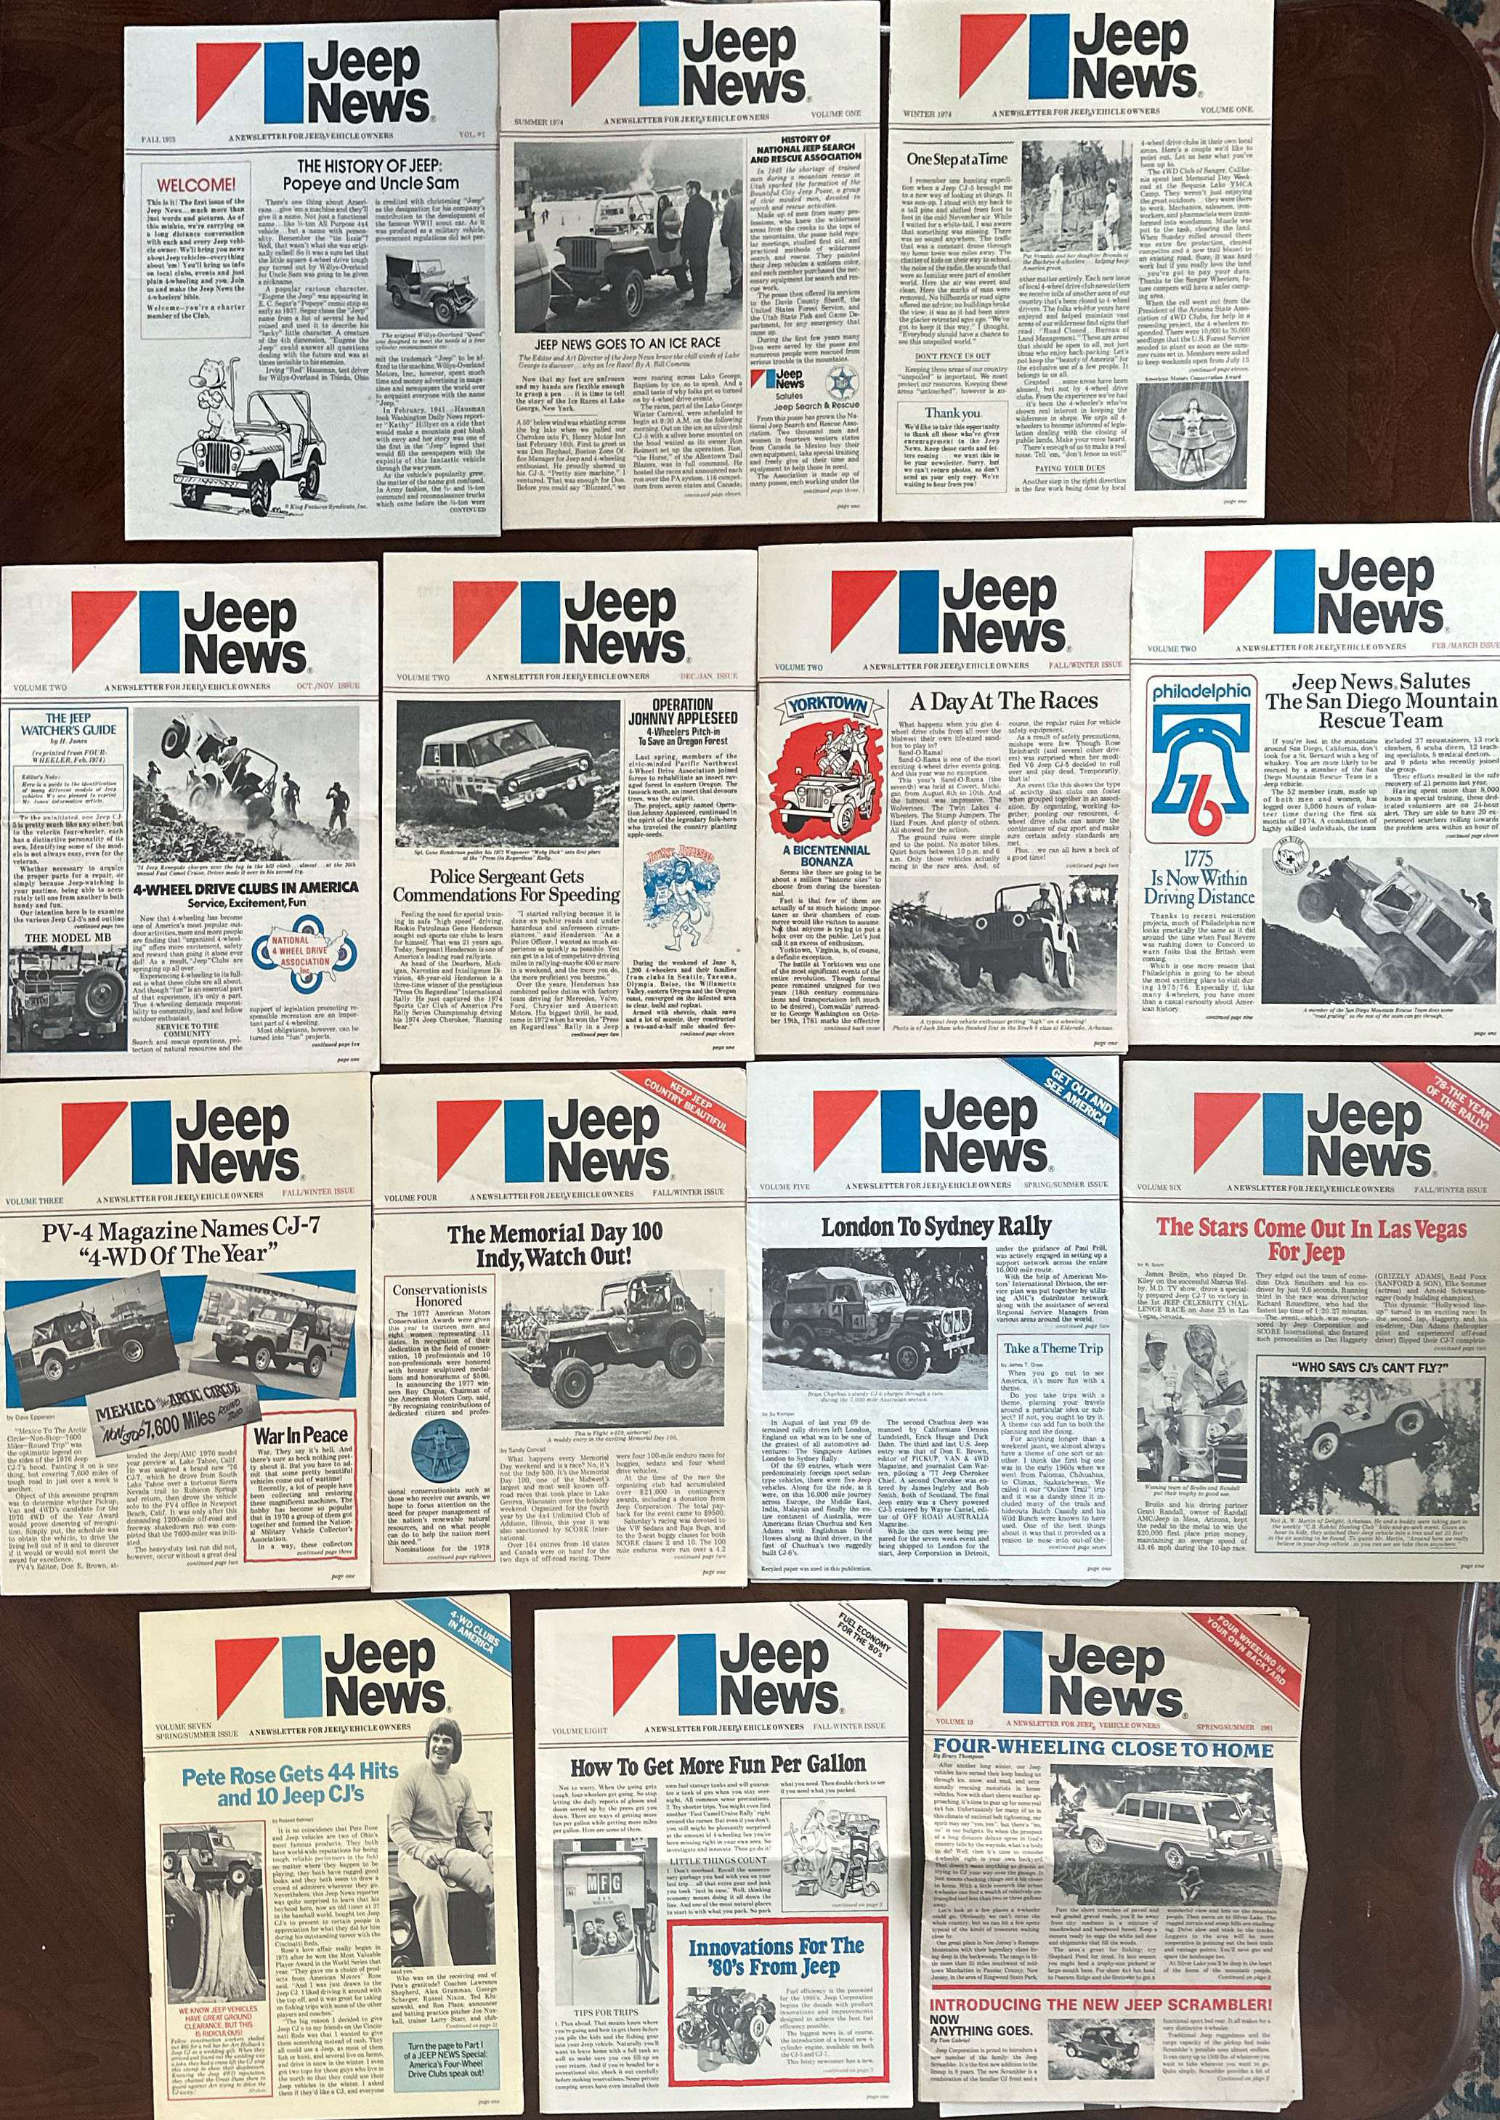
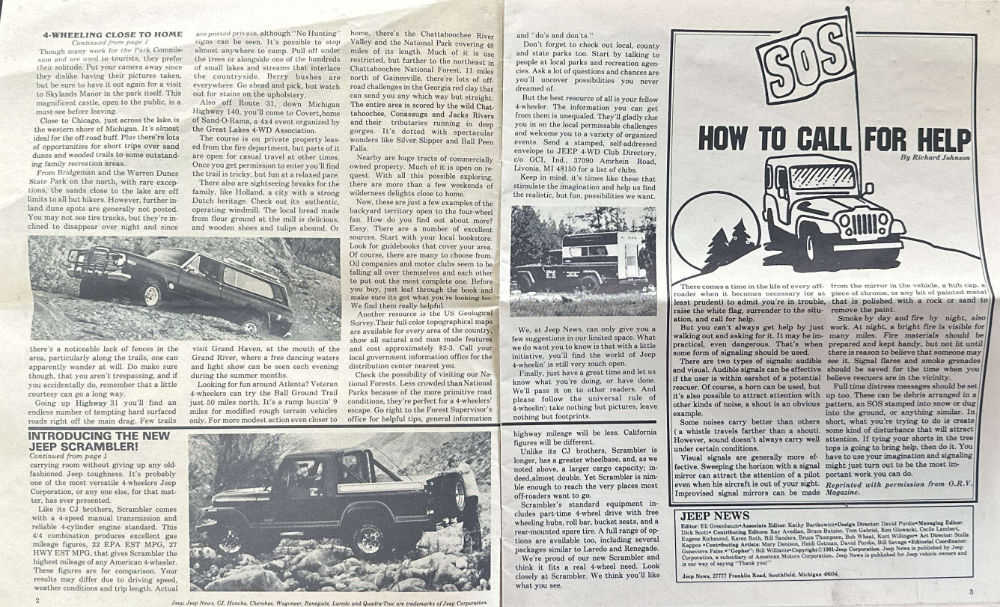
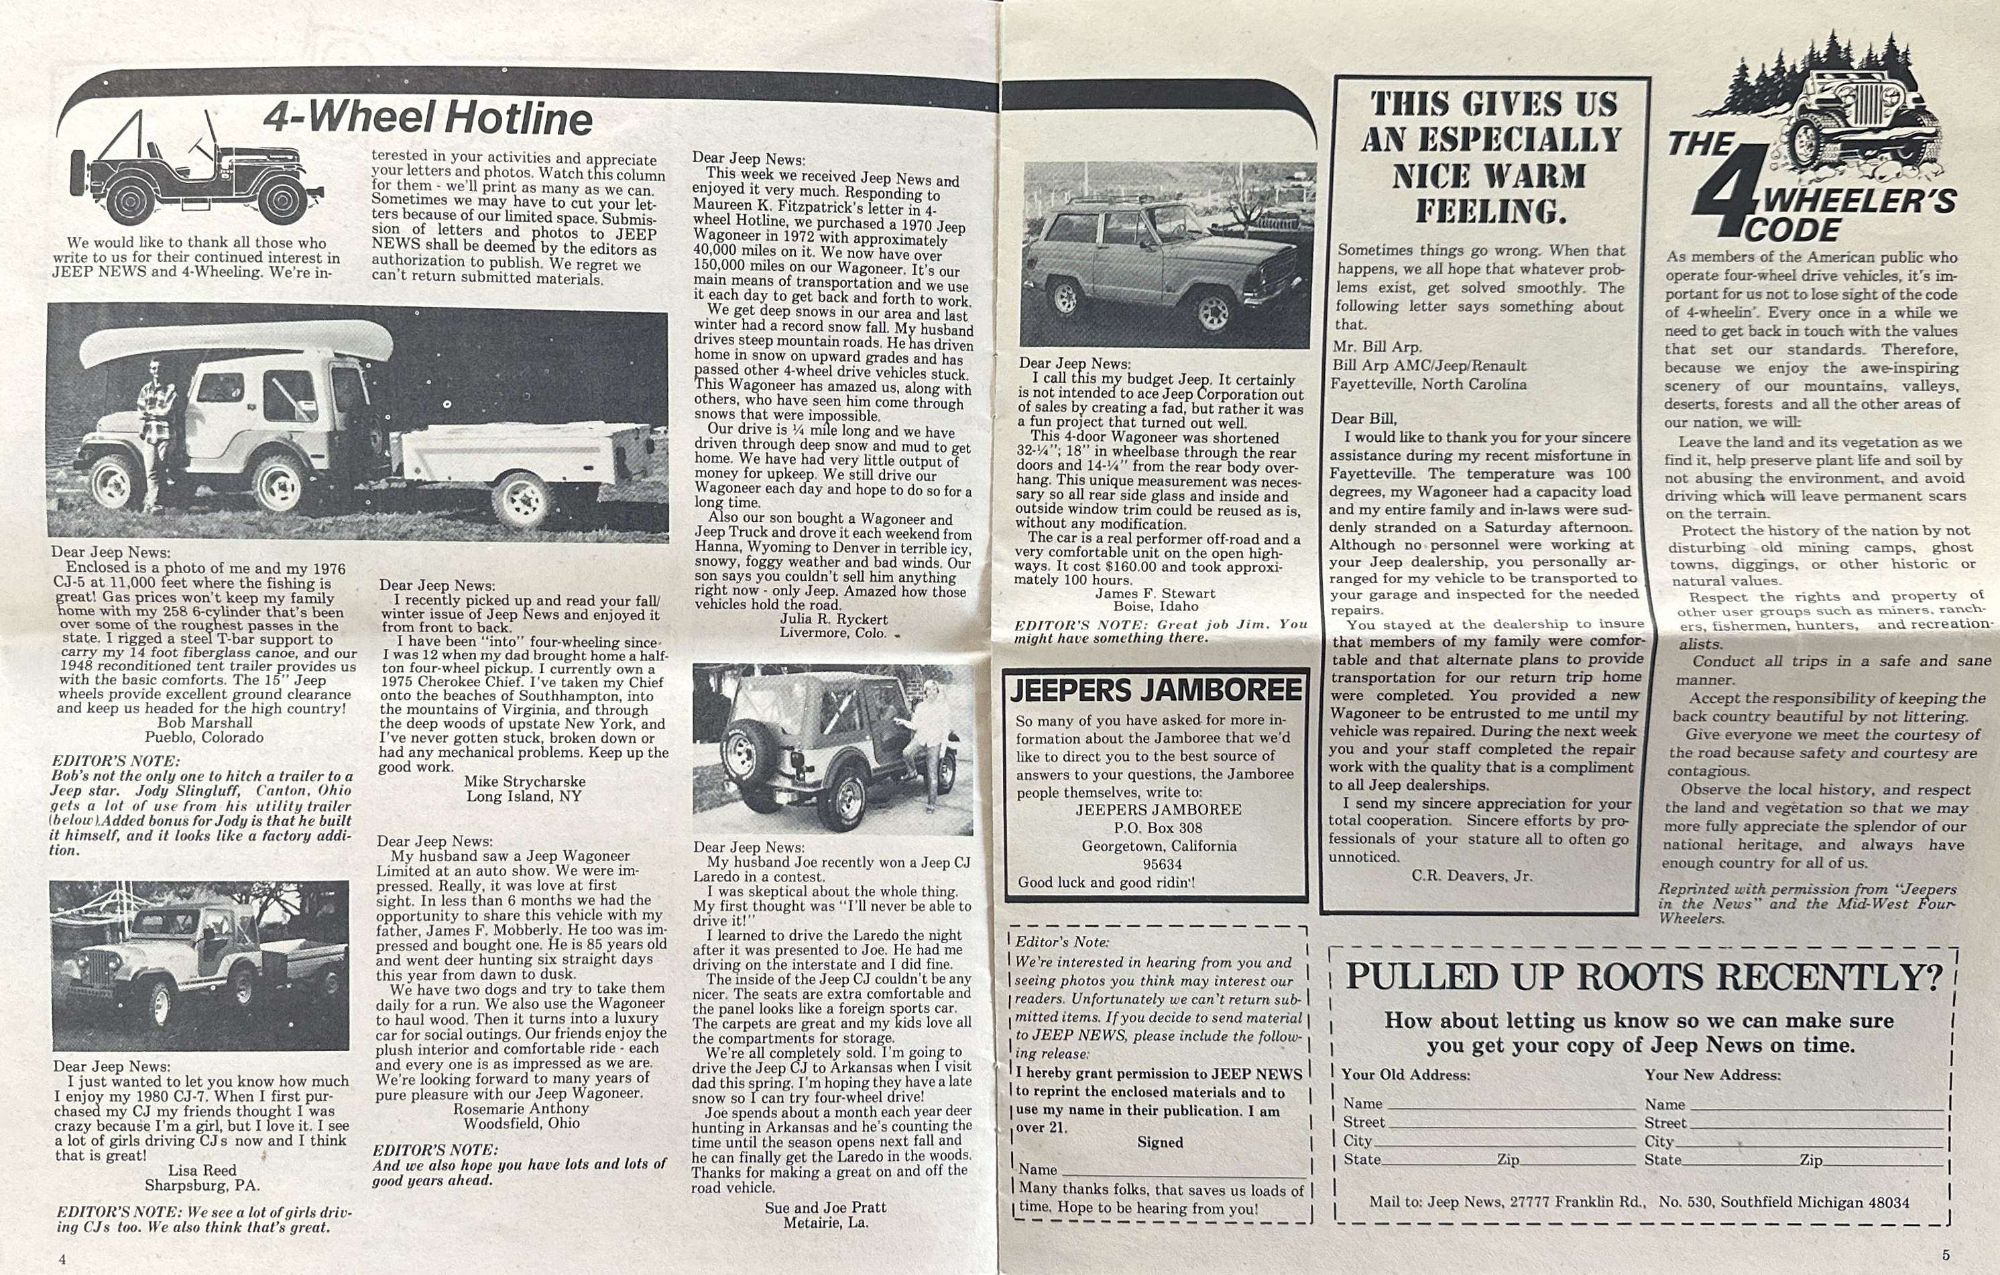
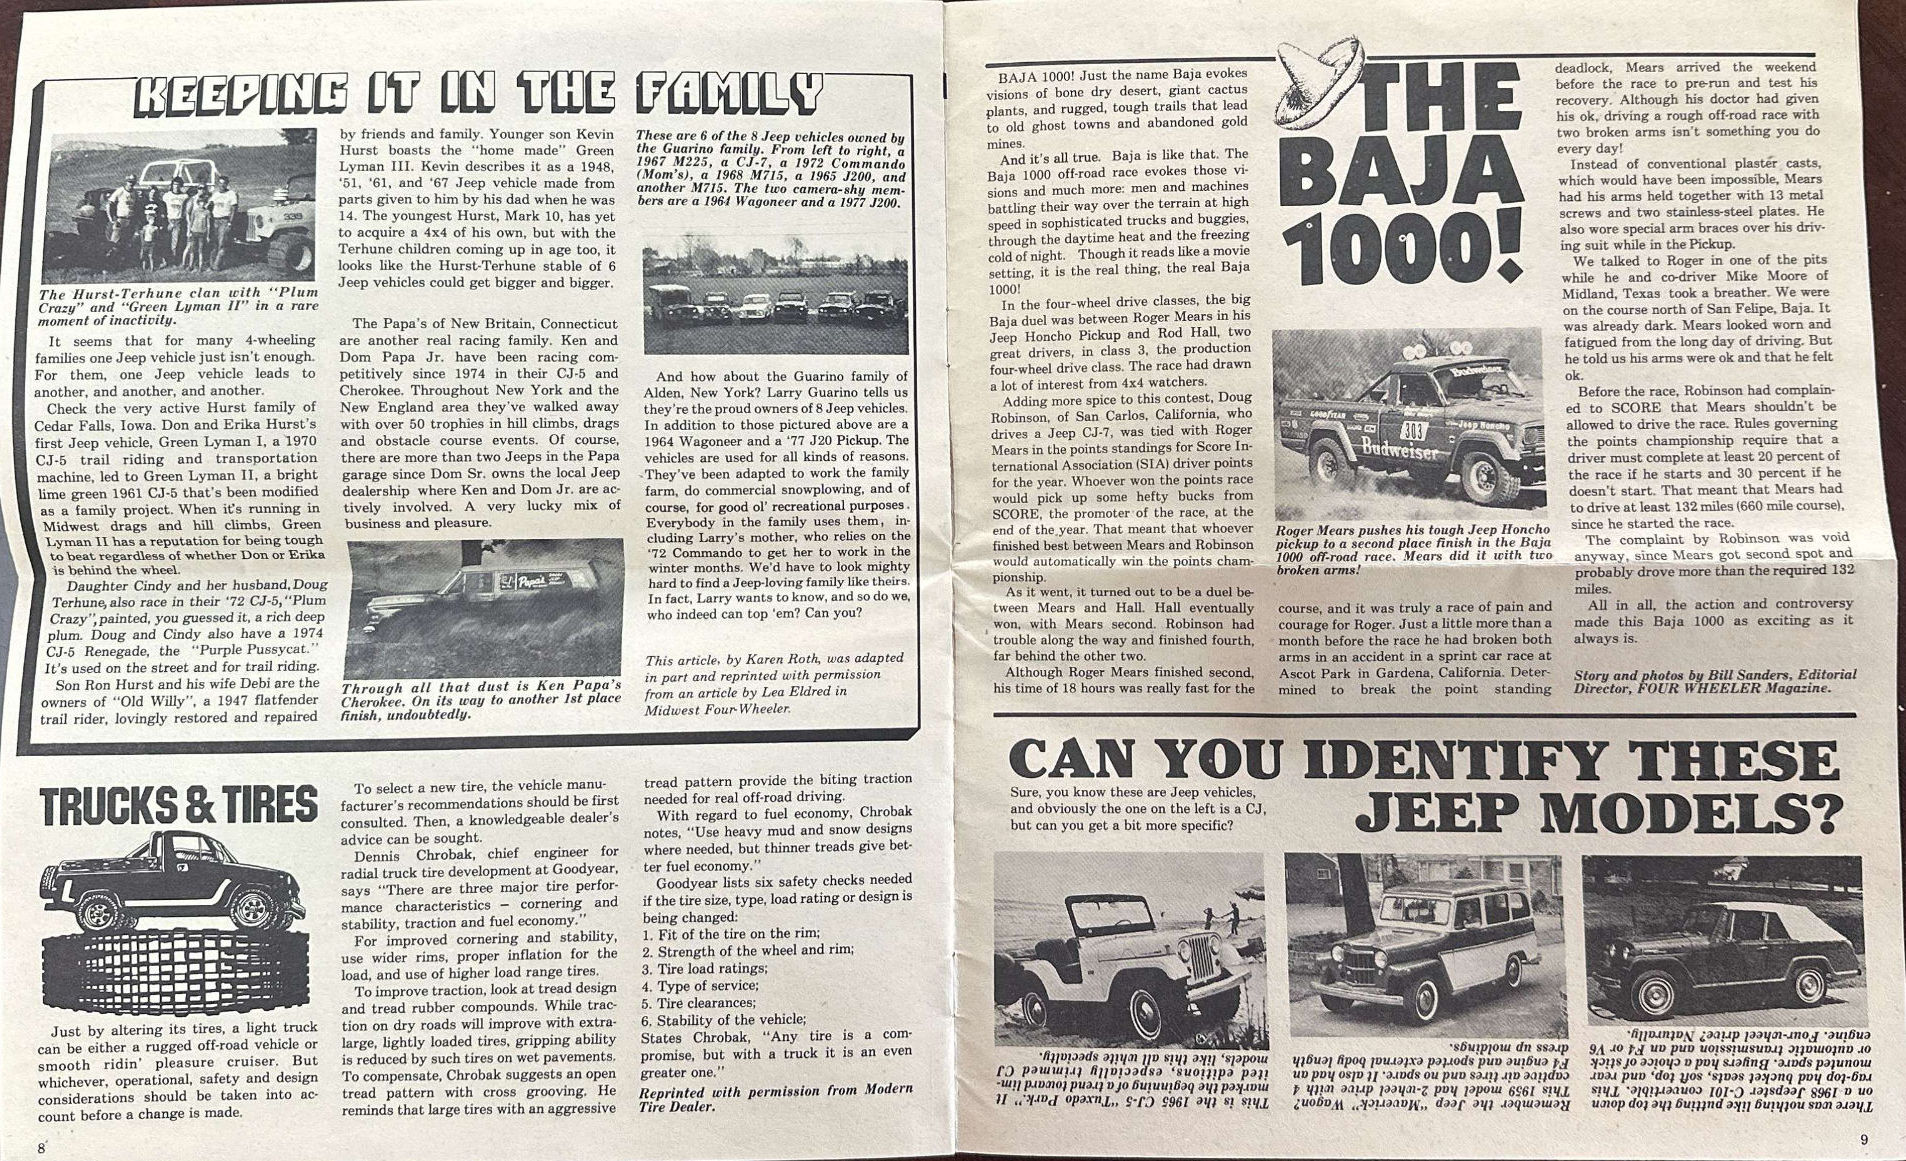
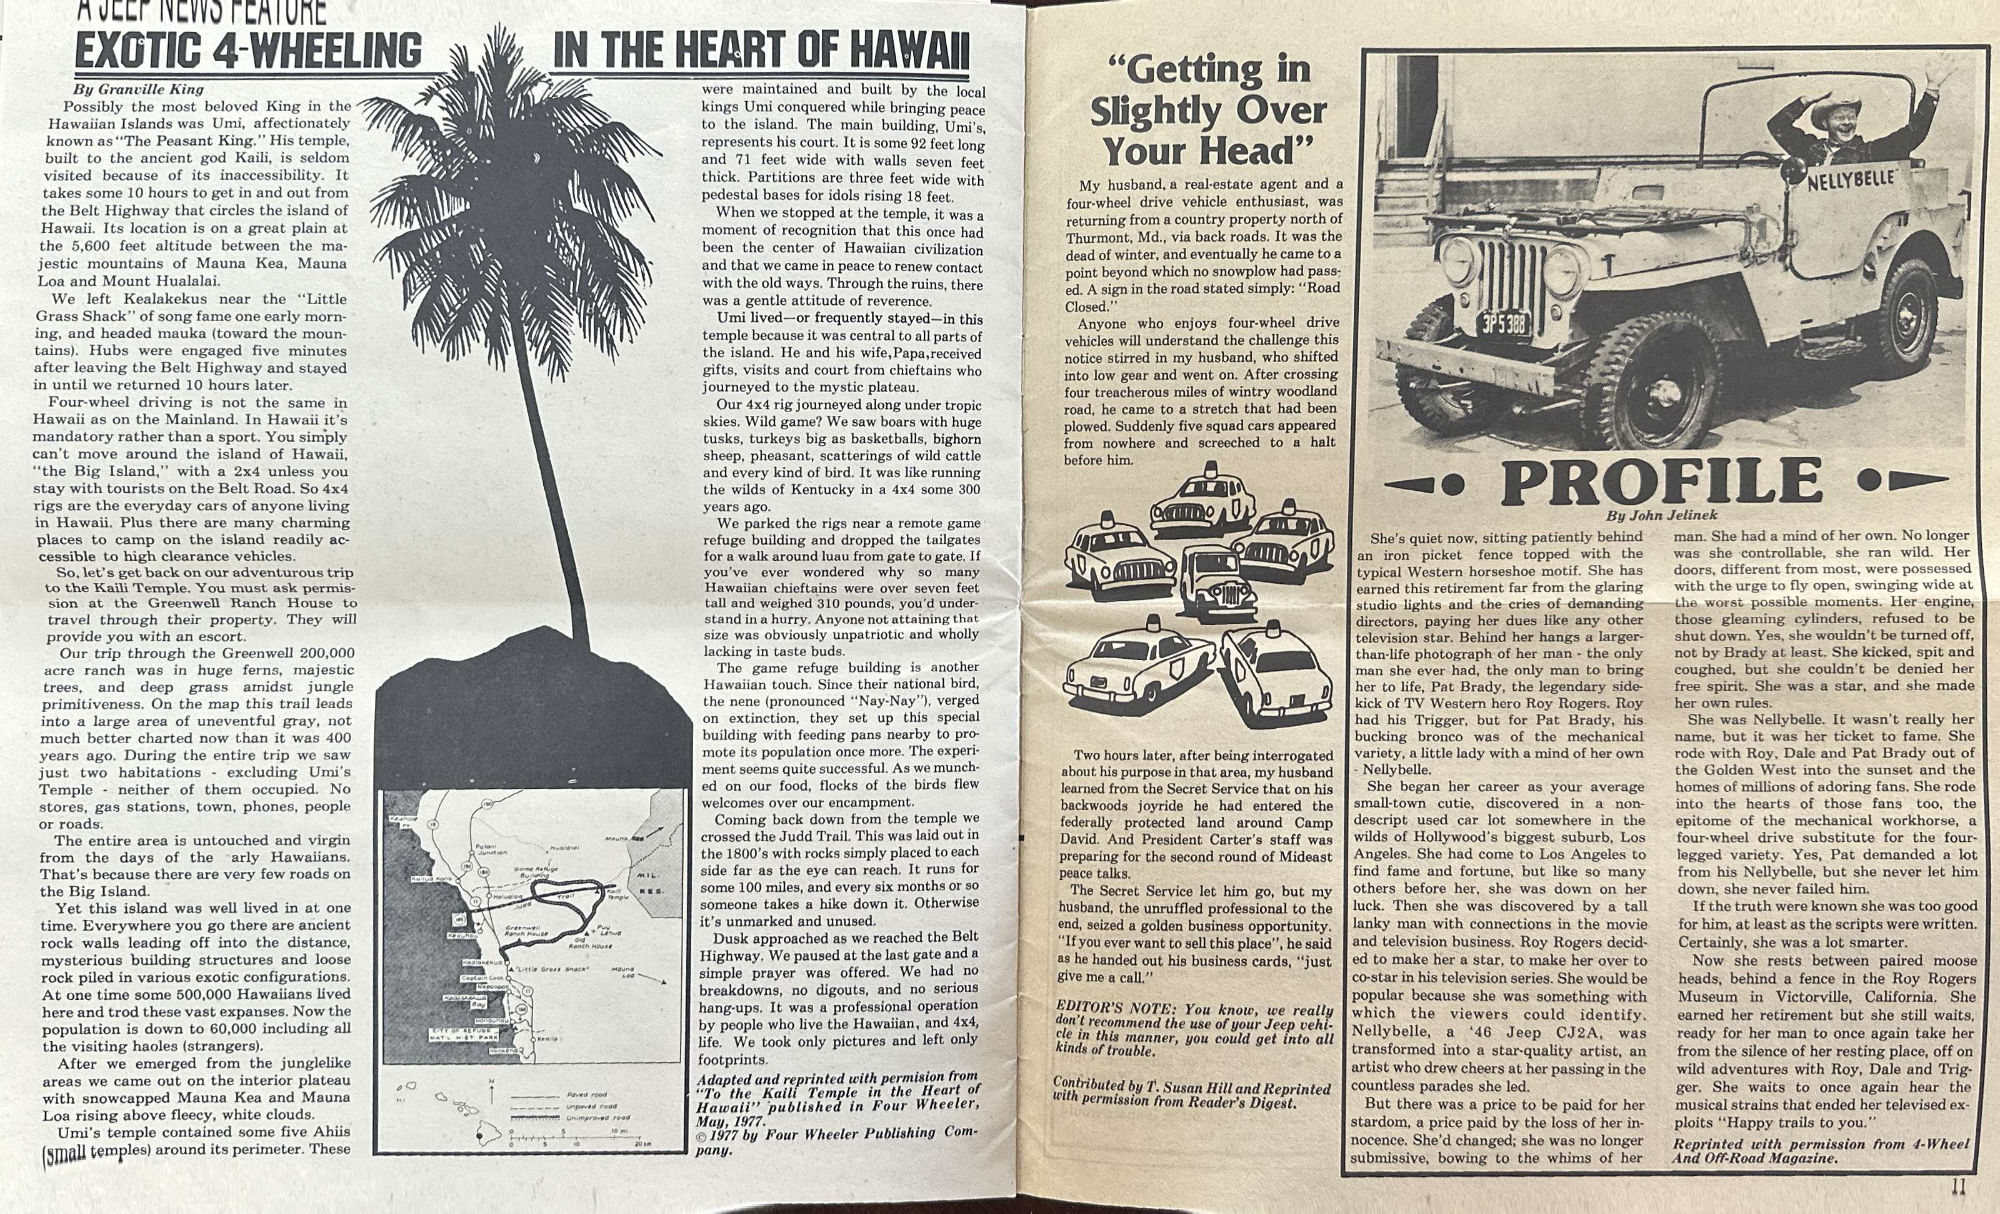
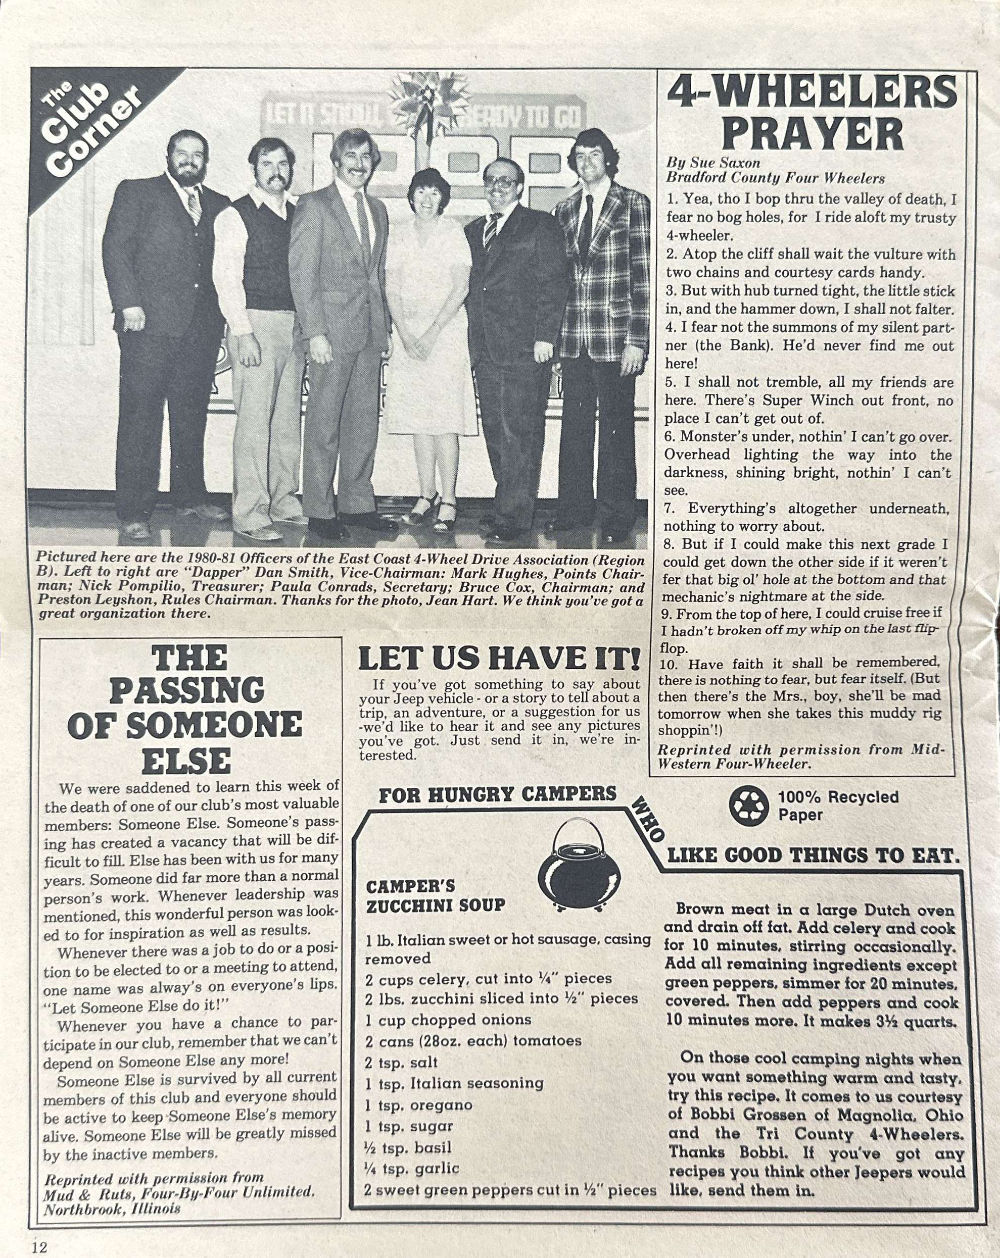
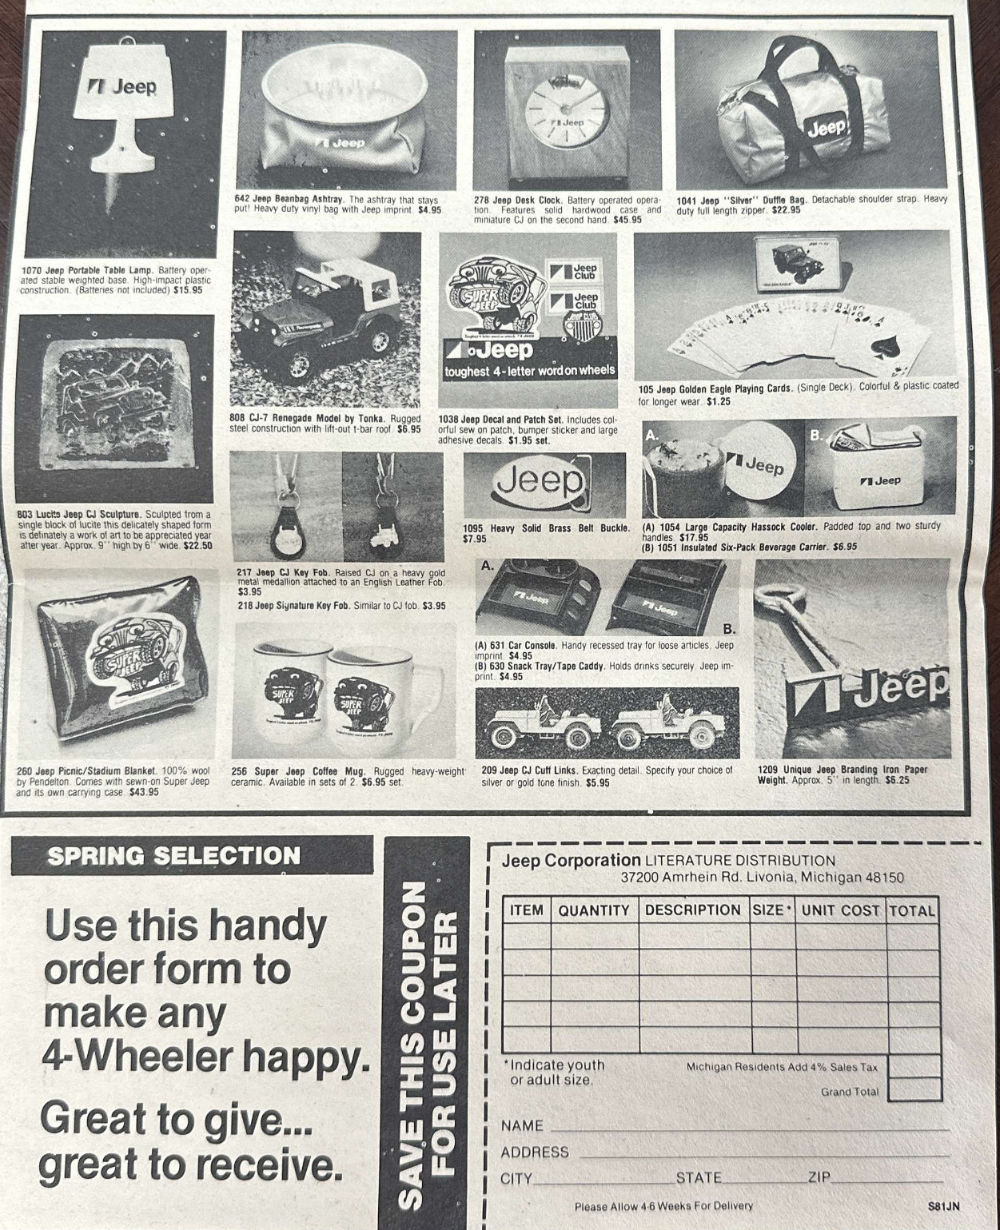
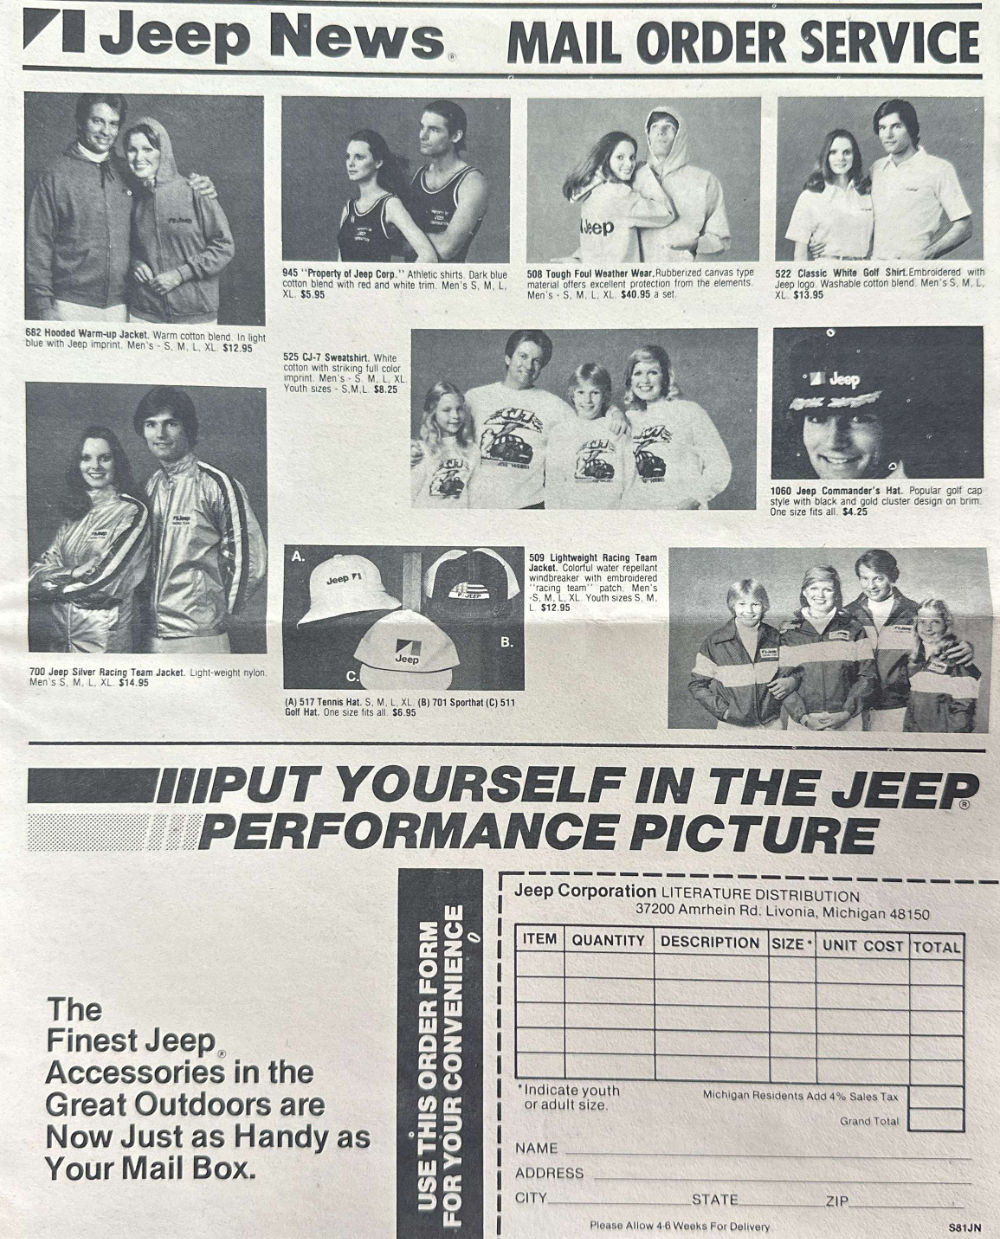
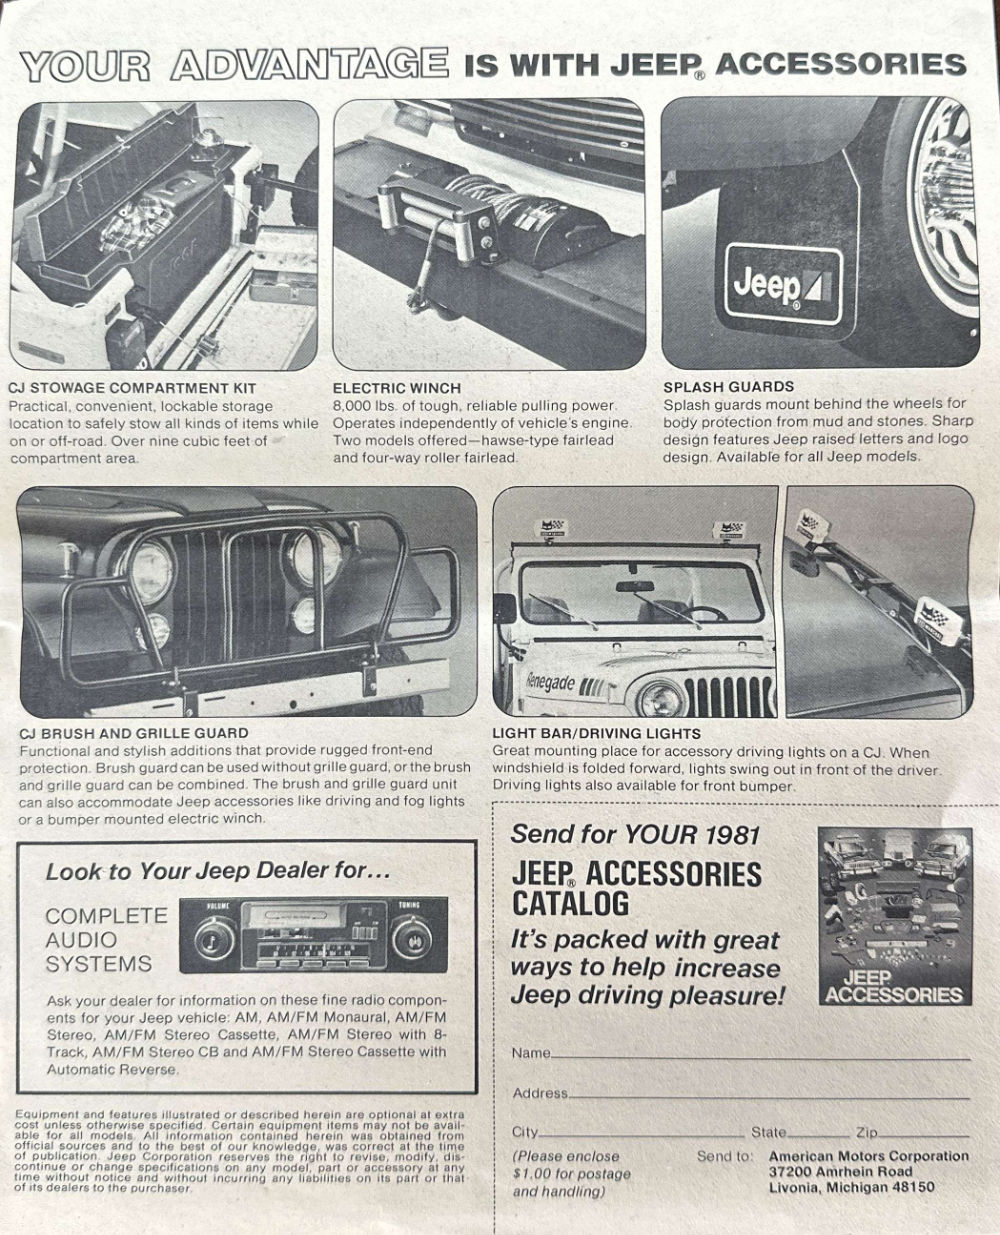
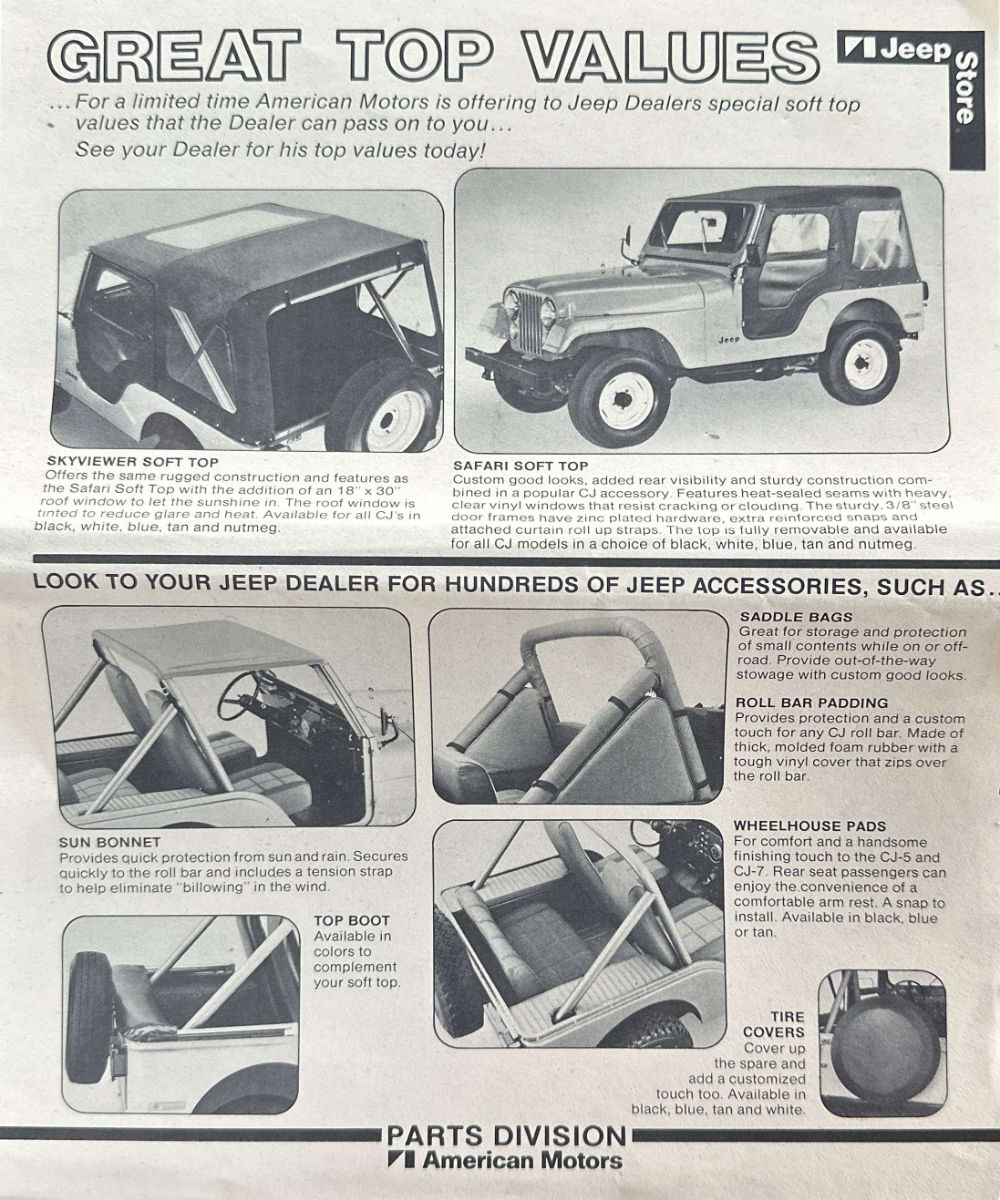
Thanks to Illinois Larry, I discovered that I had only posted one of my issues of the Jeep News from the 1970s. It’s not clear to Larry (who has 10 issues) or I (who have 14 issues) just how many were produced, but between our collection, there were at least 15 issues published.
Here’s an overview of covers of what I have, followed by a photo of what Larry has that I don’t. Strangely, many of these lack the published year, so figuring out when some of these issues were published is tricky:
This is the cover page from what we believe is Larry’s Winter Fall-Winter 1981-1982 issue.
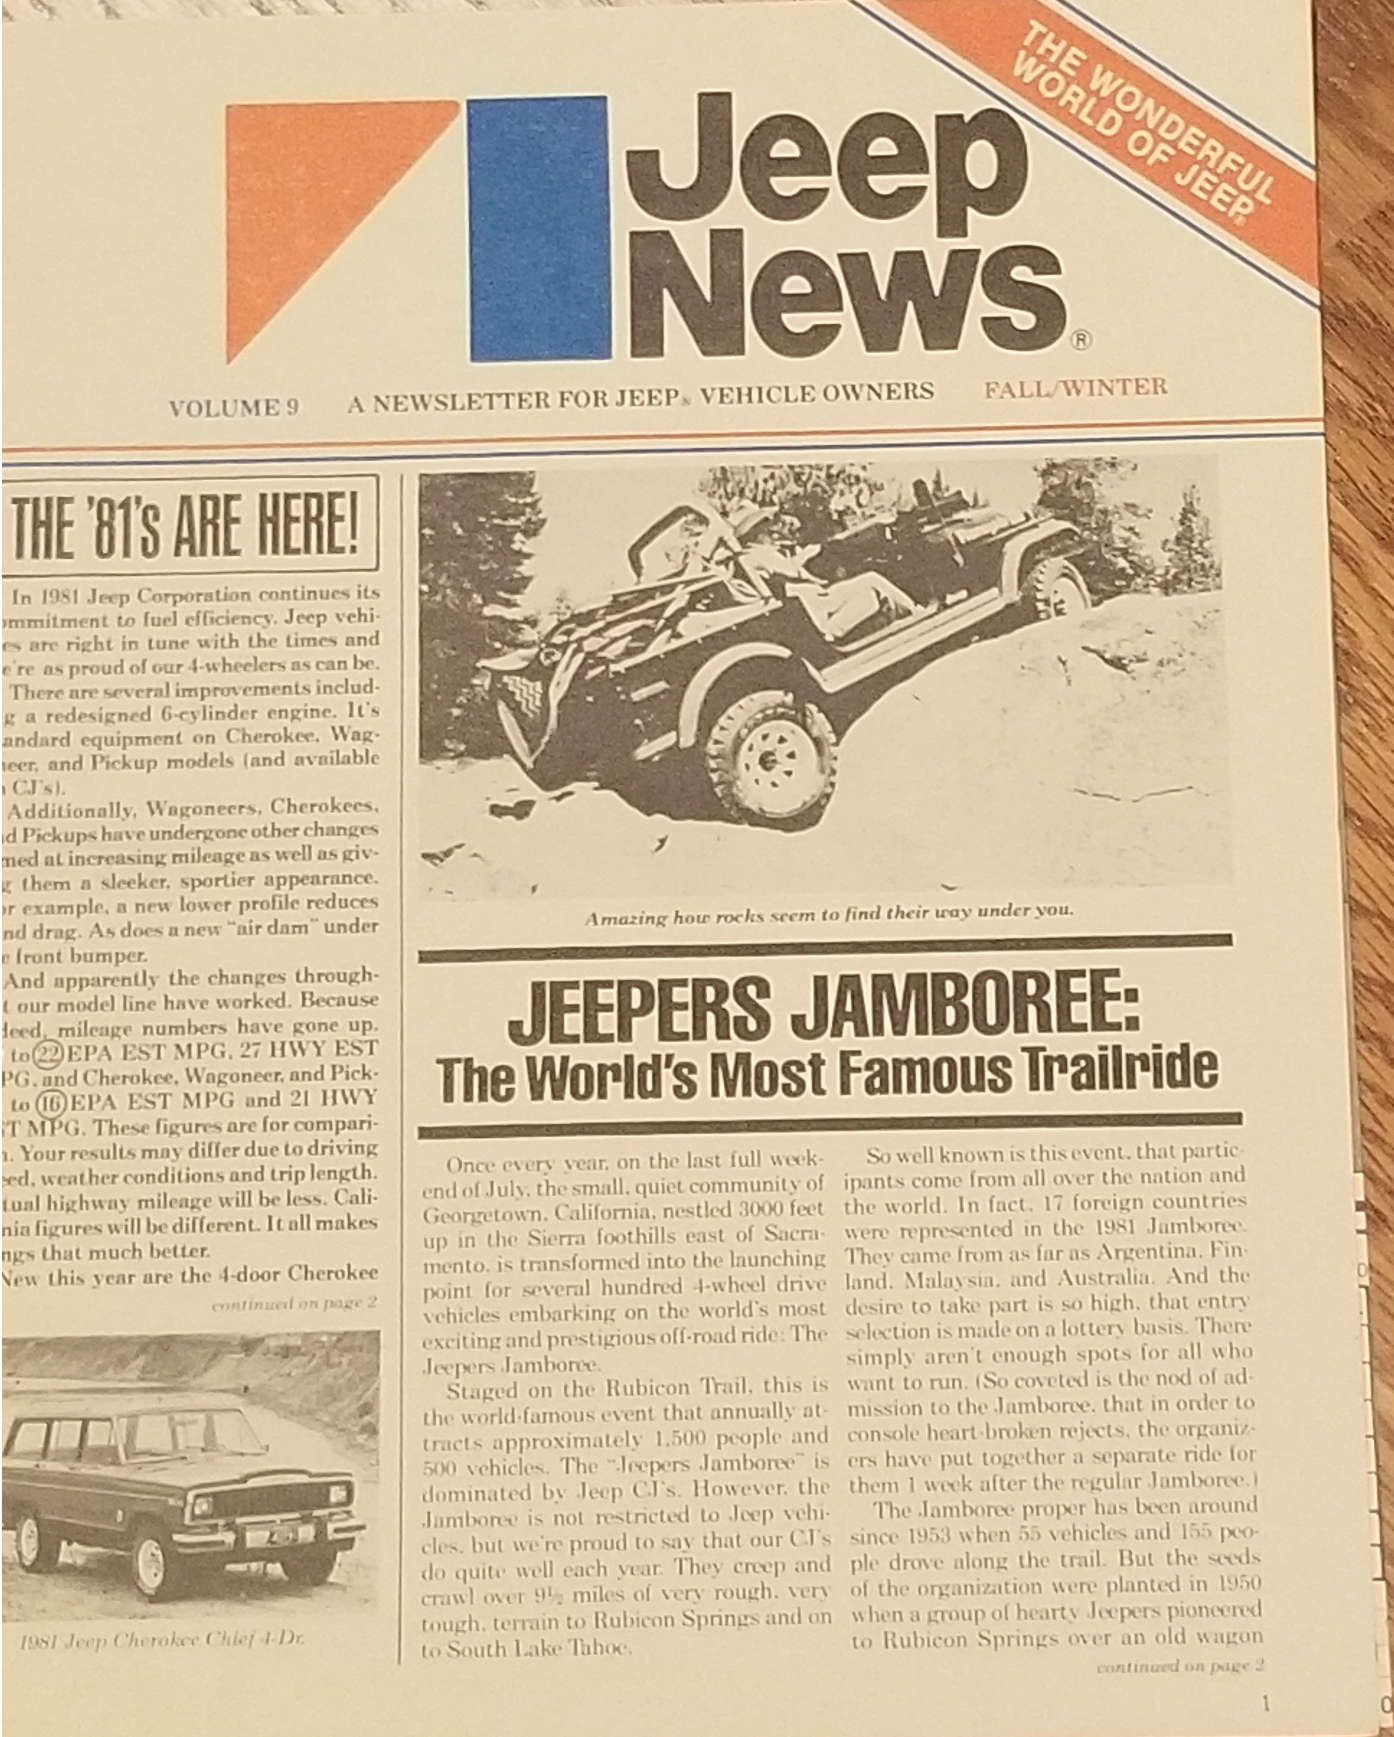
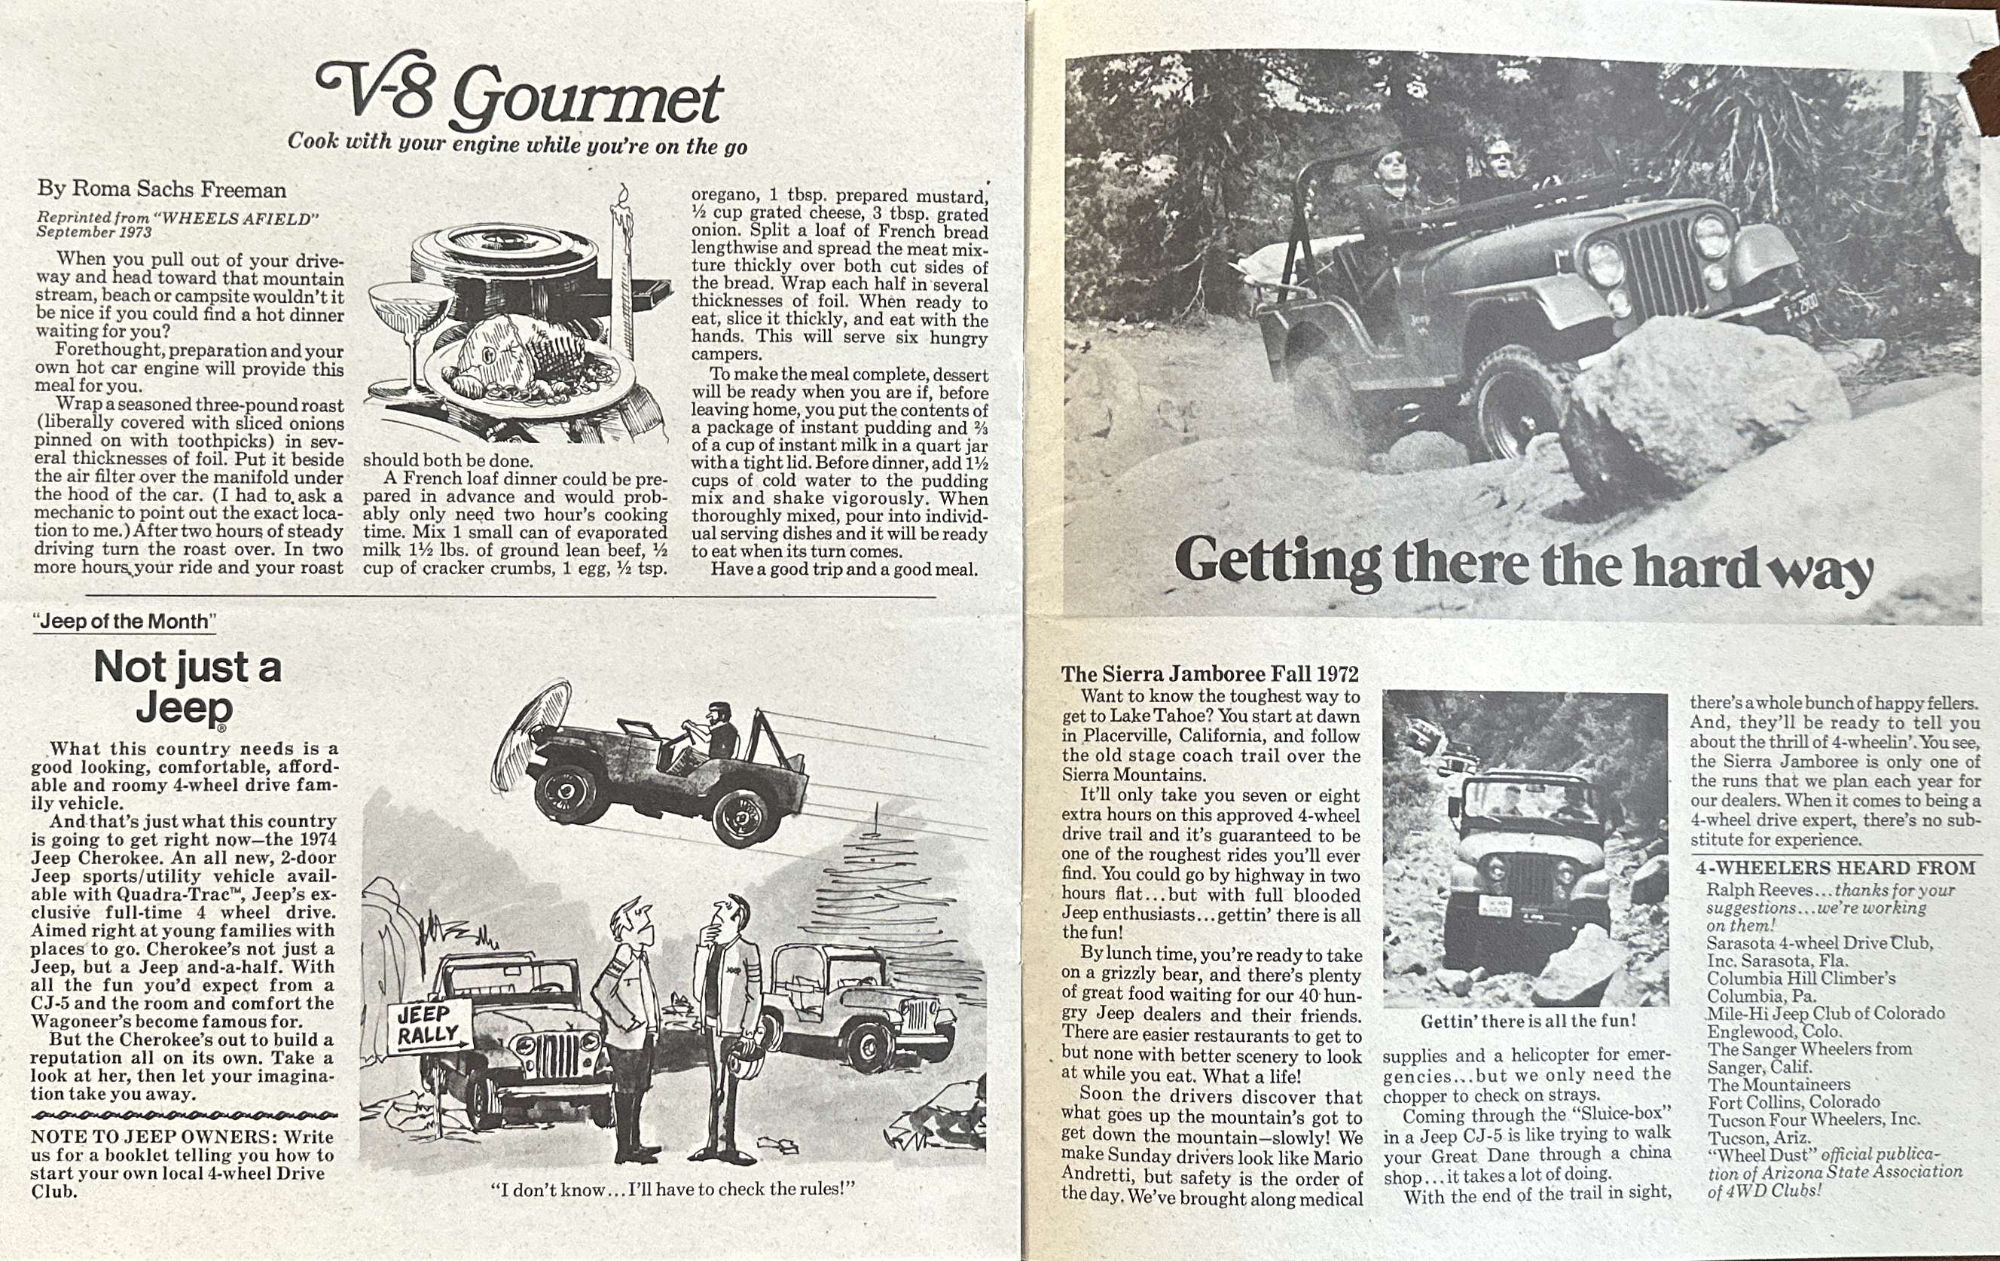
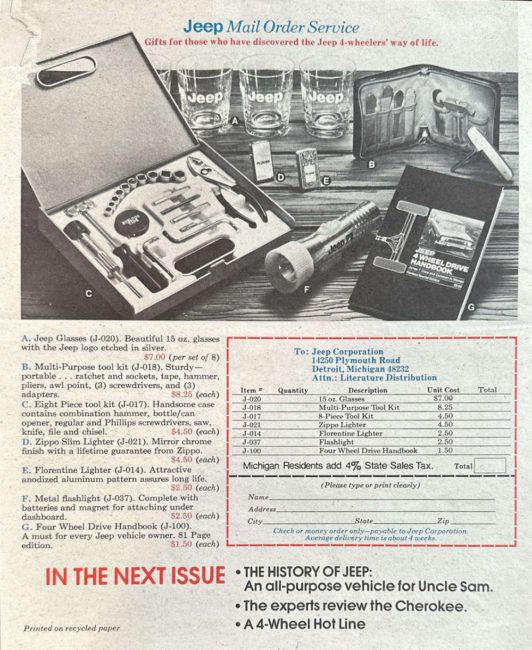
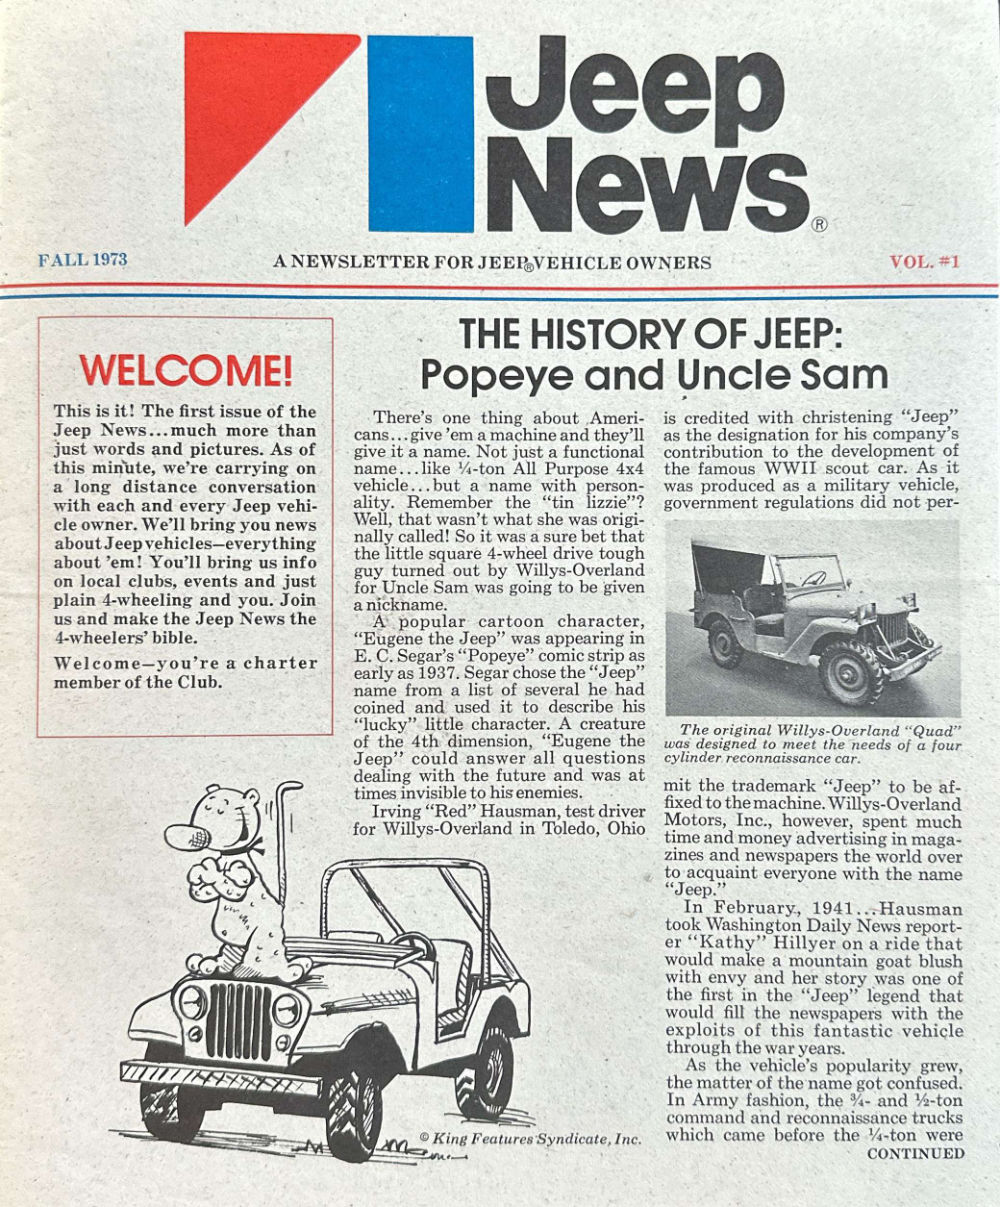
FALL 1973 Issue: This is the earliest issue I have and may be one of the first ones, if not the first.
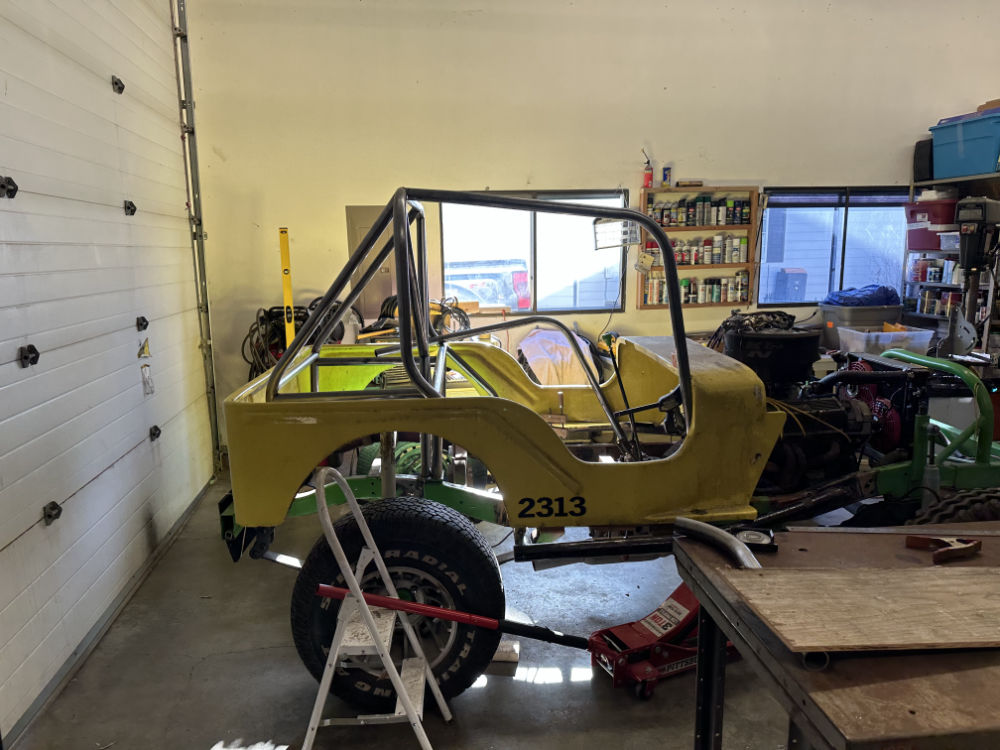
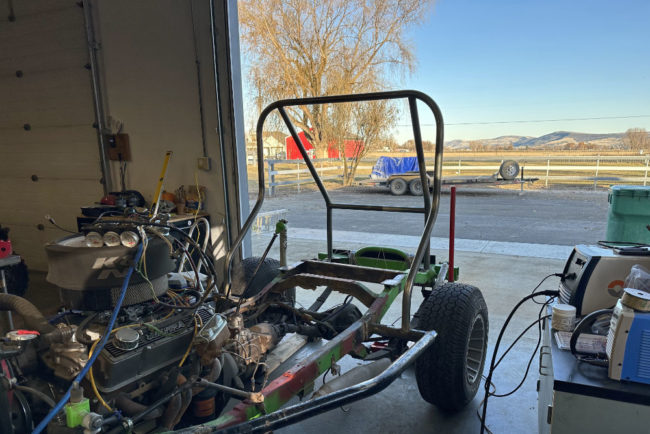
On Sunday, I was able to tack together the basic structure of the rear portion of the cage. On Monday, I began work on the front portion.
Here’s a look a the back portion with the body sitting on the frame:


There are still a number of small things to do to complete the rear portion (such as adding rear shock mounts, adding some corner supports, and, of course, welding all the connection points).
To properly calculate the two long side bars, which will run from the mid part of the frame back to the rear loop, I needed the body to be sitting on the frame.
Each side bar has four bends, so getting them both the same is a good challenge.
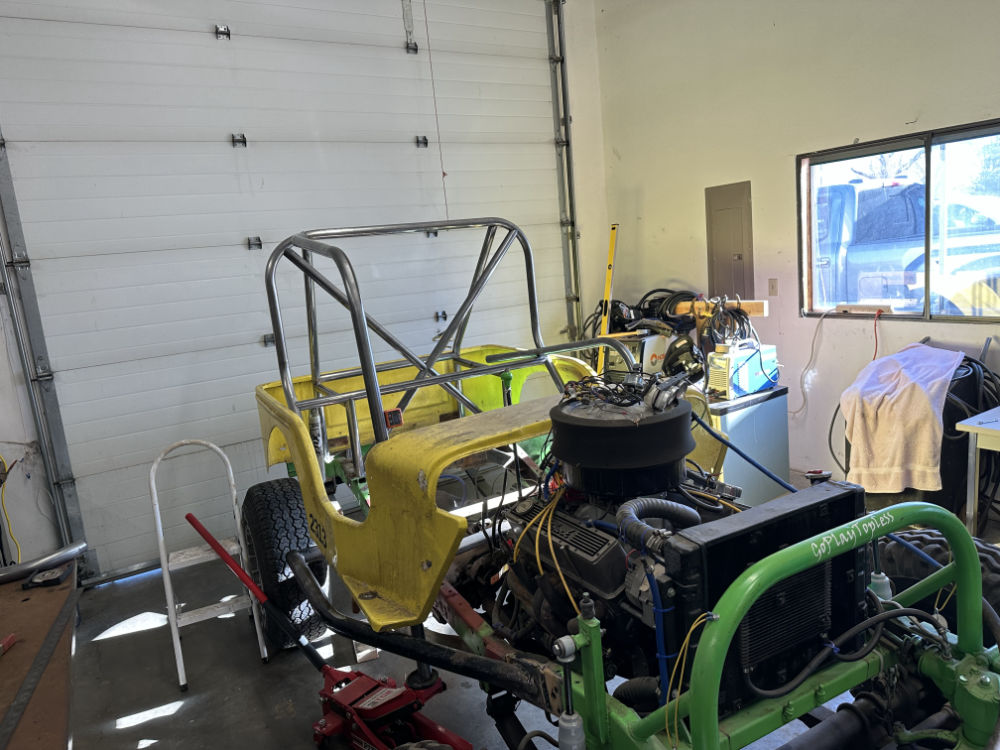
After LOTS of measurements, angle considerations, and design thoughts, I finally got around to bending the two most difficult angles on the side bar. Below you can see the passenger side bar temporarily in position, though the lower two bends haven’t been finished yet (next bend will direct the bar vertically at the dash, then the final bend will redirect the bar forward under the dash where it will attach to a still-to-be-added cross bar.
Unfortunately, I didn’t get as far as I’d hoped, because Ann had a bad migraine, so I had to take the dogs to the groomers (which they needed pretty badly, as bad weather forced us to cancel two previous appts over the past two months).
I expect that by Friday I’ll have all the bars bent, positioned, and maybe even welded.
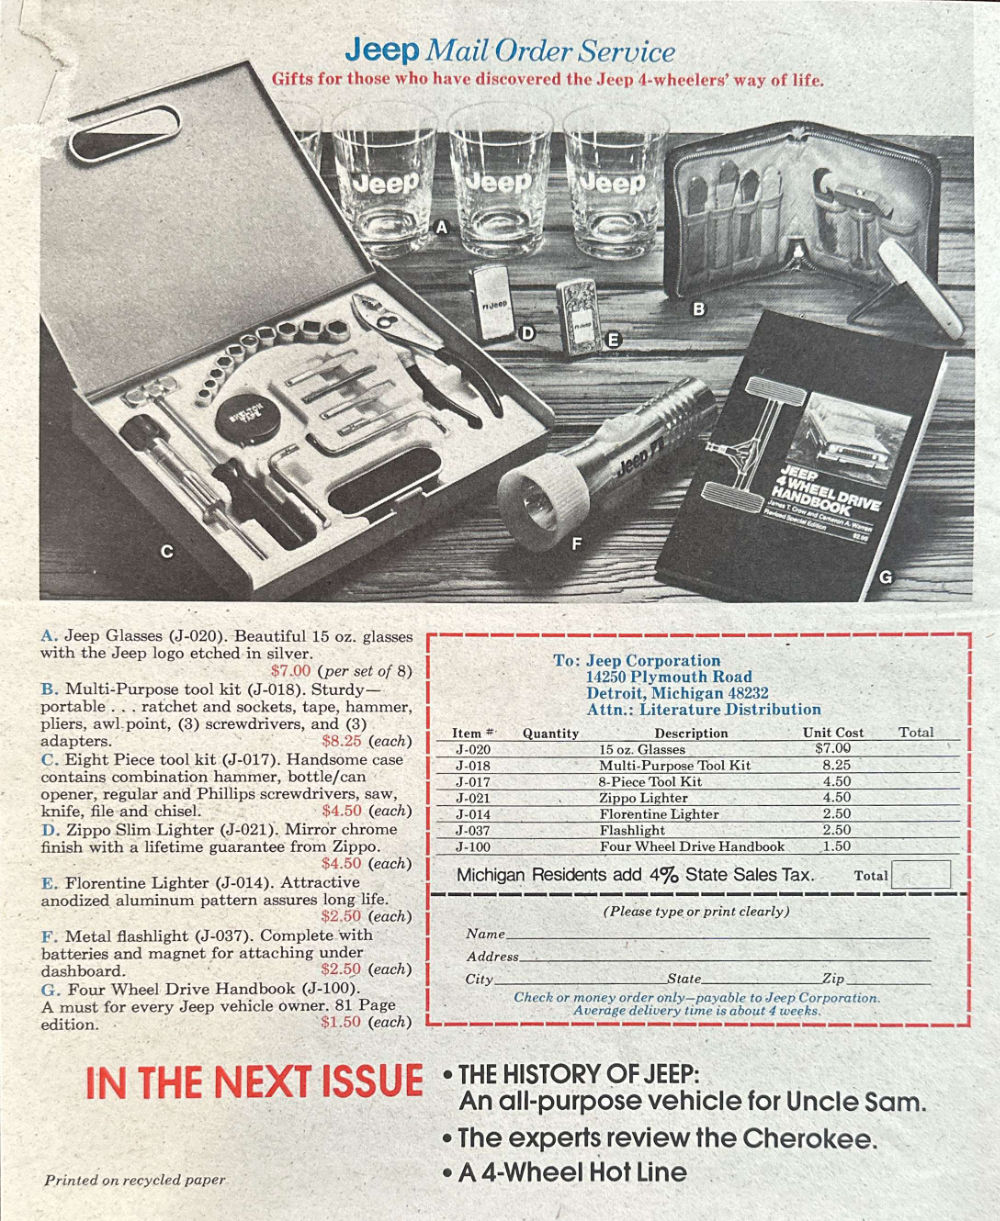
This 12-page Jeep News issue was a harder one for me to find. It includes a couple advertising inserts as well.


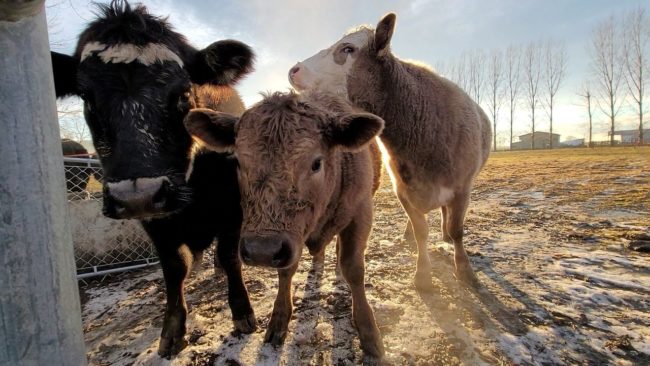
Bad cows …
I had big plans to work out early and get out to the shop. But, just as I finished my lifting, our neighbor Andrew texted me at 7:30am, “I got a text from my neighbor Dan Green. Your cows are in his pasture.”
Ugh. There went my early start in the shop.
We piled on clothes (below freezing this morning), loaded up the UTV, and headed over to Andrew’s fence line (the cows have been borrowing Andrew’s pasture). Sure enough, the cows had created a nice wide entrance in the wire fence.
The moment the cows heard our UTV, they recognized it was feeding time, so we lured six of them back to Andrews pasture. Of course, one dumb cow, our 7mo steer, couldn’t figure out how to get back through the fence, so, of course, he went over another part of the non-barbed wire fence, damaging it. Ugh.
Once at Andrew’s pasture, we wooed them over to our pasture with food and closed the access gate to Andrew’s place. With the cows grounded, we went to work on the fence.
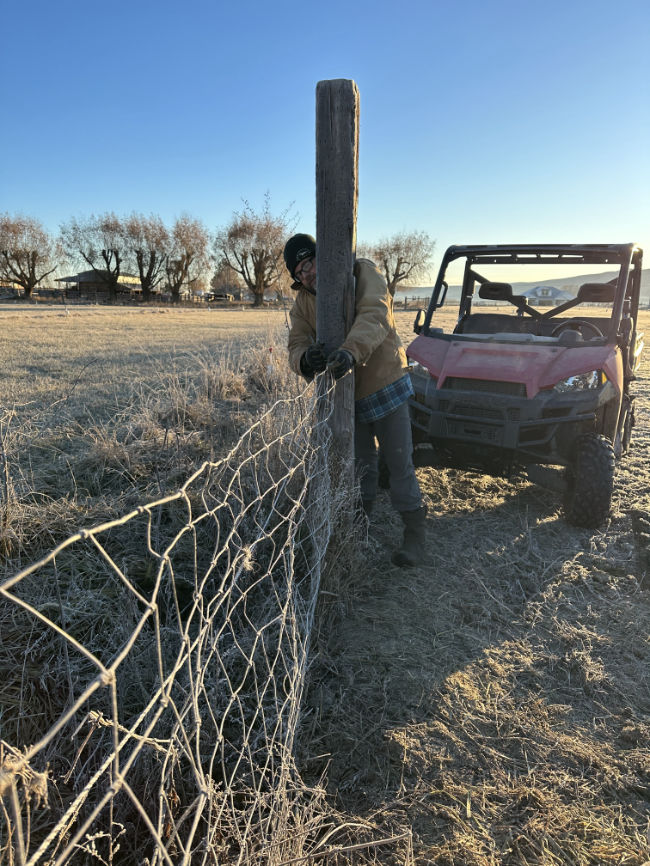
Thankfully, it didn’t take too long to fix the fence. I.believe our two mischievous 2yo steers (they become meat next month) were leaning over the fence to get some tall grass in Dan Green’s pasture, which caused the fence to collapse. Bad cows.
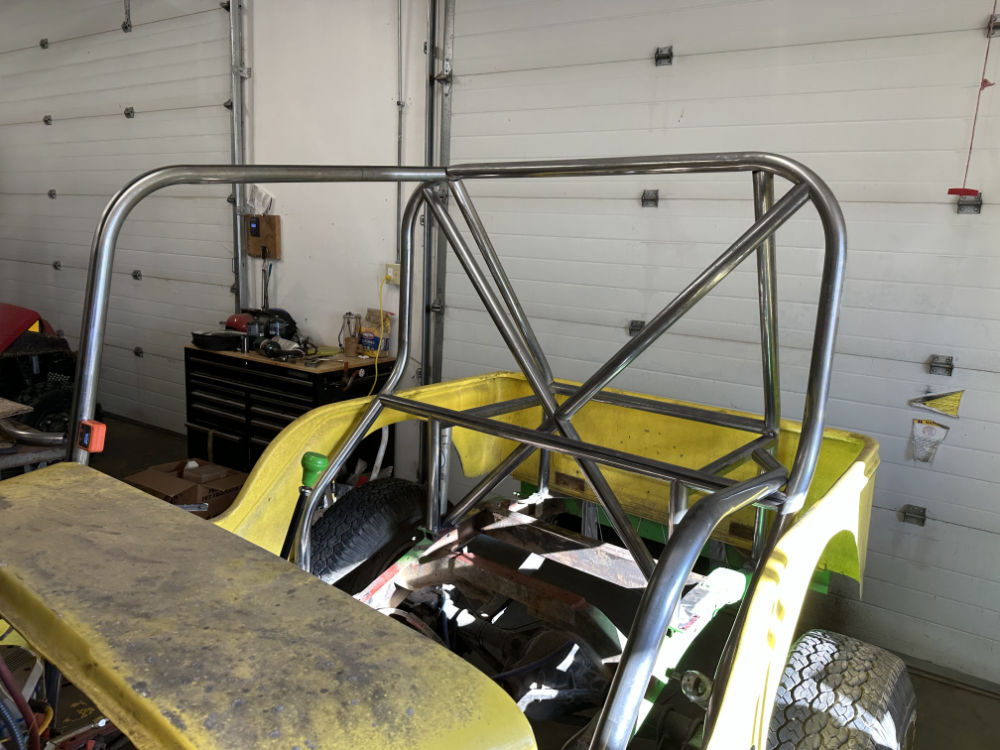
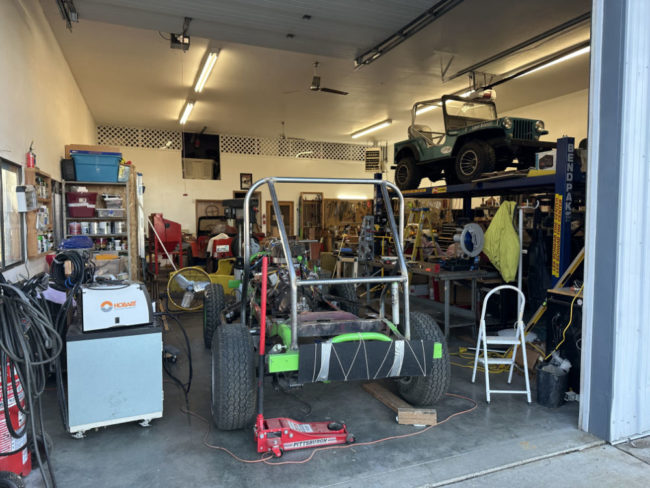
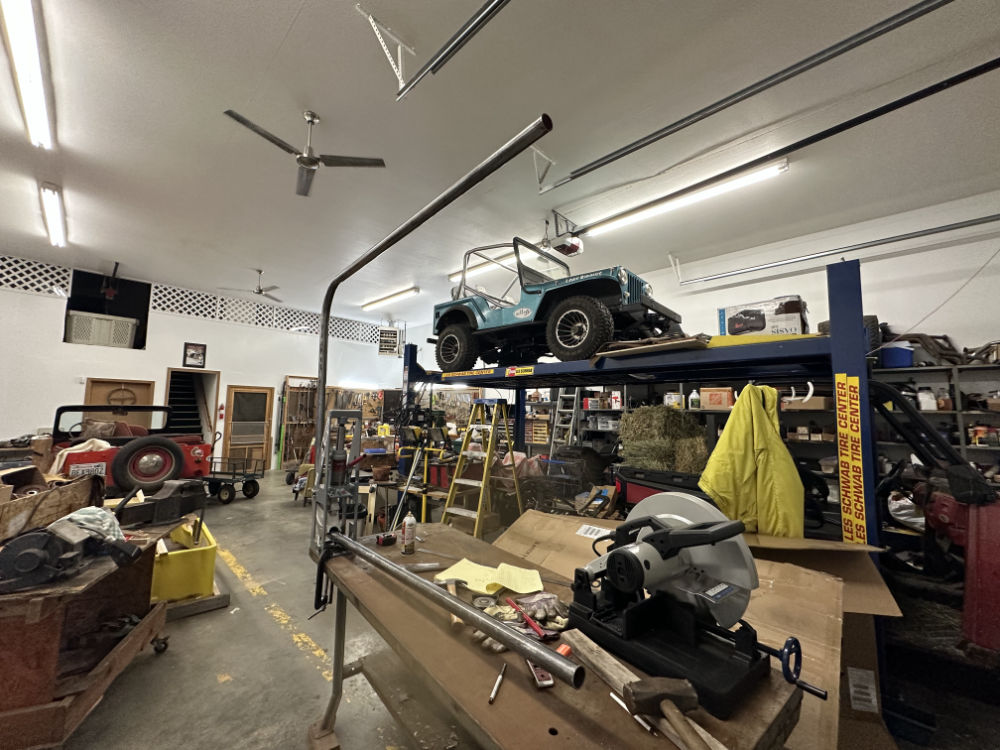
Now for the cage progress. I’ll skip the explanation (am tired) and just get straight to the pics. The big loop is completed, along with the back bars and the rear cross bar. Everything is, level, square, tacked-in-place, and ready for more bars.
There will be no work on Friday (quick trip to Seattle), but I plan to get back to it this weekend. I’ll add more bars for strength, then begin work on the front loop.
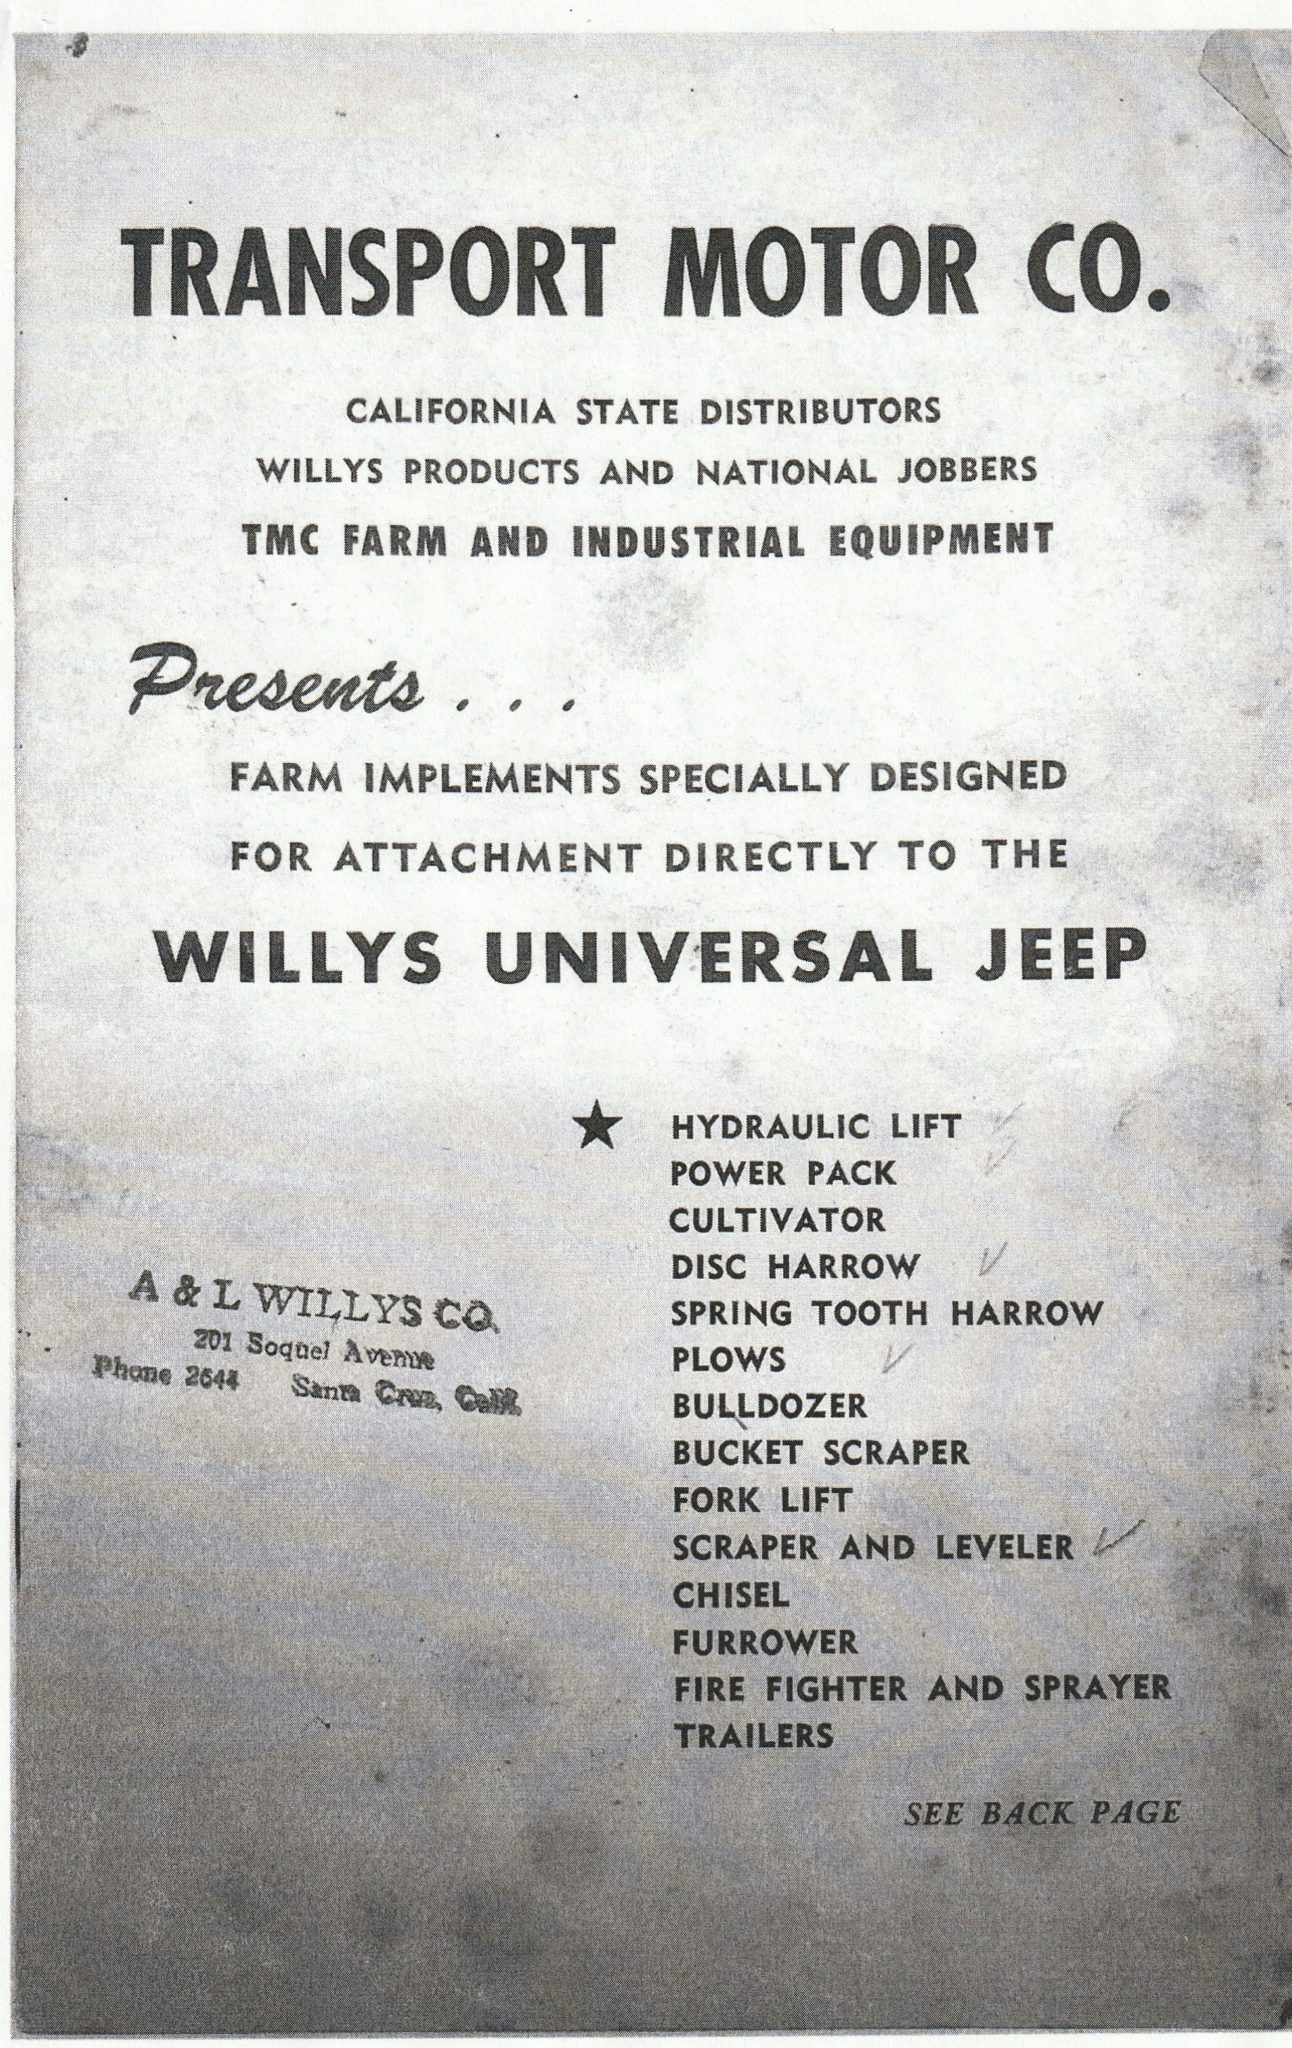
Barry has posted on Farm Jeep a really cool and rare brochure with plenty of pics from the Transport Motor Company out of California. During the late 1940s they had a full line of jeep attachments, from Hydraulic lifts, to farm equipment, to fire fighter and sprayers and more.
View it all here: https://www.farmjeep.com/farm-jeep-parts/lifts/other-hydraulic-lifts/transport-motor-company-tmc-hydraulic-lift/
Here a list of the products TMC offered:
And, this shows a bucket:

Hopefully, Fred is able to fulfill his New Years resolution this year.
Roger Martin shared this classic Ford Bronco Commercial with me. I figured you folks would enjoy it, too.
More-months-than-I-care-to-think-about ago (about seven months I think), I bought a cheap Affordable Bender. When it arrived, I was less than impressed with the collar (see this post). So, I called them, only to learn that the collar was designed that way and should work fine (I believe they told me “Billions” of bends have been done with Affordable Benders, or something like that).
So, I decided to test the bender before sending it back; I hadn’t expected to wait 7 months to test it!
Yesterday, I mounted it to my metal work table and tested it with a 90 degree bend, one of two I need for the racer’s main loop (it’s the most difficult bend of the entire roll cage). The bender comes with a 90 degree die, so I was a little worried wether the bender would do a 90 degree bend.
First off, it didn’t take me long to miss my old bender, the one I built from plans: http://www.ewillys.com/2009/10/08/my-tube-bender-almost-done/. But, since I couldn’t access my plan (lock PDF with no password and the author of the PDF wouldn’t answer my emails), I had to buy this AFF bender.
Here are the results of the 90 degree bend .. as you can see, it stops short of a 90 degree bend:

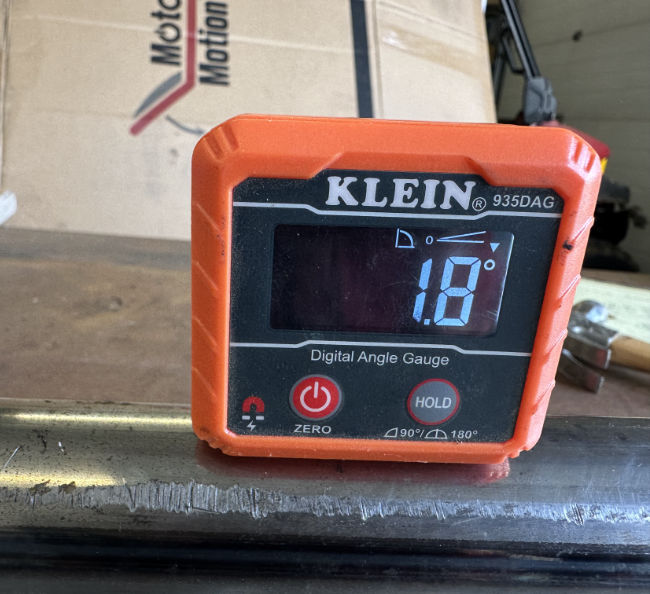
Ugh .. what It meant is that I had to force the 15′ tube through the collar a few inches so I could add an additional bend. While that worked, I bent it too far (I misread my level .. it went to 90 degrees which I missed, then started down to 88, so I thought it was at 88 and needed to go to 90. UGH .. had to start over).
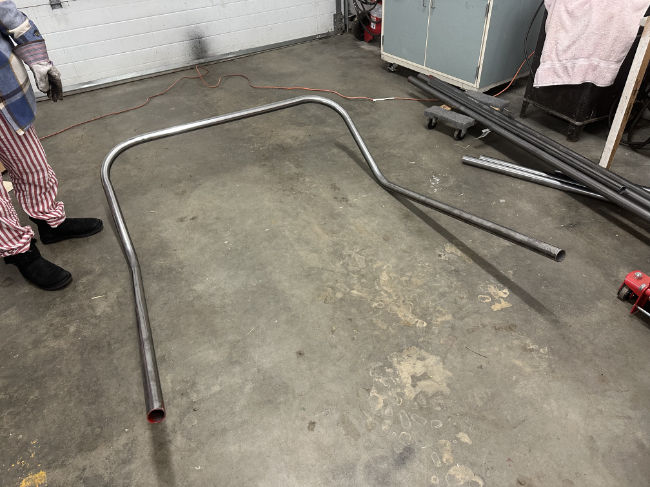
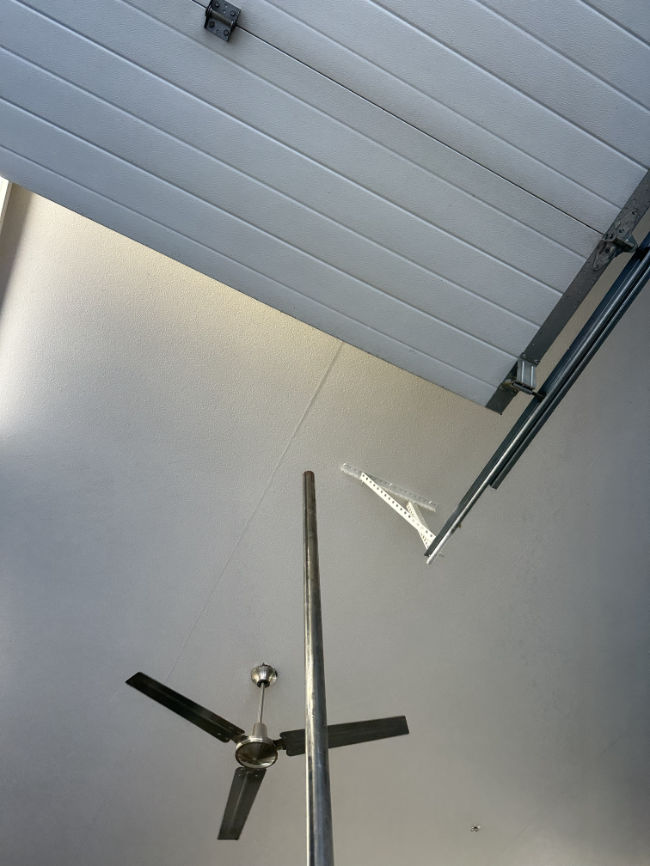
Eventually, I got the hang of how to do a 90 degree bend with this and managed to create the loop below.
This pic shows the first 90 finished and I’m starting on the second.

This shows the second 90 done. That is all the 90s I need, so the rest of the bends should be much easier.

I still have two more bends on this loop (the bars are parallel, though don’t look that way in the pics), which I’ll complete tomorrow.
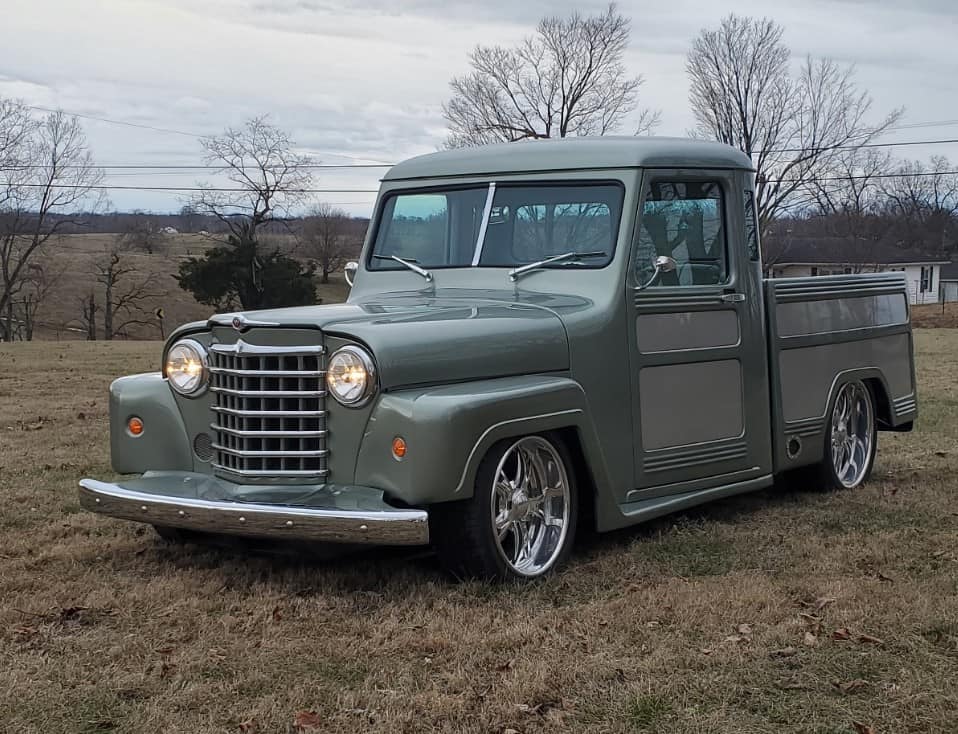
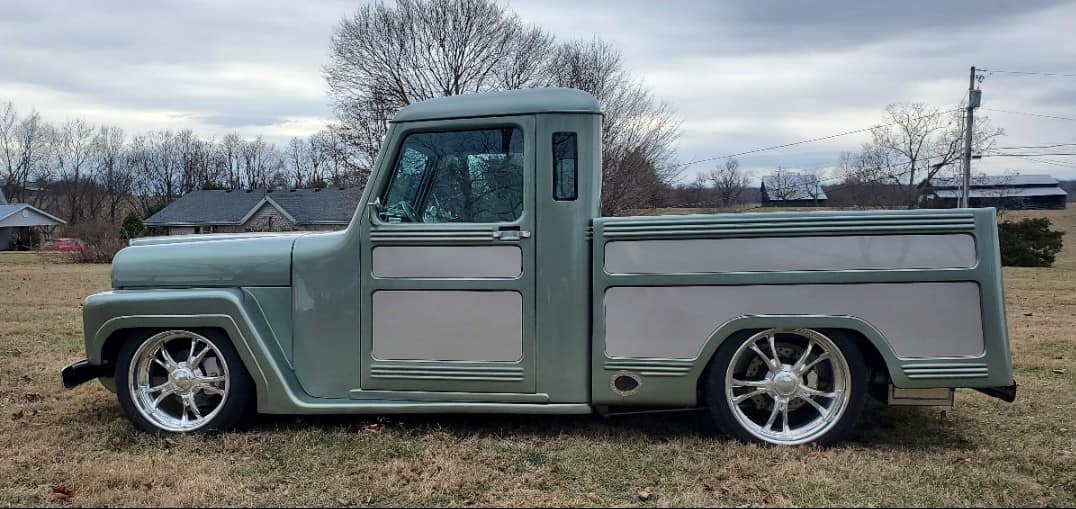
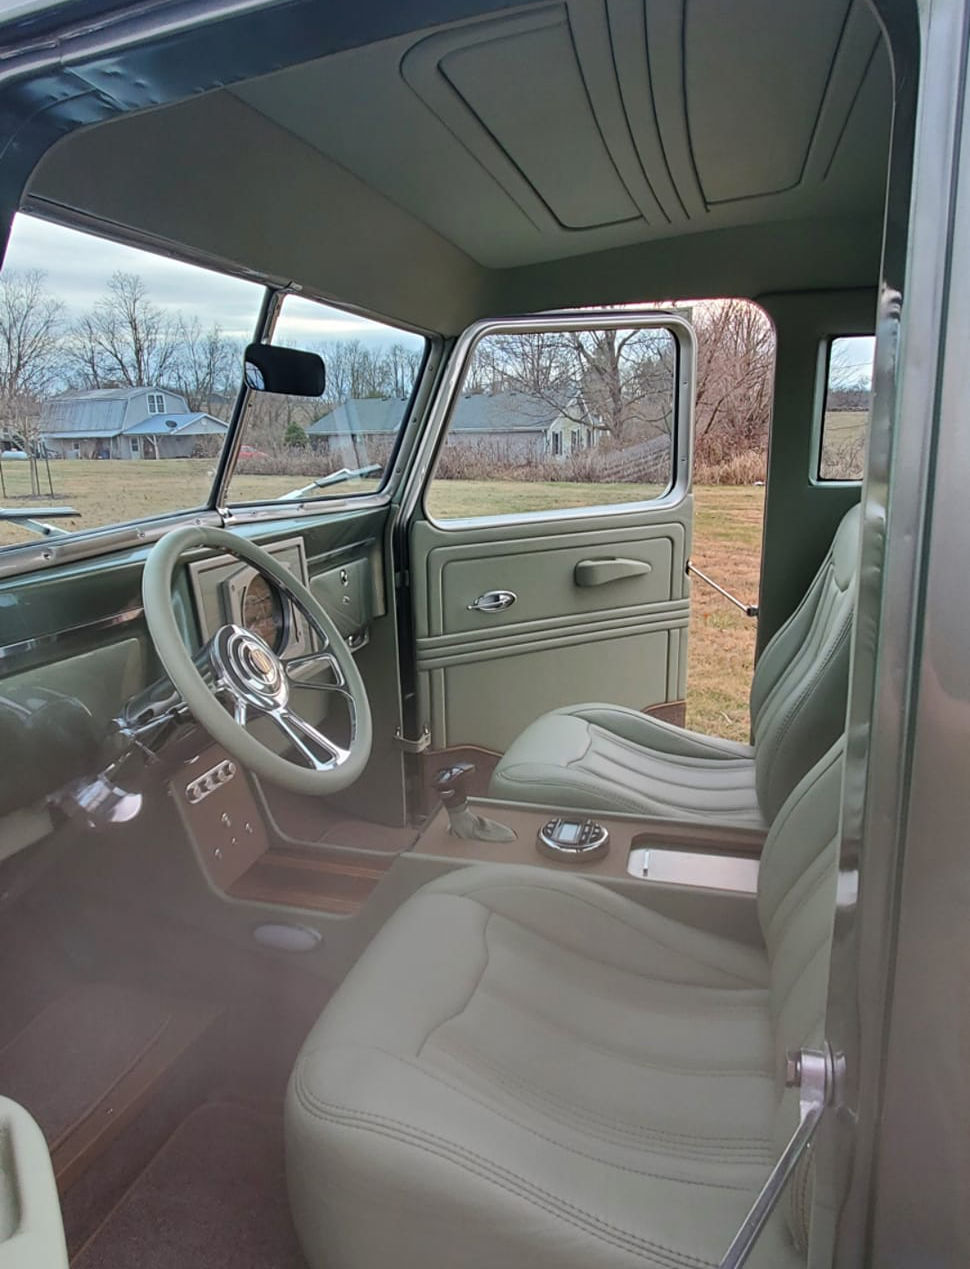
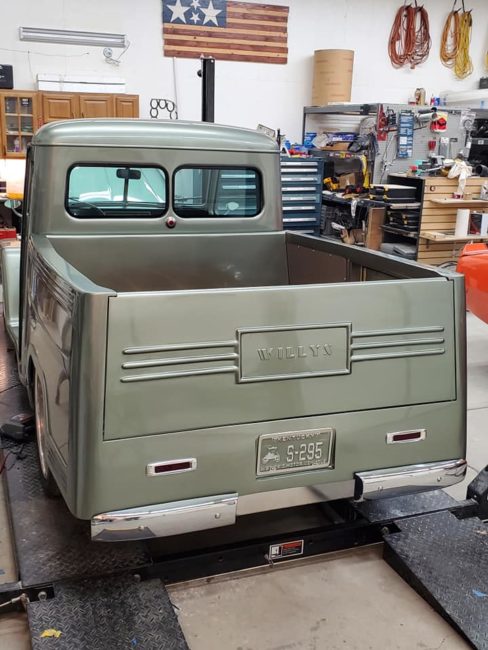
UPDATE: Dwayne posted some more pics of his truck on Facebook. You can see them below:
This image was posted a few days ago by Dwayne Brown. I am guessing the the back bed is a modified wagon back? It reminds me a little of the “Tender” wagons. Looks like a great rig!
https://www.facebook.com/groups/2382510764/permalink/10159262655025765


