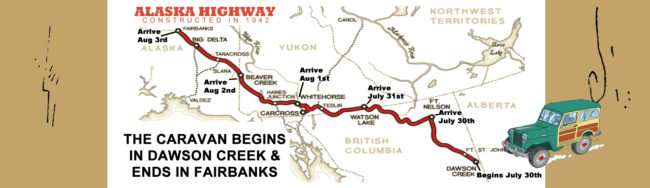
<– Day 3: July 23, Alaska Updates | Day 5: July 25, From Earthly Mountains to the Plains of Vulcan –>
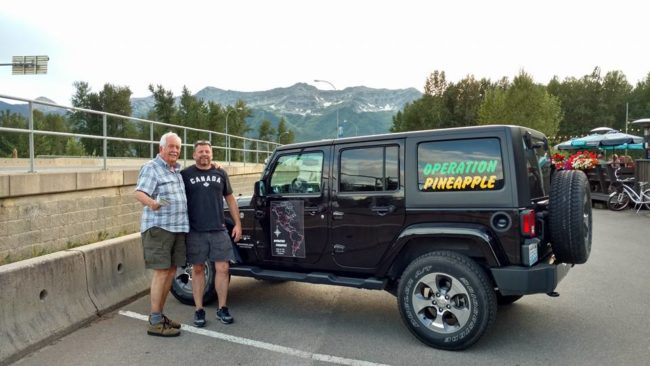
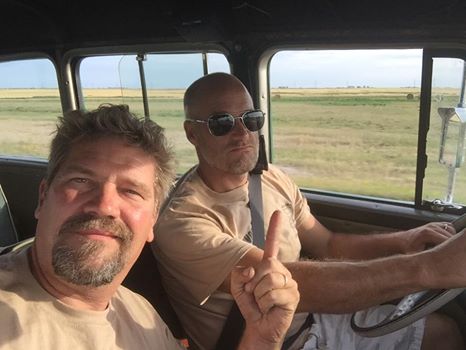
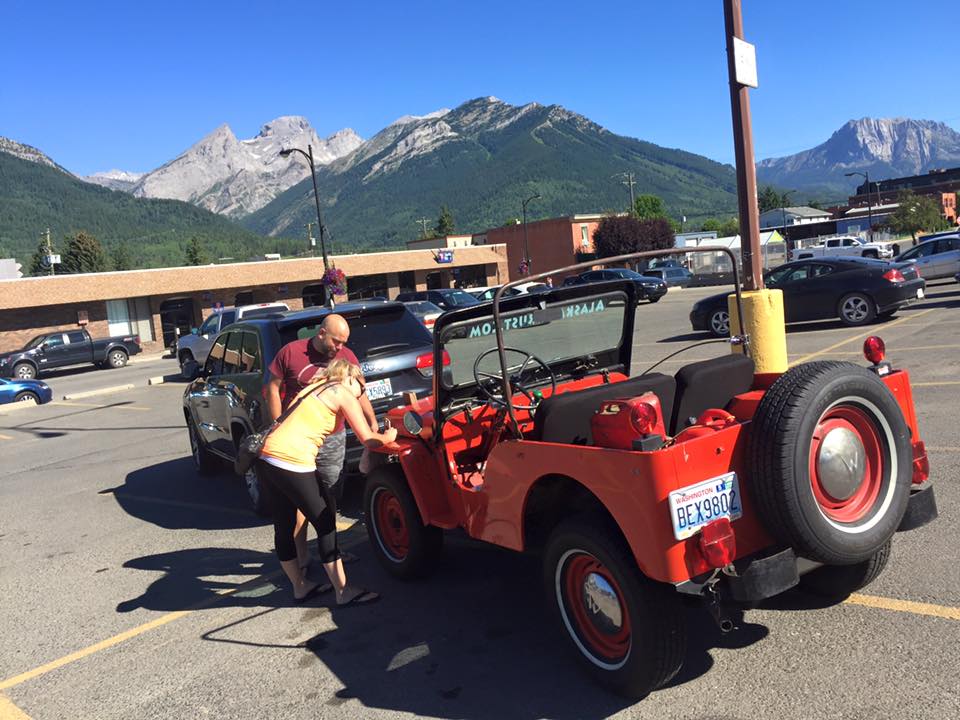
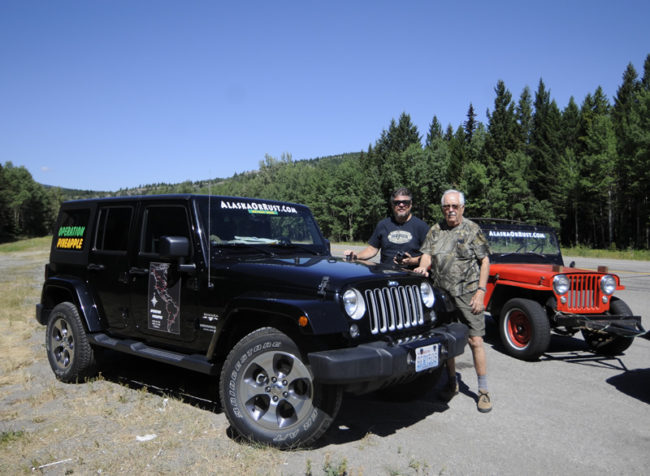
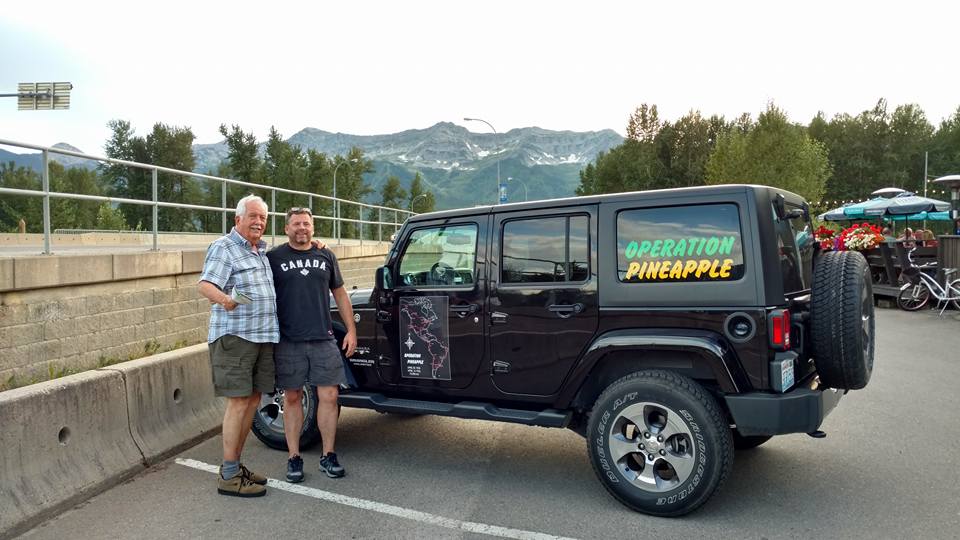
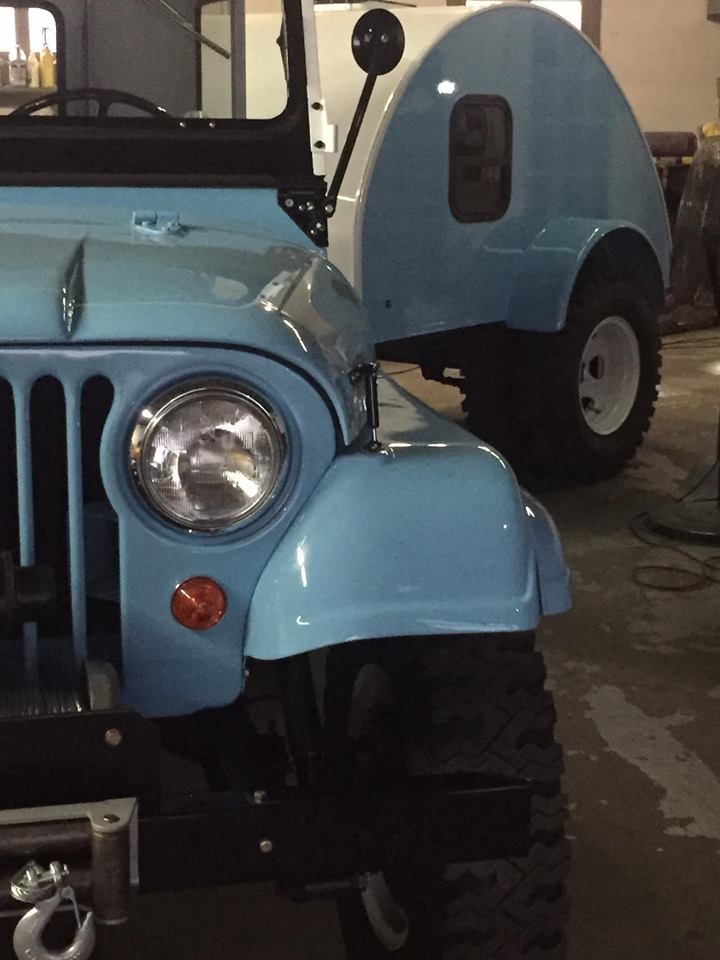
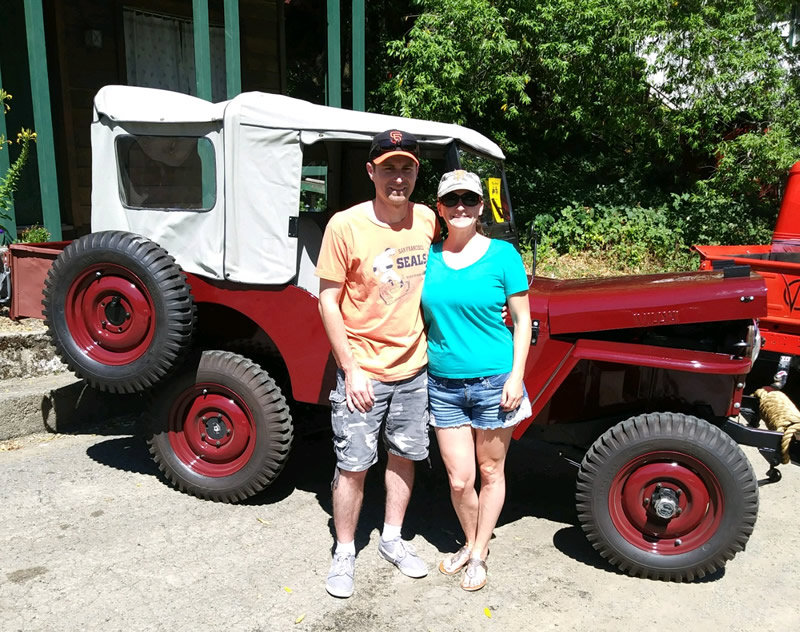
Hugo and I in front of their jeep in Fernie, Canada, our place of rest for the evening.
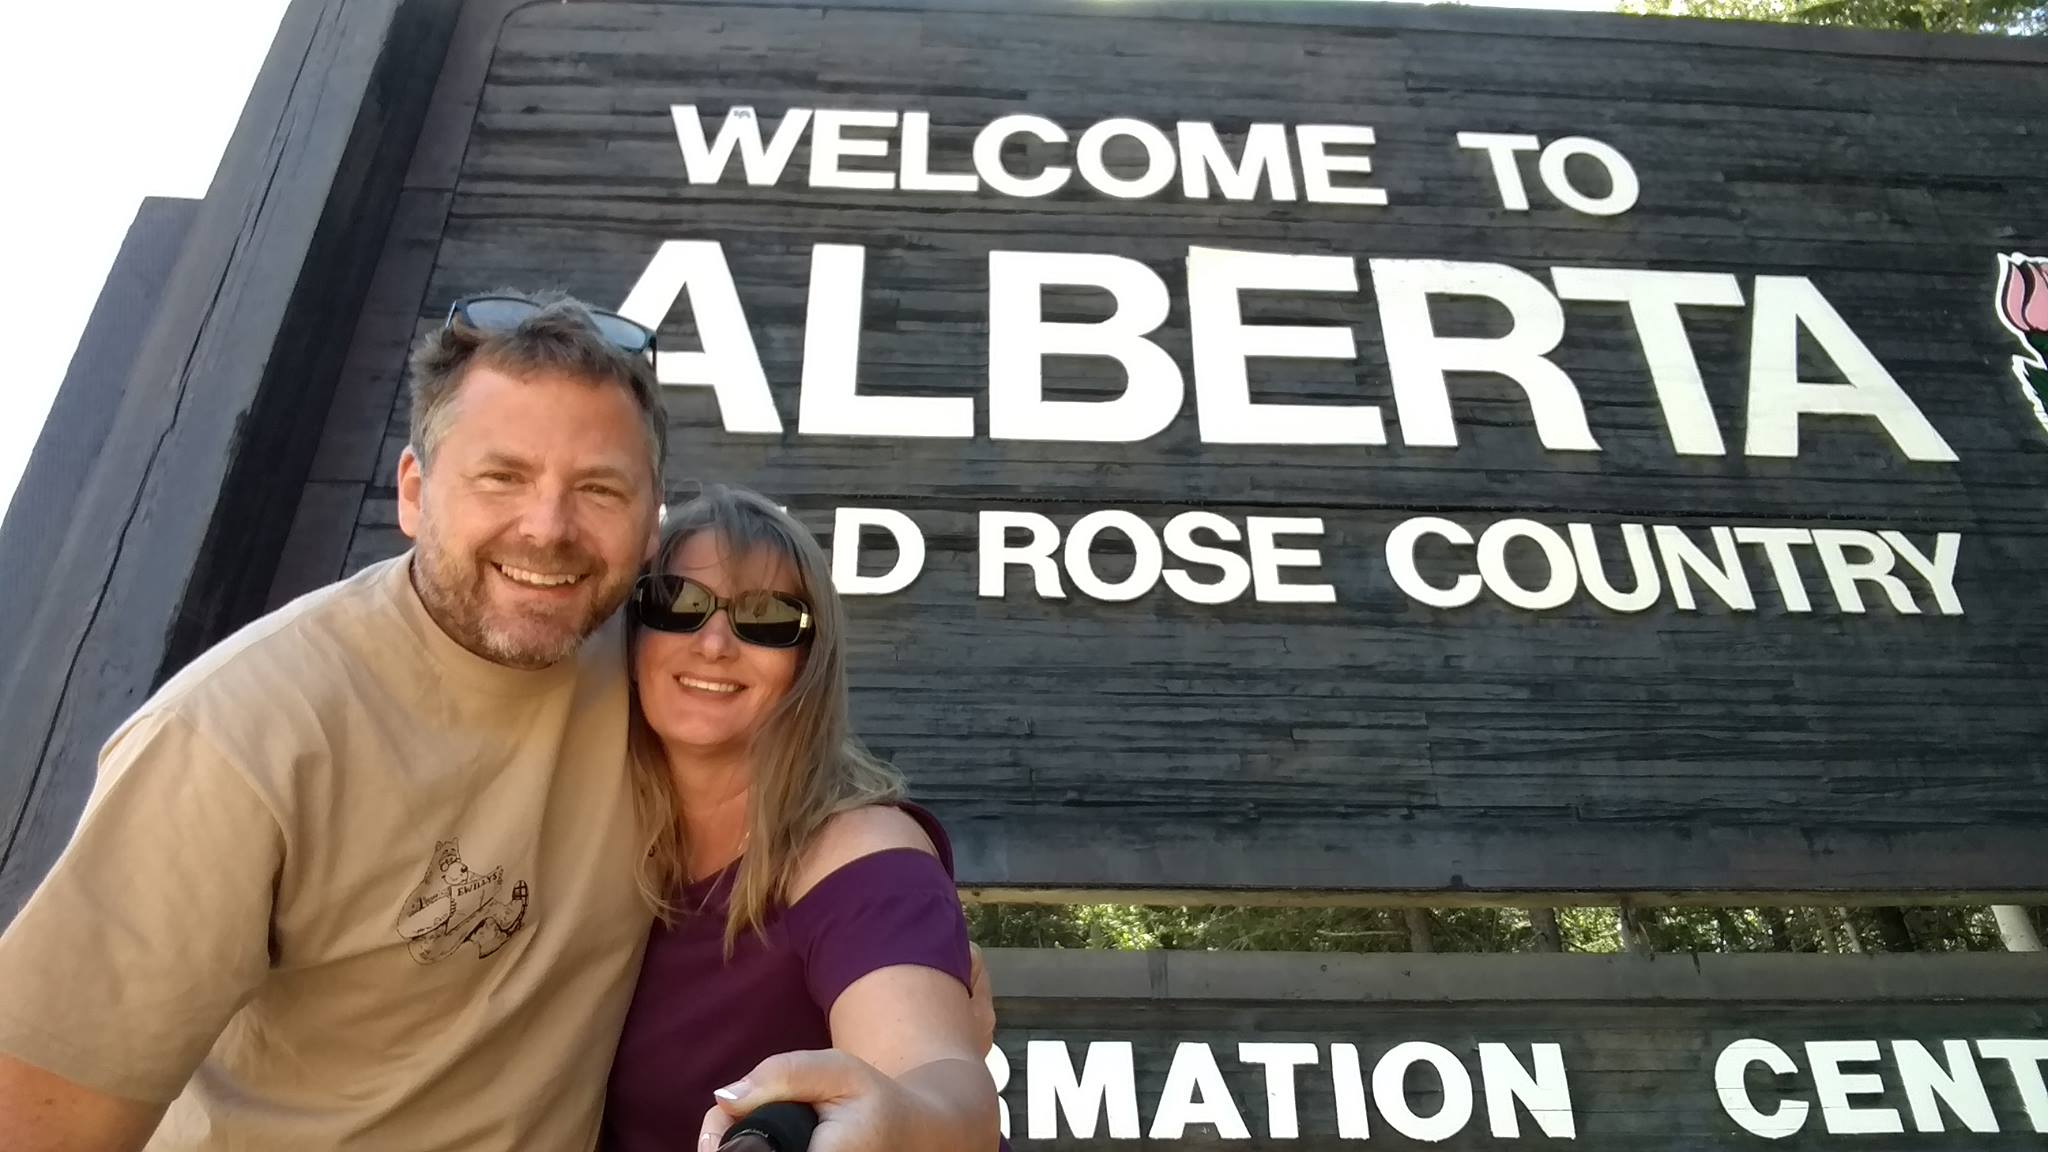
The four of us (me, Ann, Hugo, and Fernando) had a beautiful drive from Pasco to Fernie, Canada today. (See yesterday’s trip update here)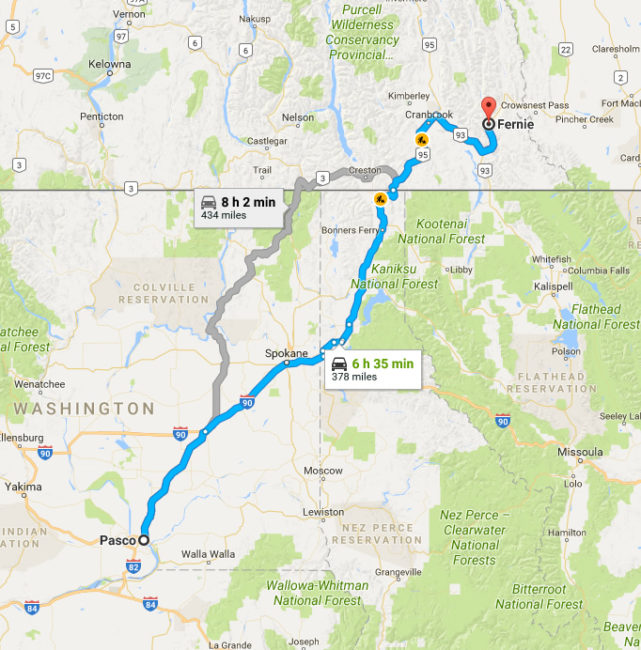
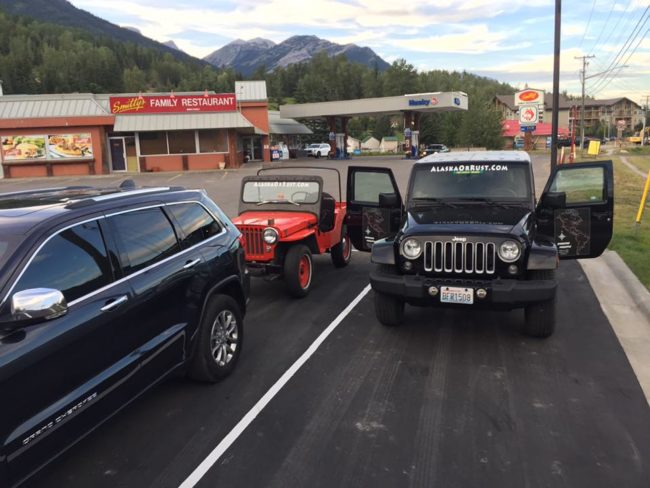
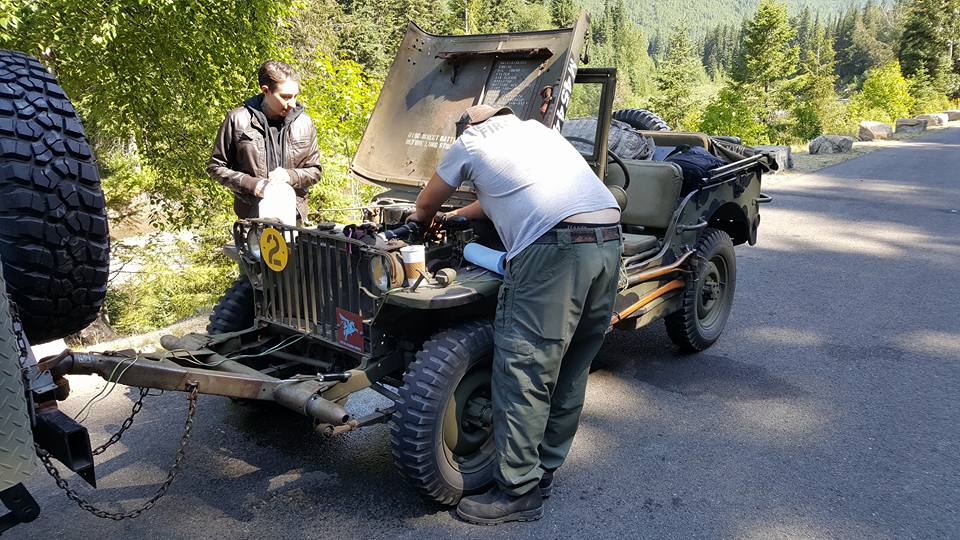
Hugo and Fernando arrived promptly at 8:30am. Ann and I weren’t quite ready, but we were close. As we finished up, the father-son team applied the AlaskaOrRust.com banner to Patterson. About 9:30am, we left, headed for Canada.

Ready to leave.
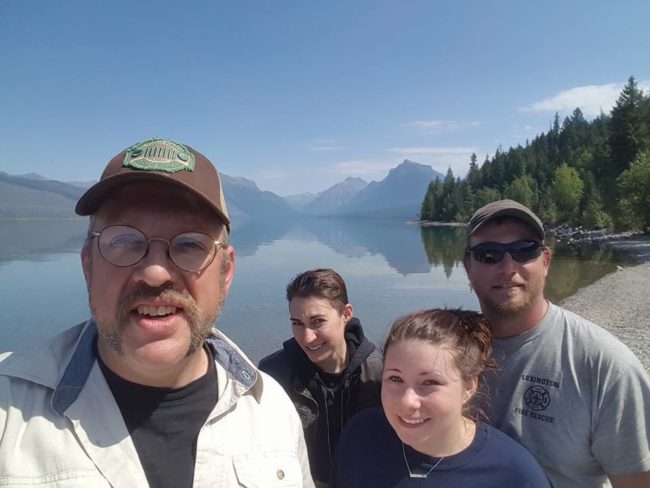
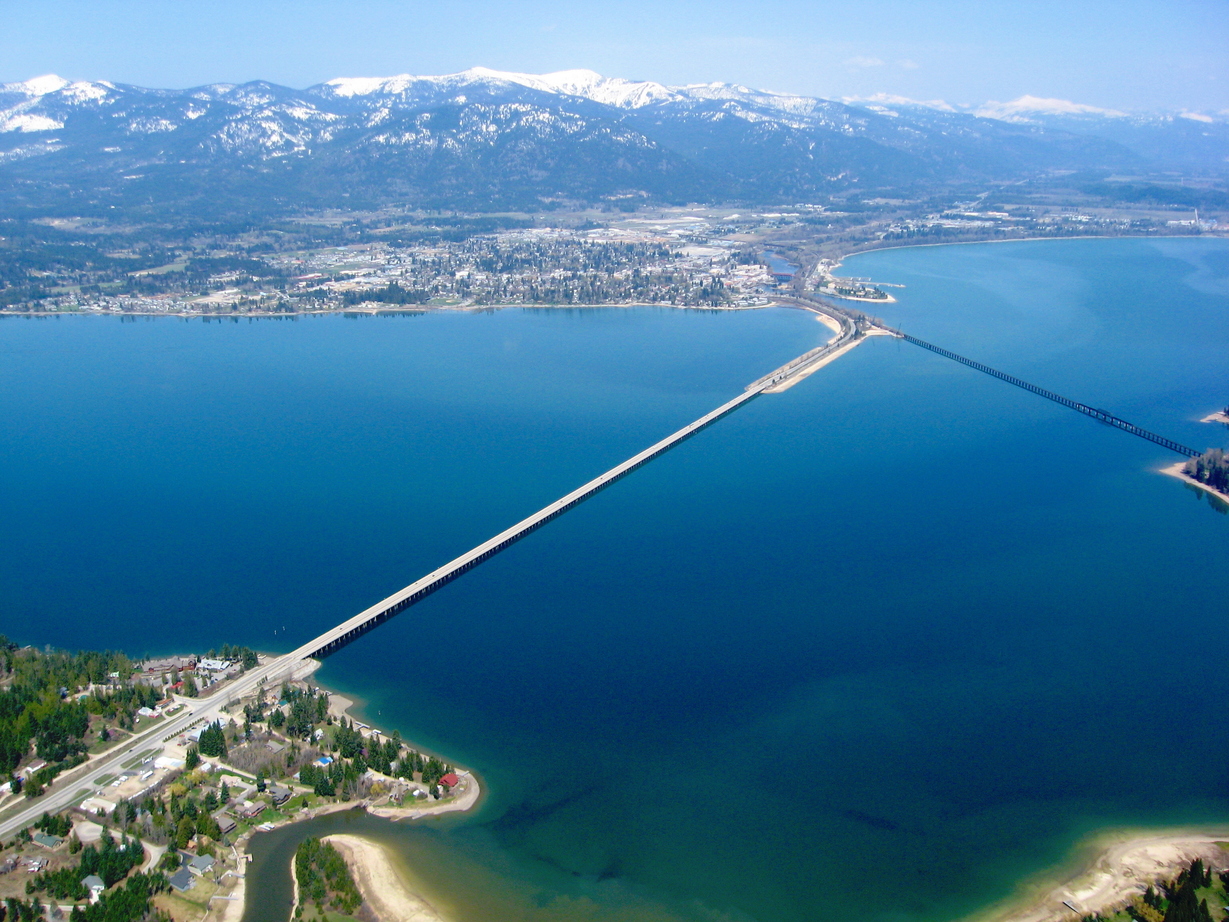
The trip went smoothly; Patterson’s front hubs stayed cool, which was a big relief. Neither Hugo nor Fernando had driven the route we’d planned, so they were quite surprised when we dropped onto the bridge that crosses Lake Pend Oreille (pronounced Ponderay) in northern Idaho. It’s a dramatic scene, with beautiful blue water surrounded by mountains. Team Pineapple loved it.

This picture doesn’t quite do the scene justice, but it does show how the bridge crosses the late into Sandpoint, Idaho.
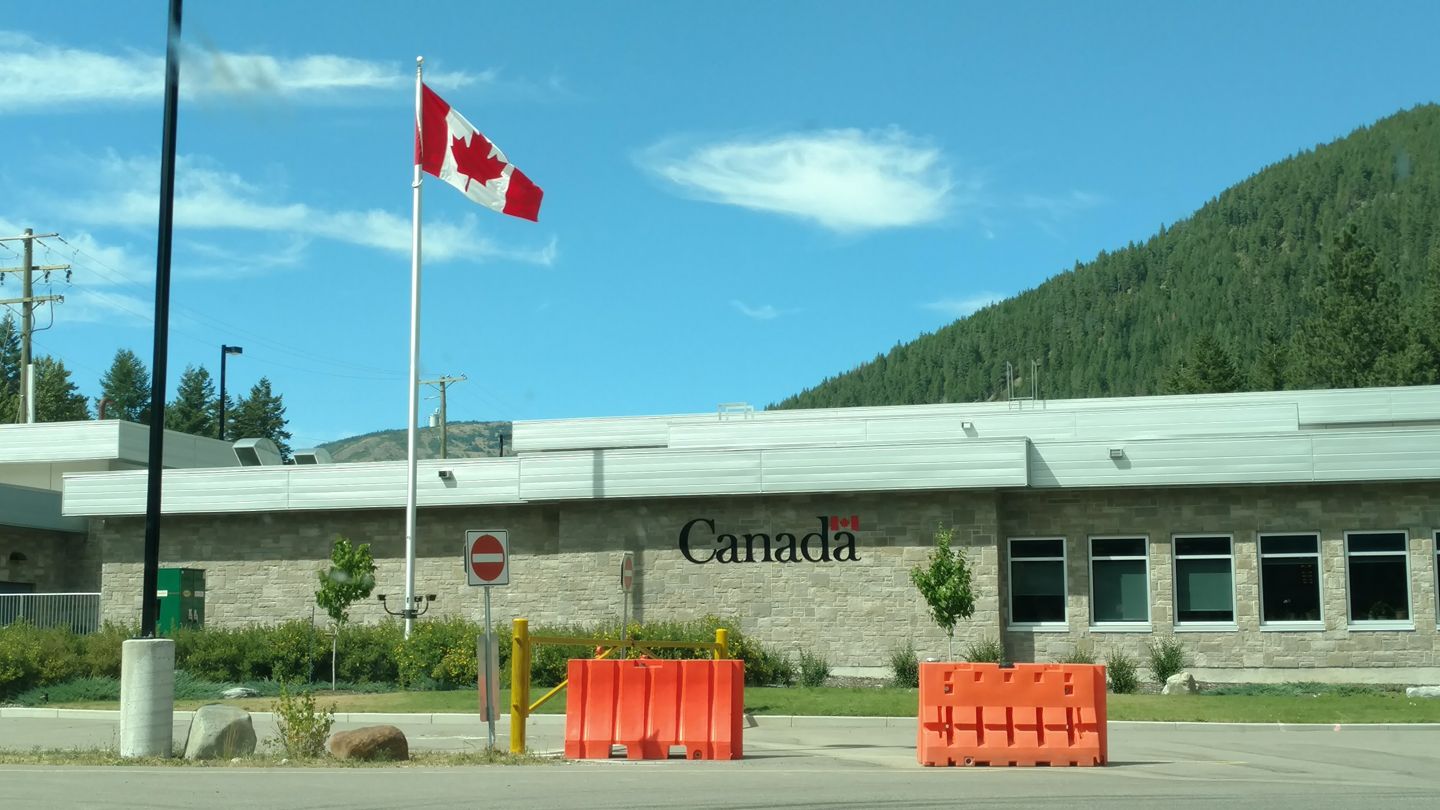
After Sandpoint, we wound our way towards the border. That’s when things got more interesting. Communicating via walkie-talkies, we all agreed that Hugo and Fernando (having non-American passports and ETAs) might have trouble getting through the border. If so, I assured them we’d wait.
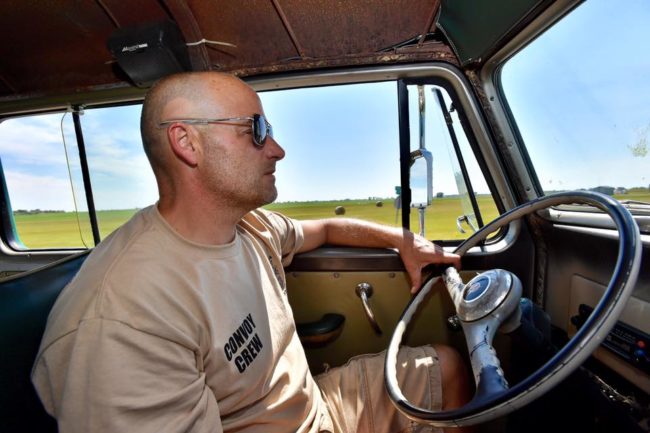
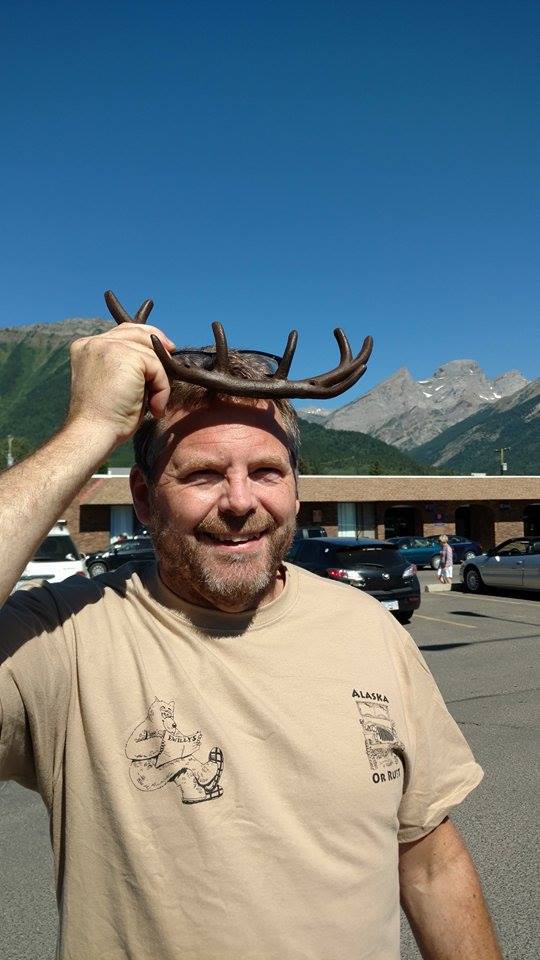
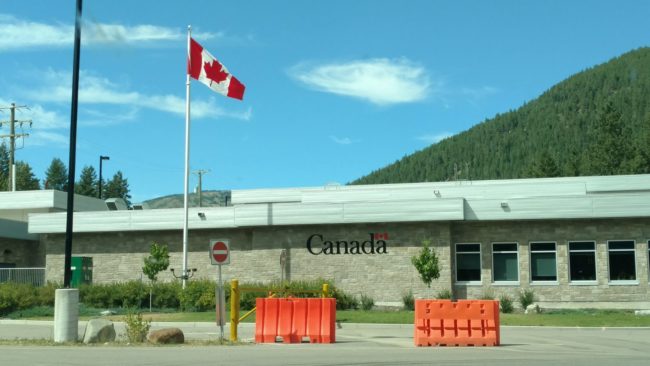 But no. They breezed through. Instead, it was me that border patrol was most interested in grilling. Perhaps it was my Canada shirt? I don’t know, but it went something like this:
Female Customs Official (FCO): Where are you from?
Me: Washington State.
FCO: Where are you going?
Me: We are going to Alaska.
FCO: Sir, what is in the box?
At that question, I turn my head to look back to see what box she was asking about …
FCO, again: Siirrrr, WHAT is in the box?
Me: I mumbled someting as I continue to wonder which box she means. (I was truly afraid something was moving in the box and it might get me!!
FCO: Sir, I cannot hear you when you are not looking at me … What is in the box?
Me: A box of t-shirts. We’d planned to give them away.
FCO: Are you planning to take them to Alaska and give them away?
Me: Well yeah, but also to Canadians along the way.
FCO: Are you holding some kind of event, sir?
Me (suspecting this wasn’t going well): Not really, it’s just a group of friends getting together to drive to Alaska.
FCO: So, your business is giving these away and holding an event?
Me: No, we don’t have a business, nor do we have an event. It’s just a group of friends trying to do something nice.
By this time, I’m pretty sure the FCO thought I was an idiot. Or, at least she made me feel like one. Finally she said:
FCO: Canada treats gifts like sales. You can not just give things away. You need to take these to Alaska and give them away there if you want to do that.
Me: Umm, okay. We were just trying to do something nice…
FCO (showing no break in formality and handing us back our passports): You can go now.
I can’t help but wonder how this goes for Santa. I mean, does customs point out that HE can’t give gifts to Canadian children?
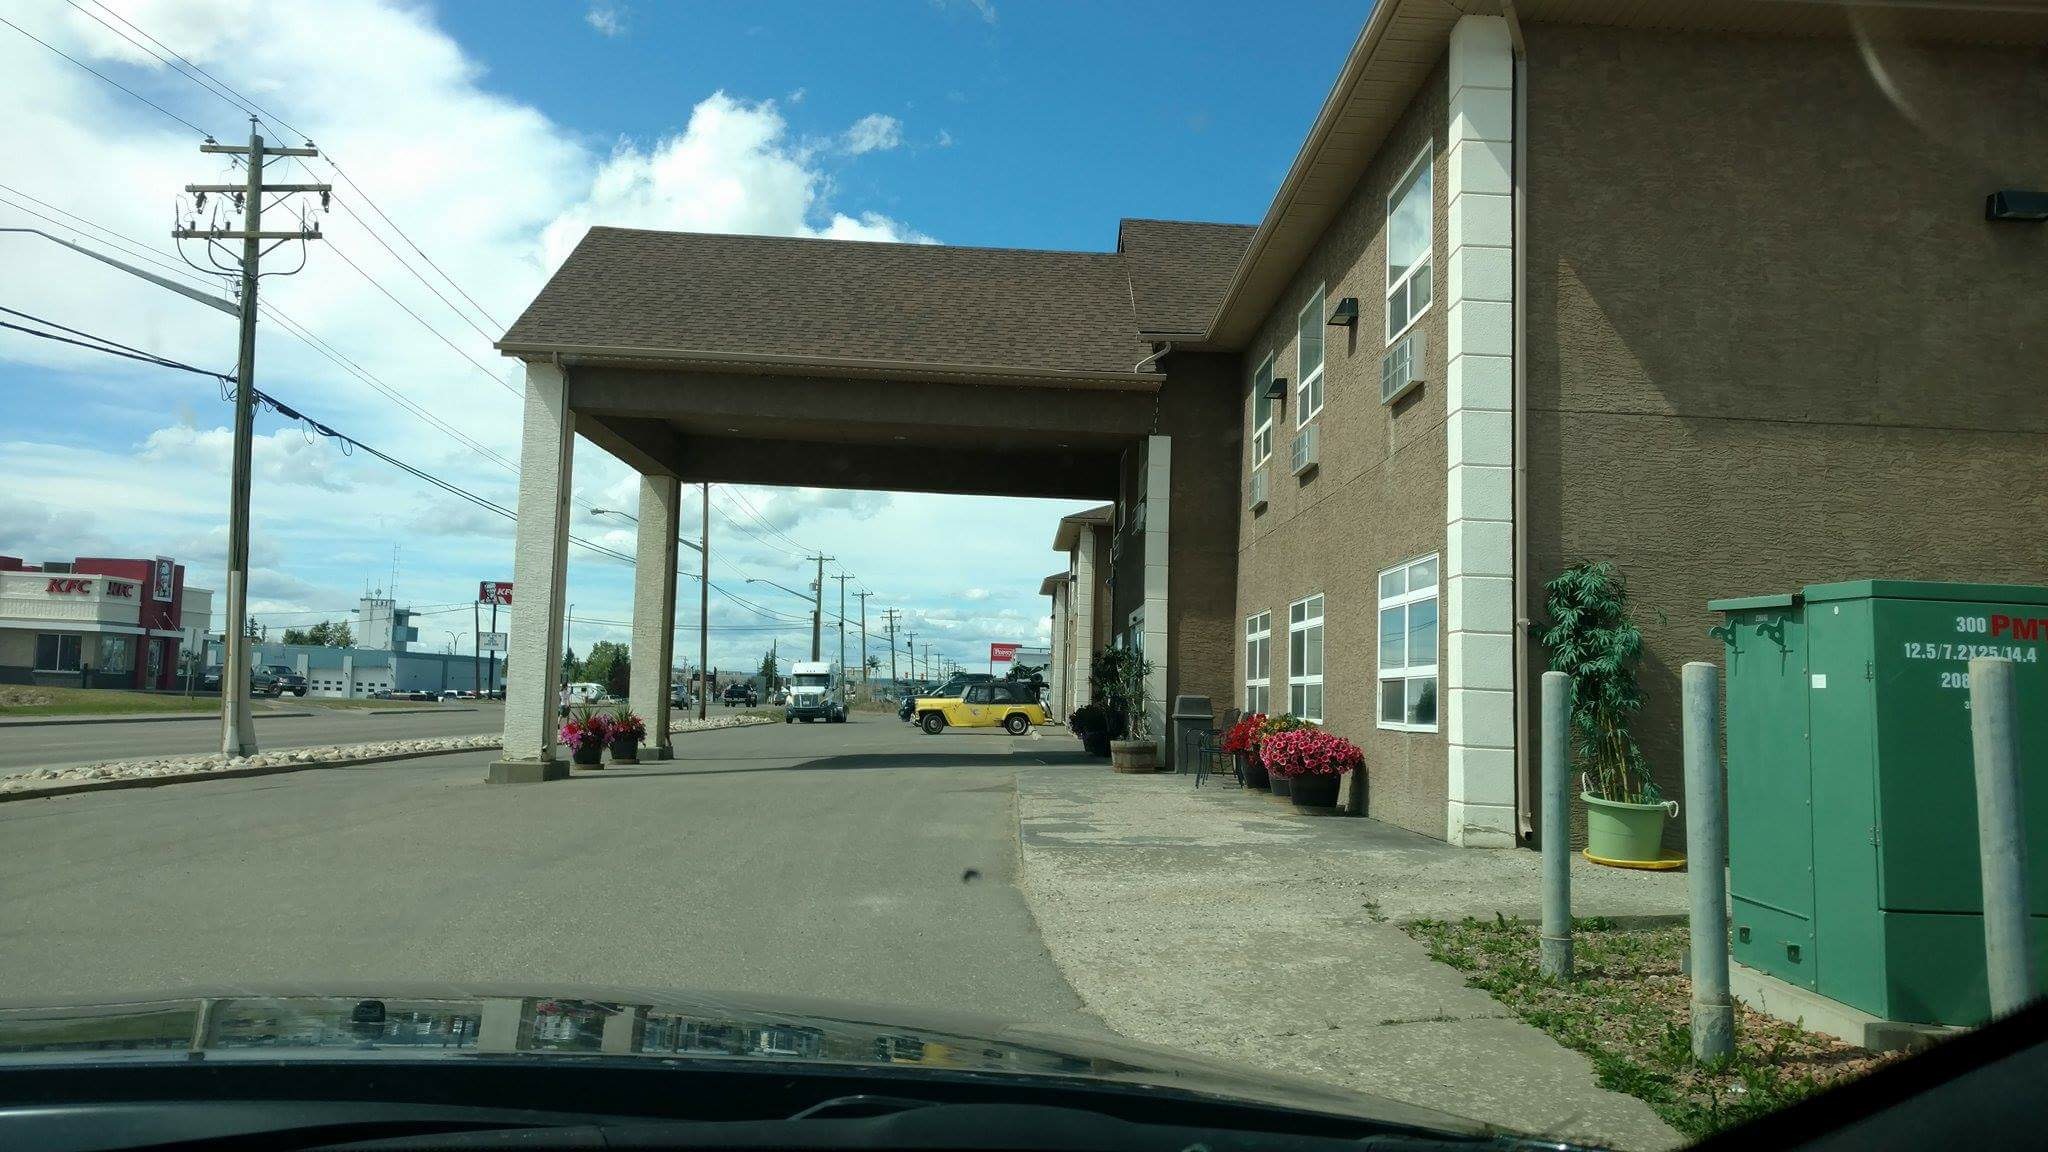
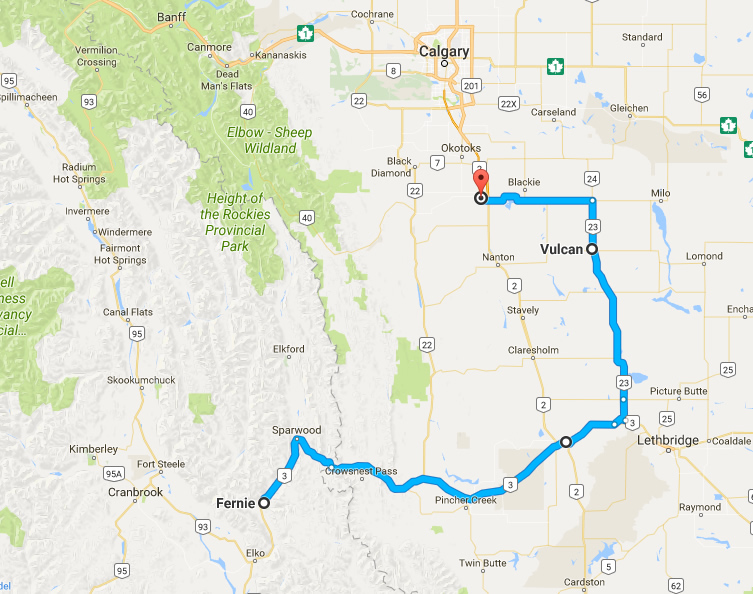
As I puzzled over the answer to the Santa question, we began our drive northeast toward Fernie, Canada, where we’d booked rooms. It was a lovely drive through the mountains and along rivers.
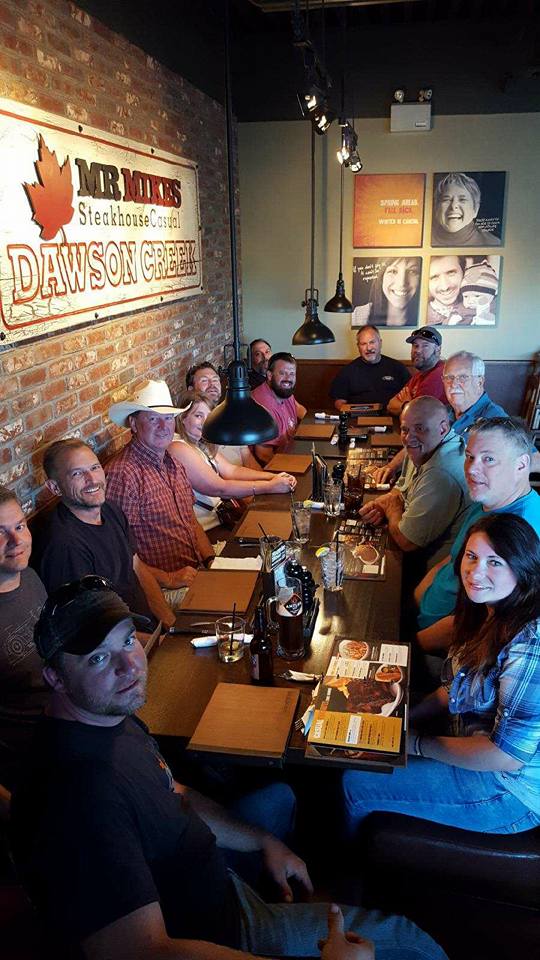
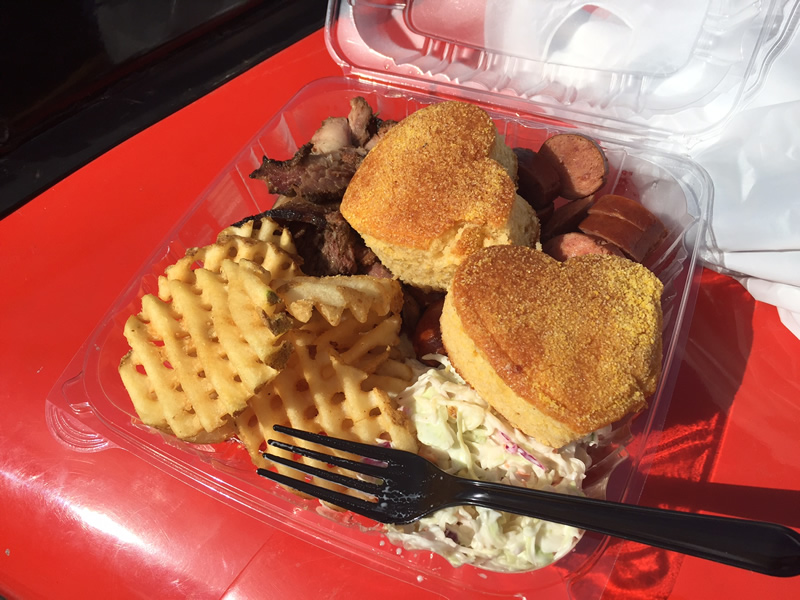
We arrived around 7pm, then found some tasty dinner at a local Bistro. It was a great first day!
Fernie, Canada
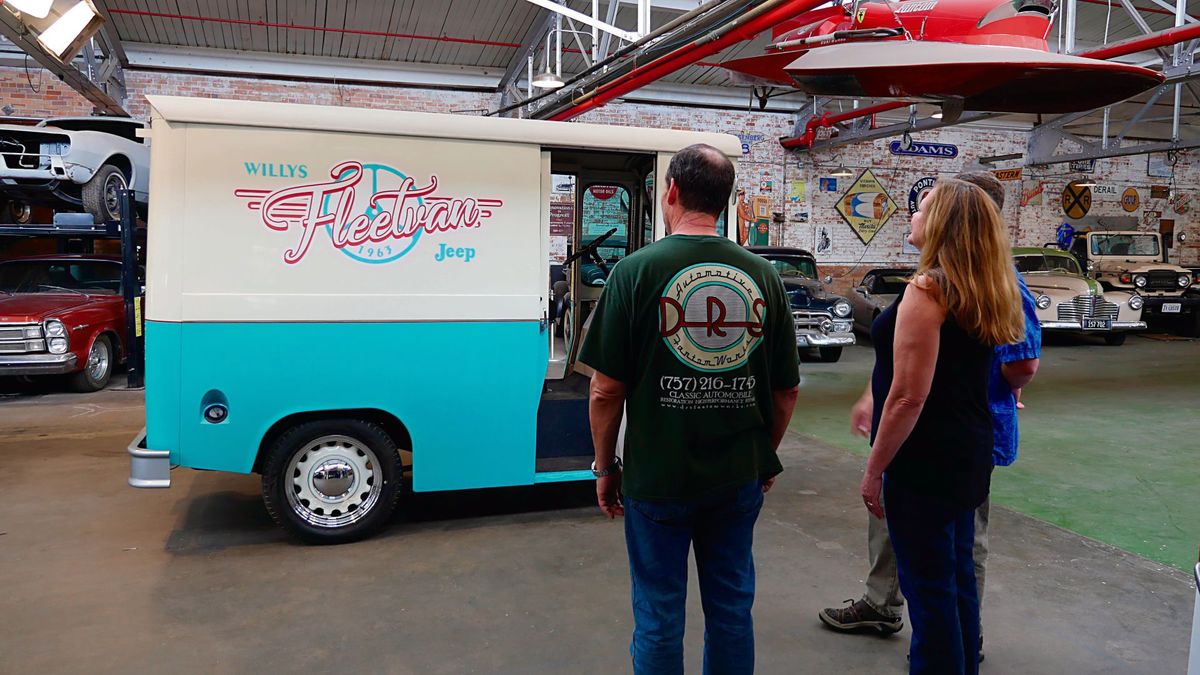
Tomorrow we will see the Starship Enterprise!
Other Updates:
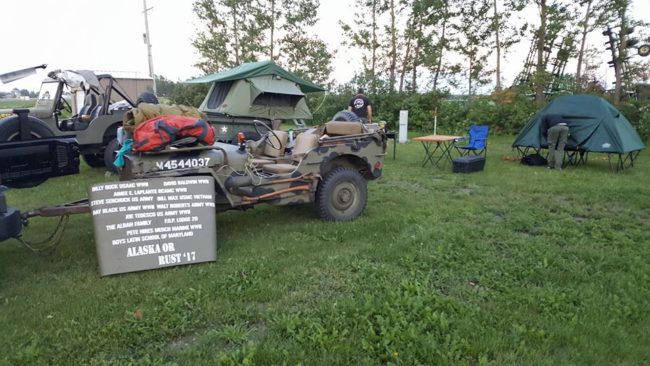
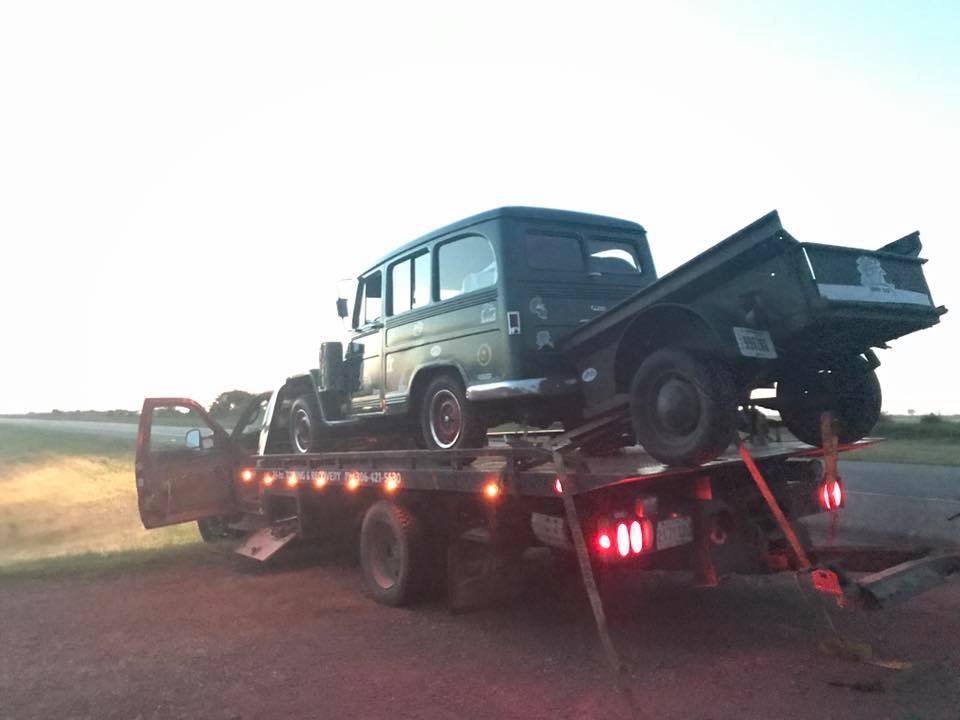
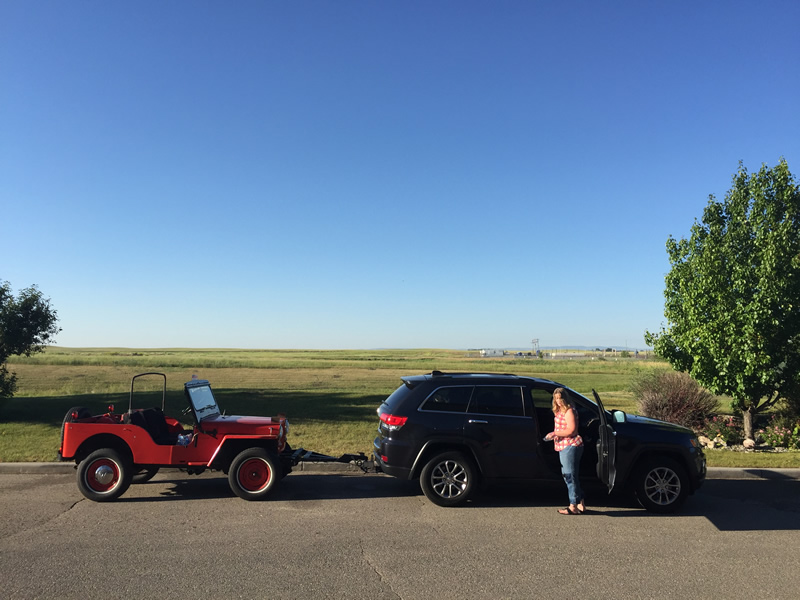
1 Joe, Emily, Merlin, and Britt reached Hillsboro, North Dakota, today. On the way they met a new friend:
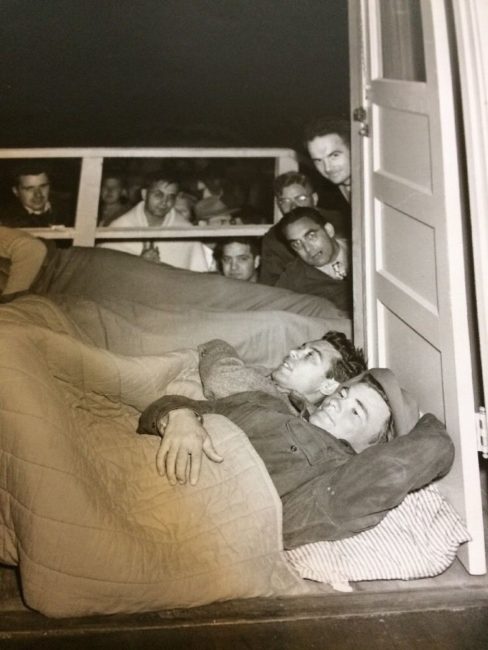
Here they are all ready to hunker down for the evening:

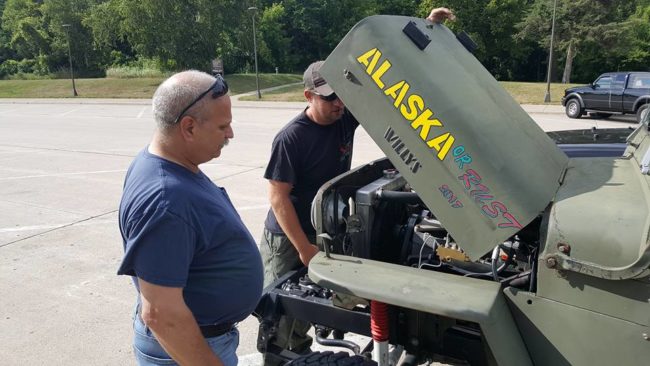
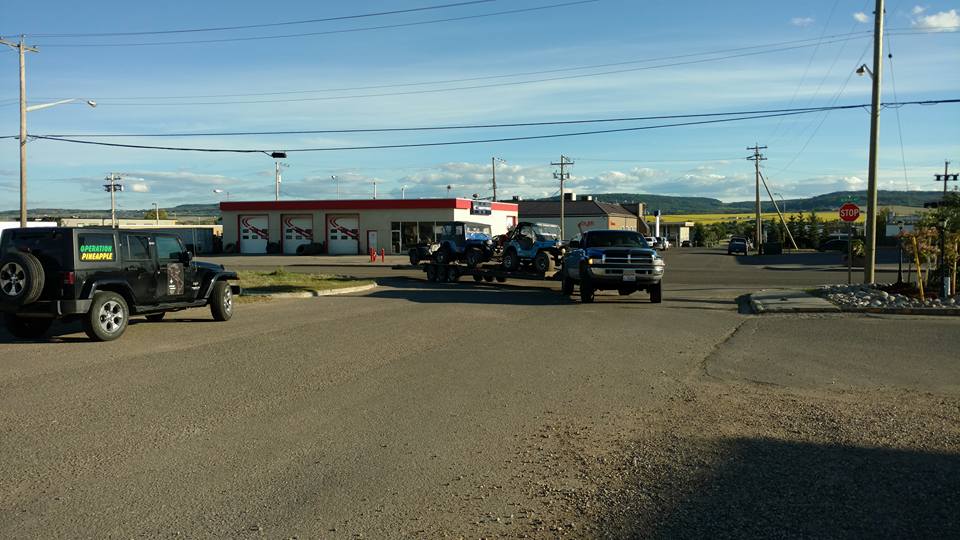
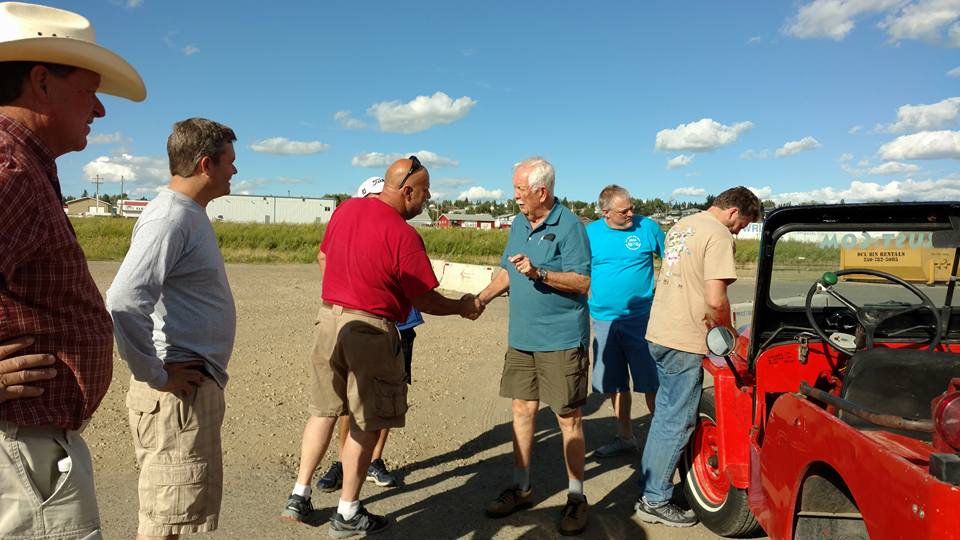
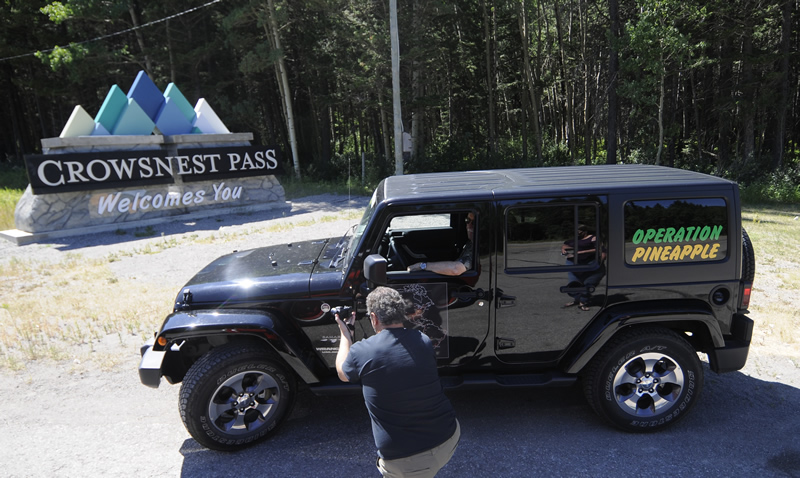
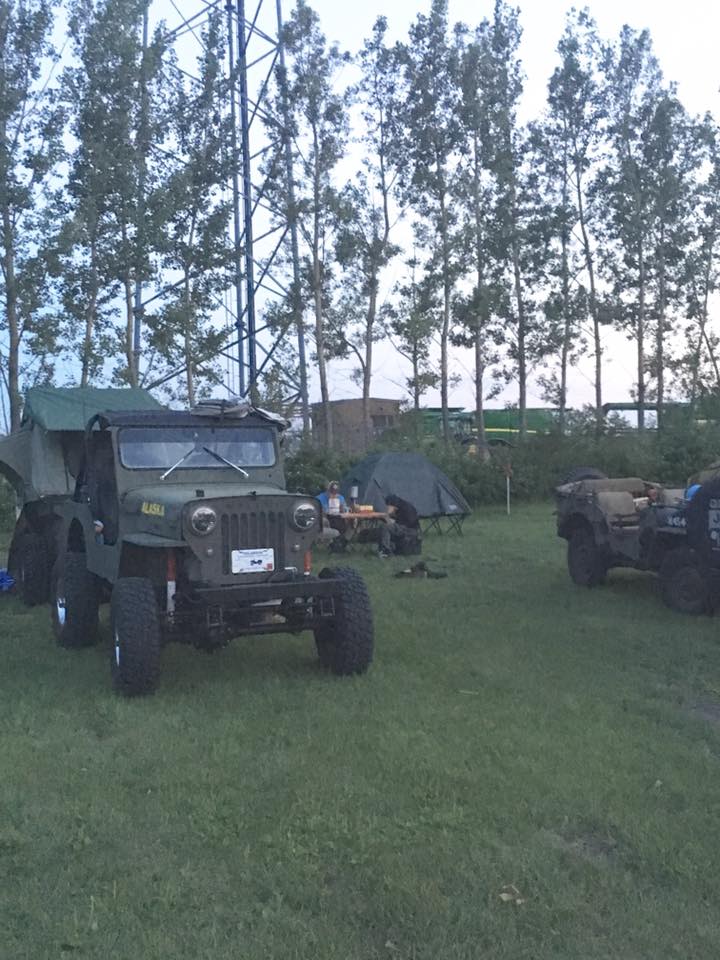
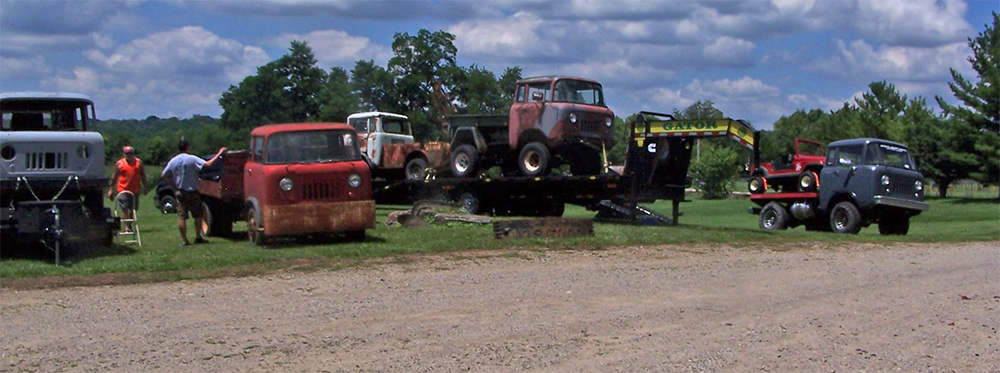
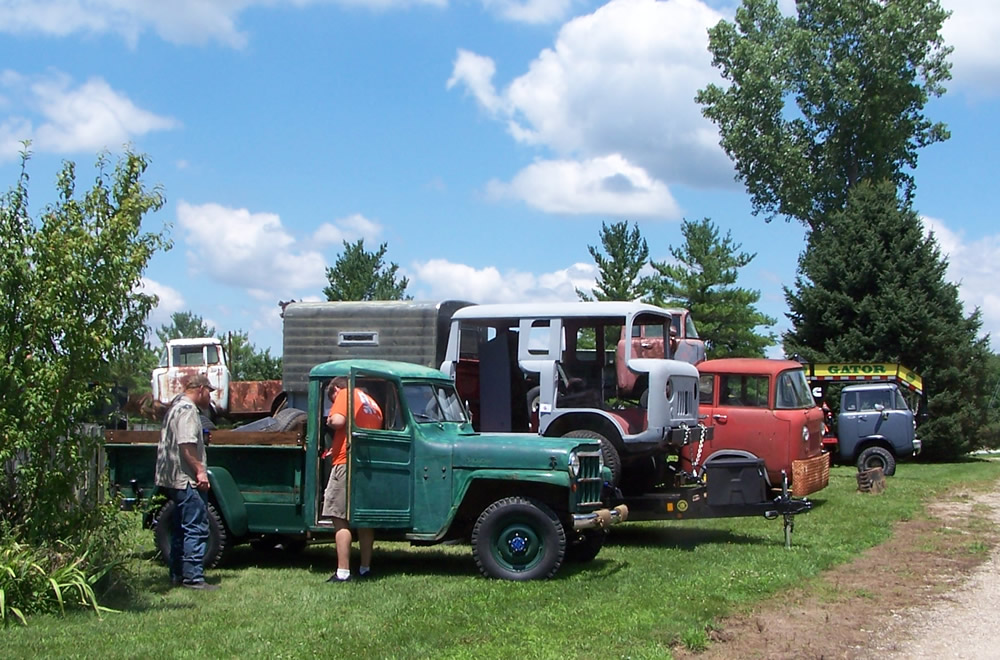
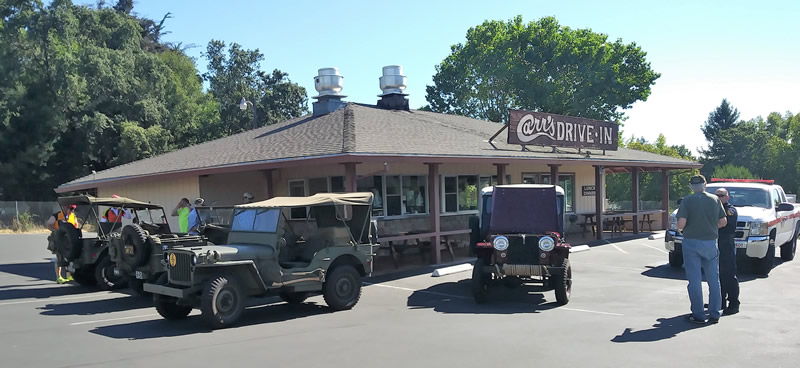
2. Scott, Bob and Rick reached Canada today. Scott’s looking determined!
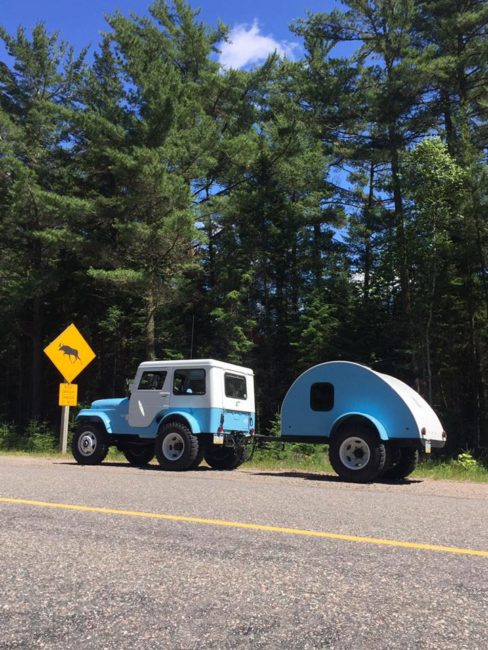
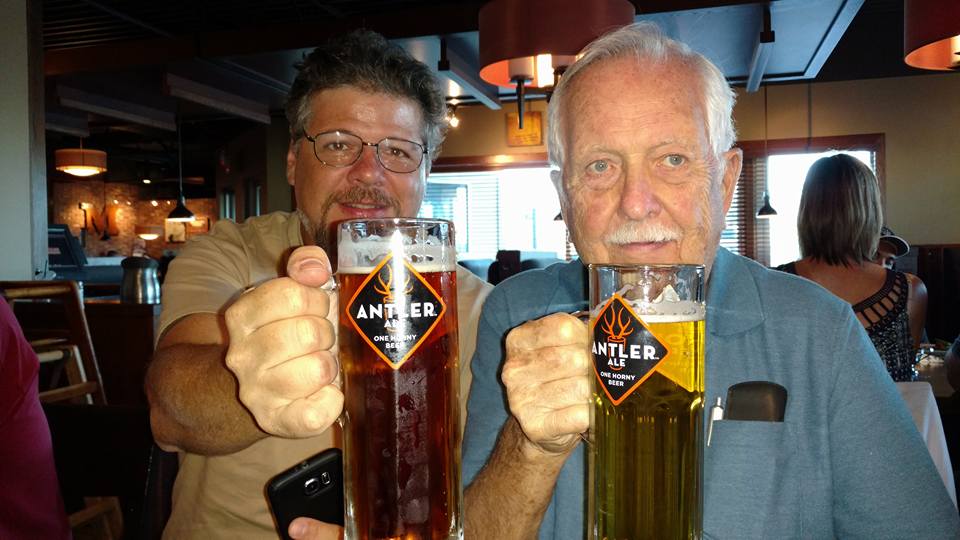
3. Jim Fowler is slowly catching Scott:
4. Who knows where Bill was? I think he was busy taking pictures.
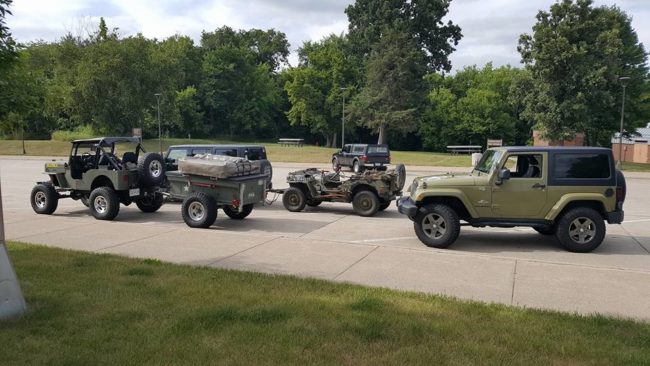
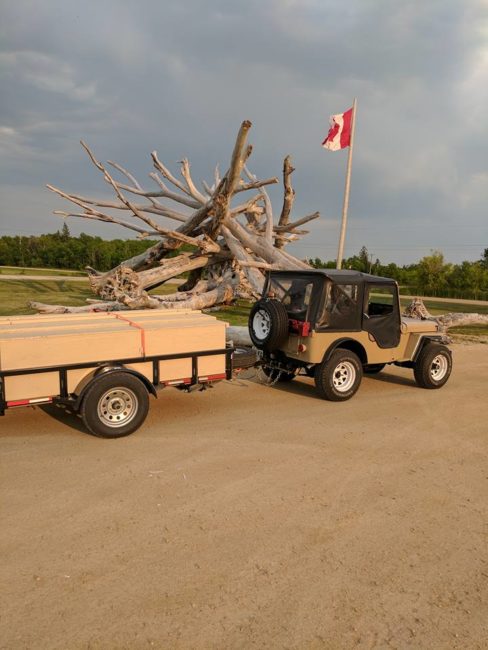
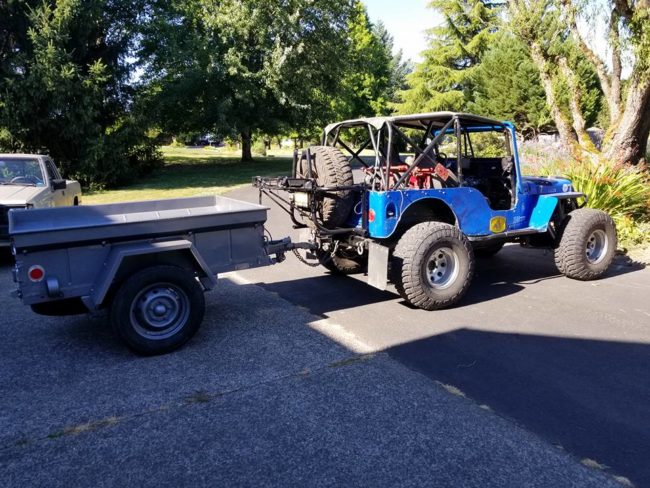
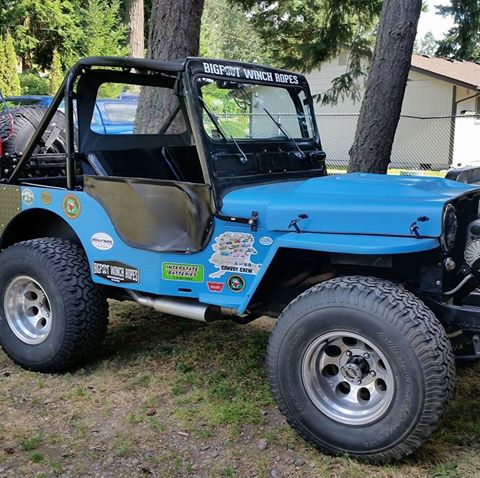
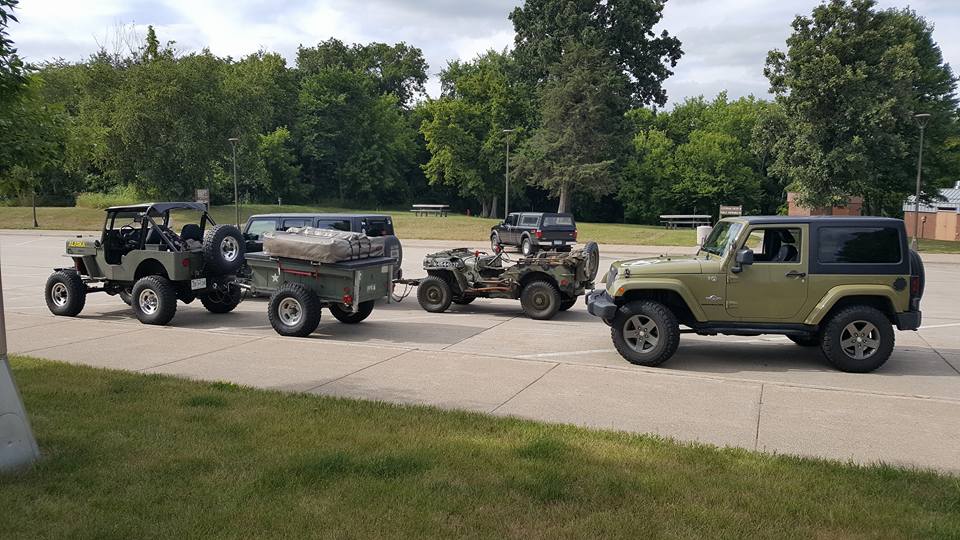
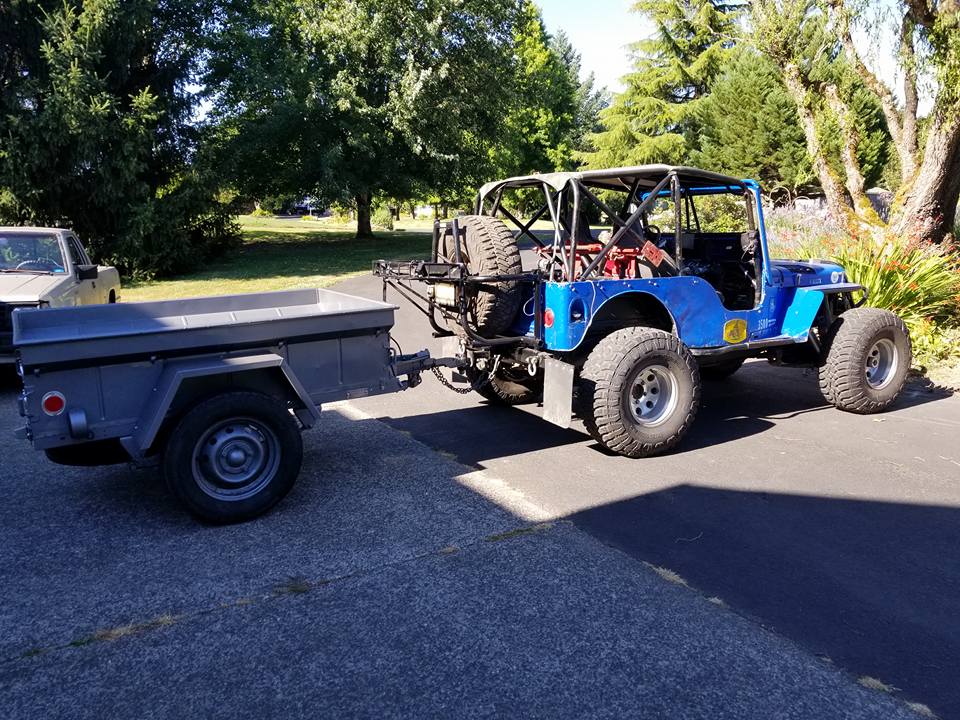
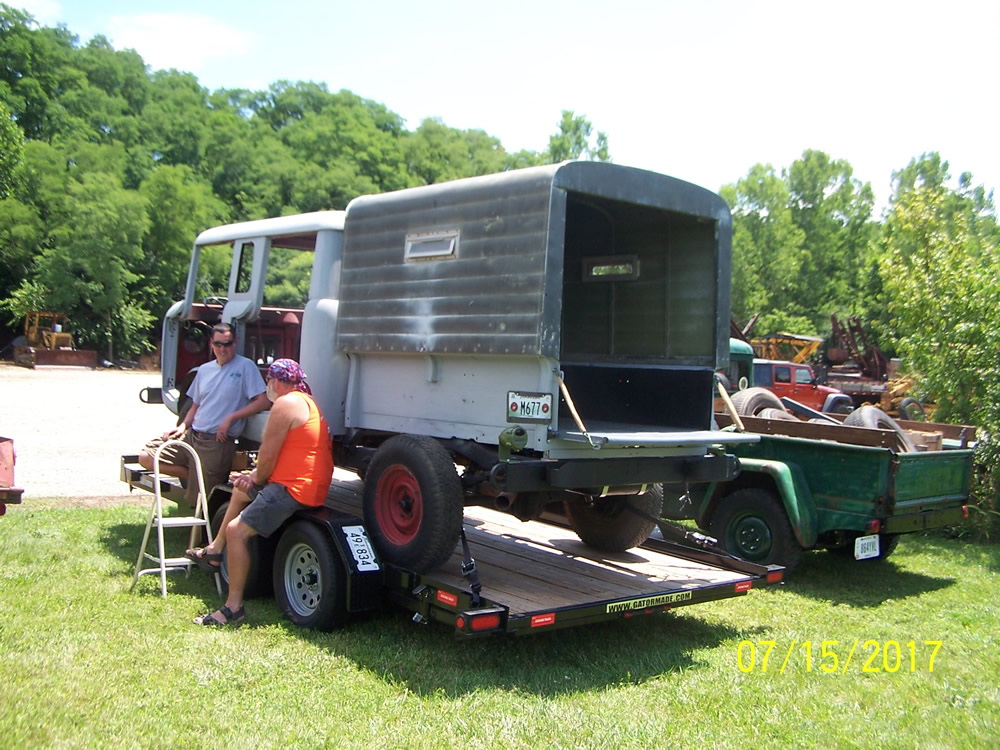
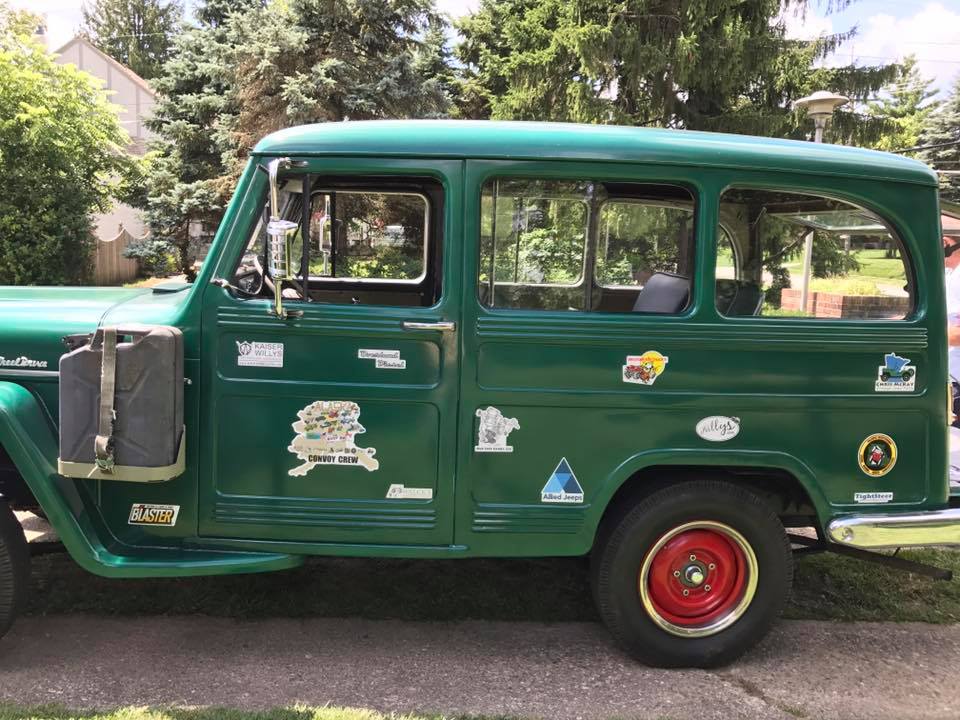
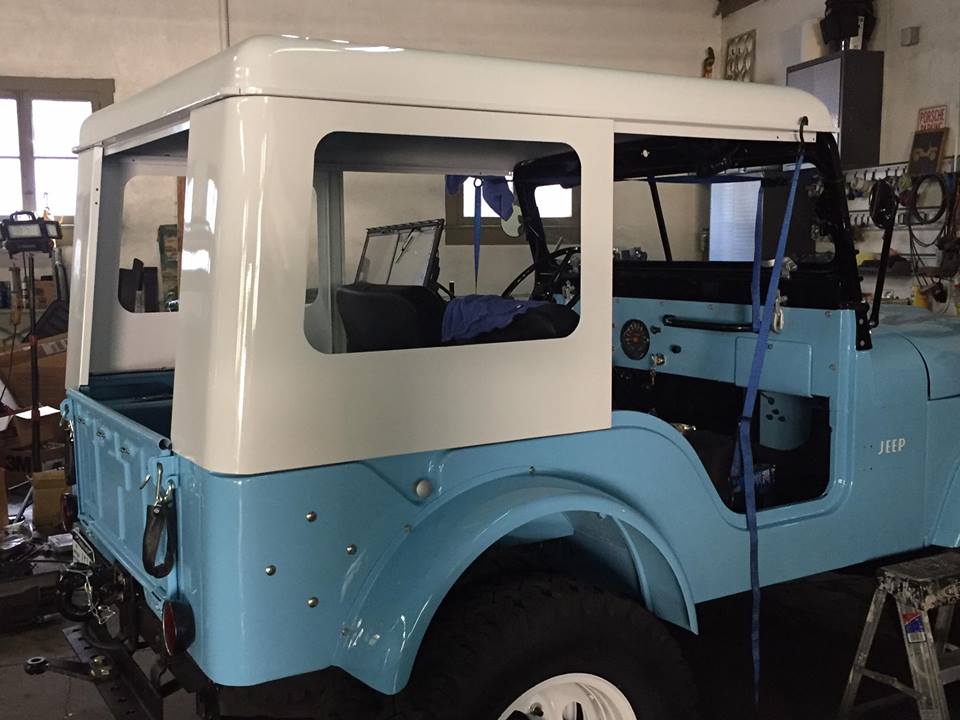
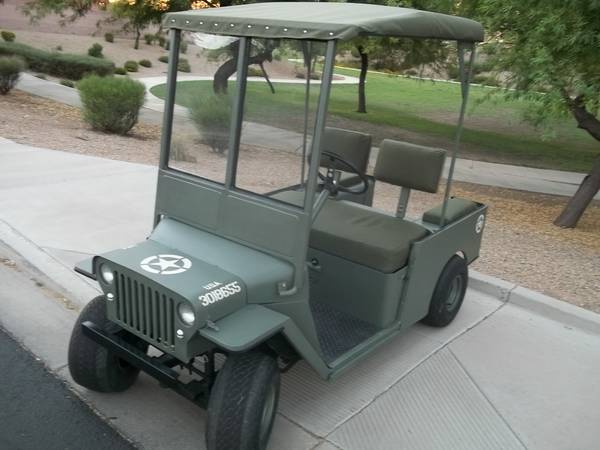
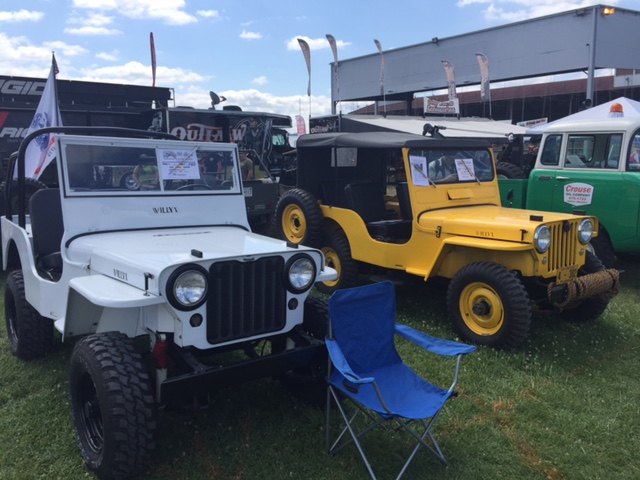
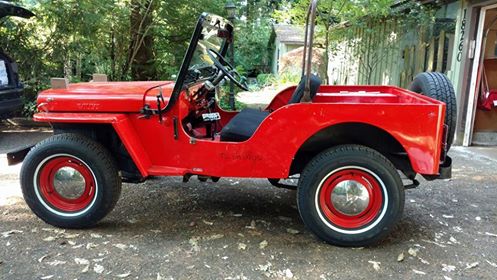
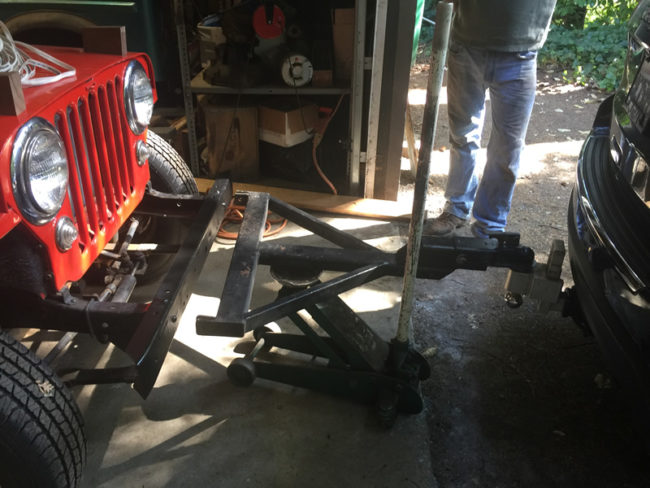
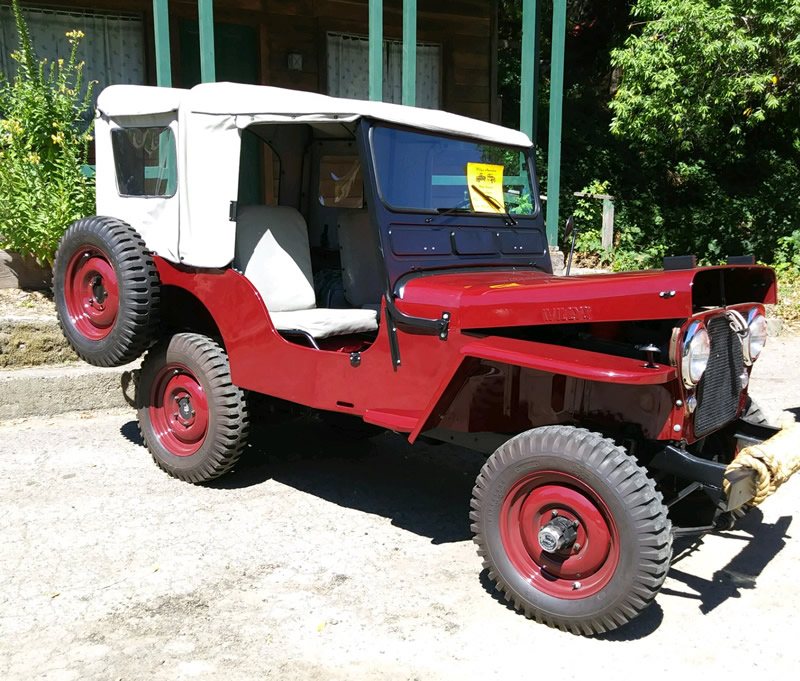
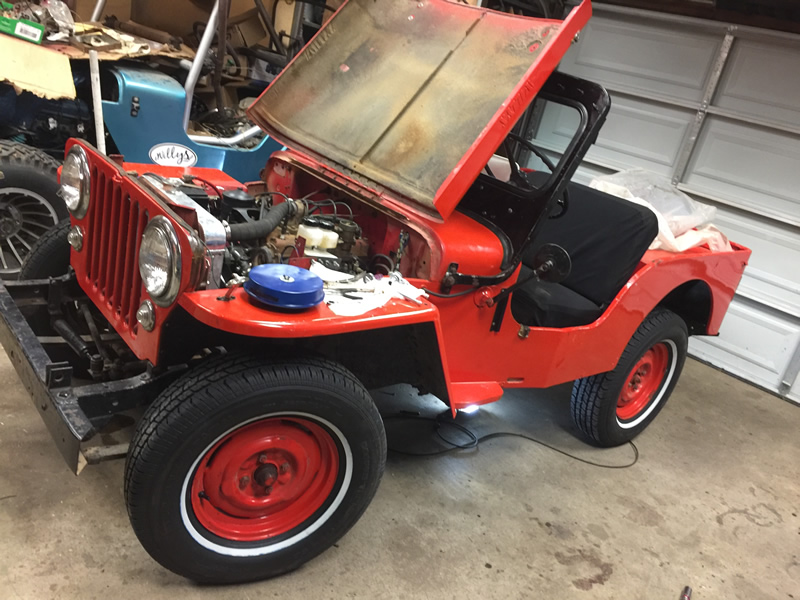
5. Marty’s jeep looks ready for the road:
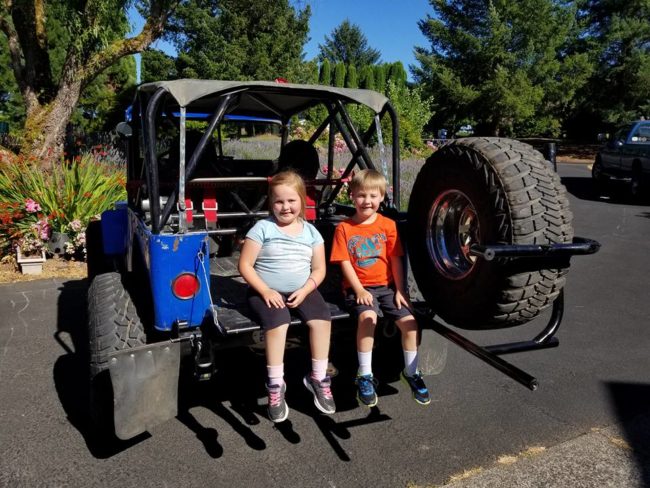
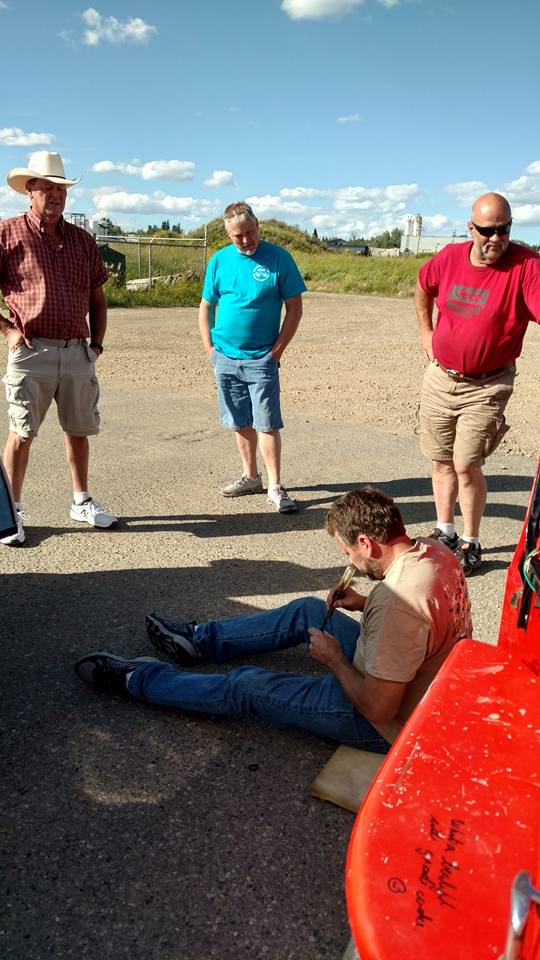
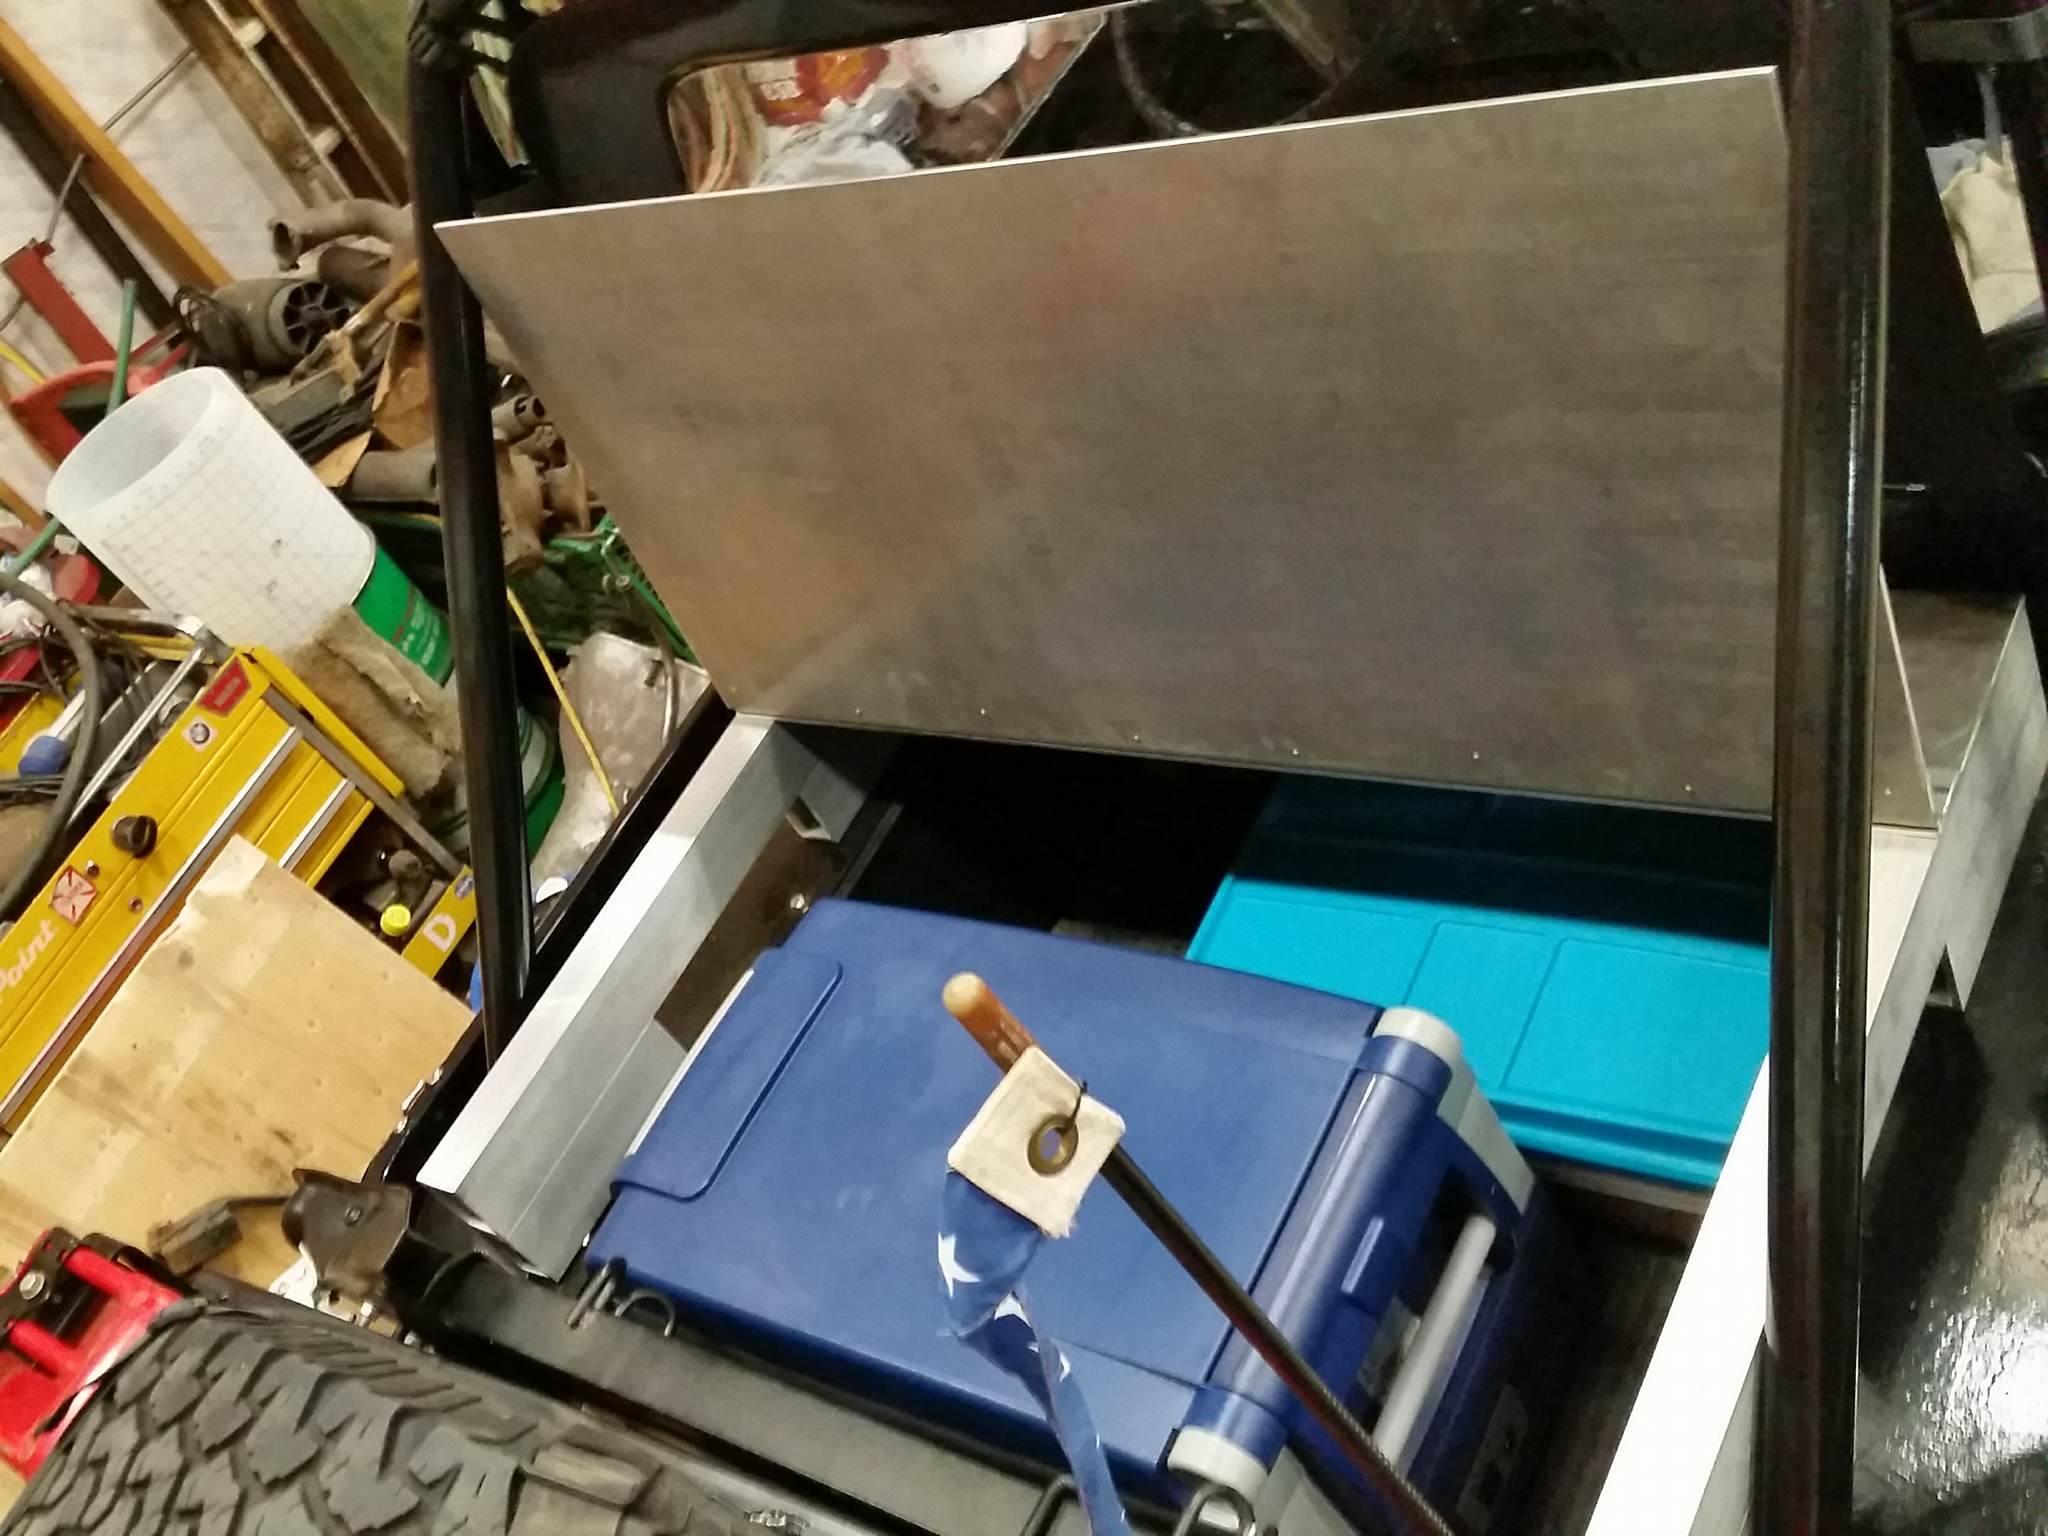
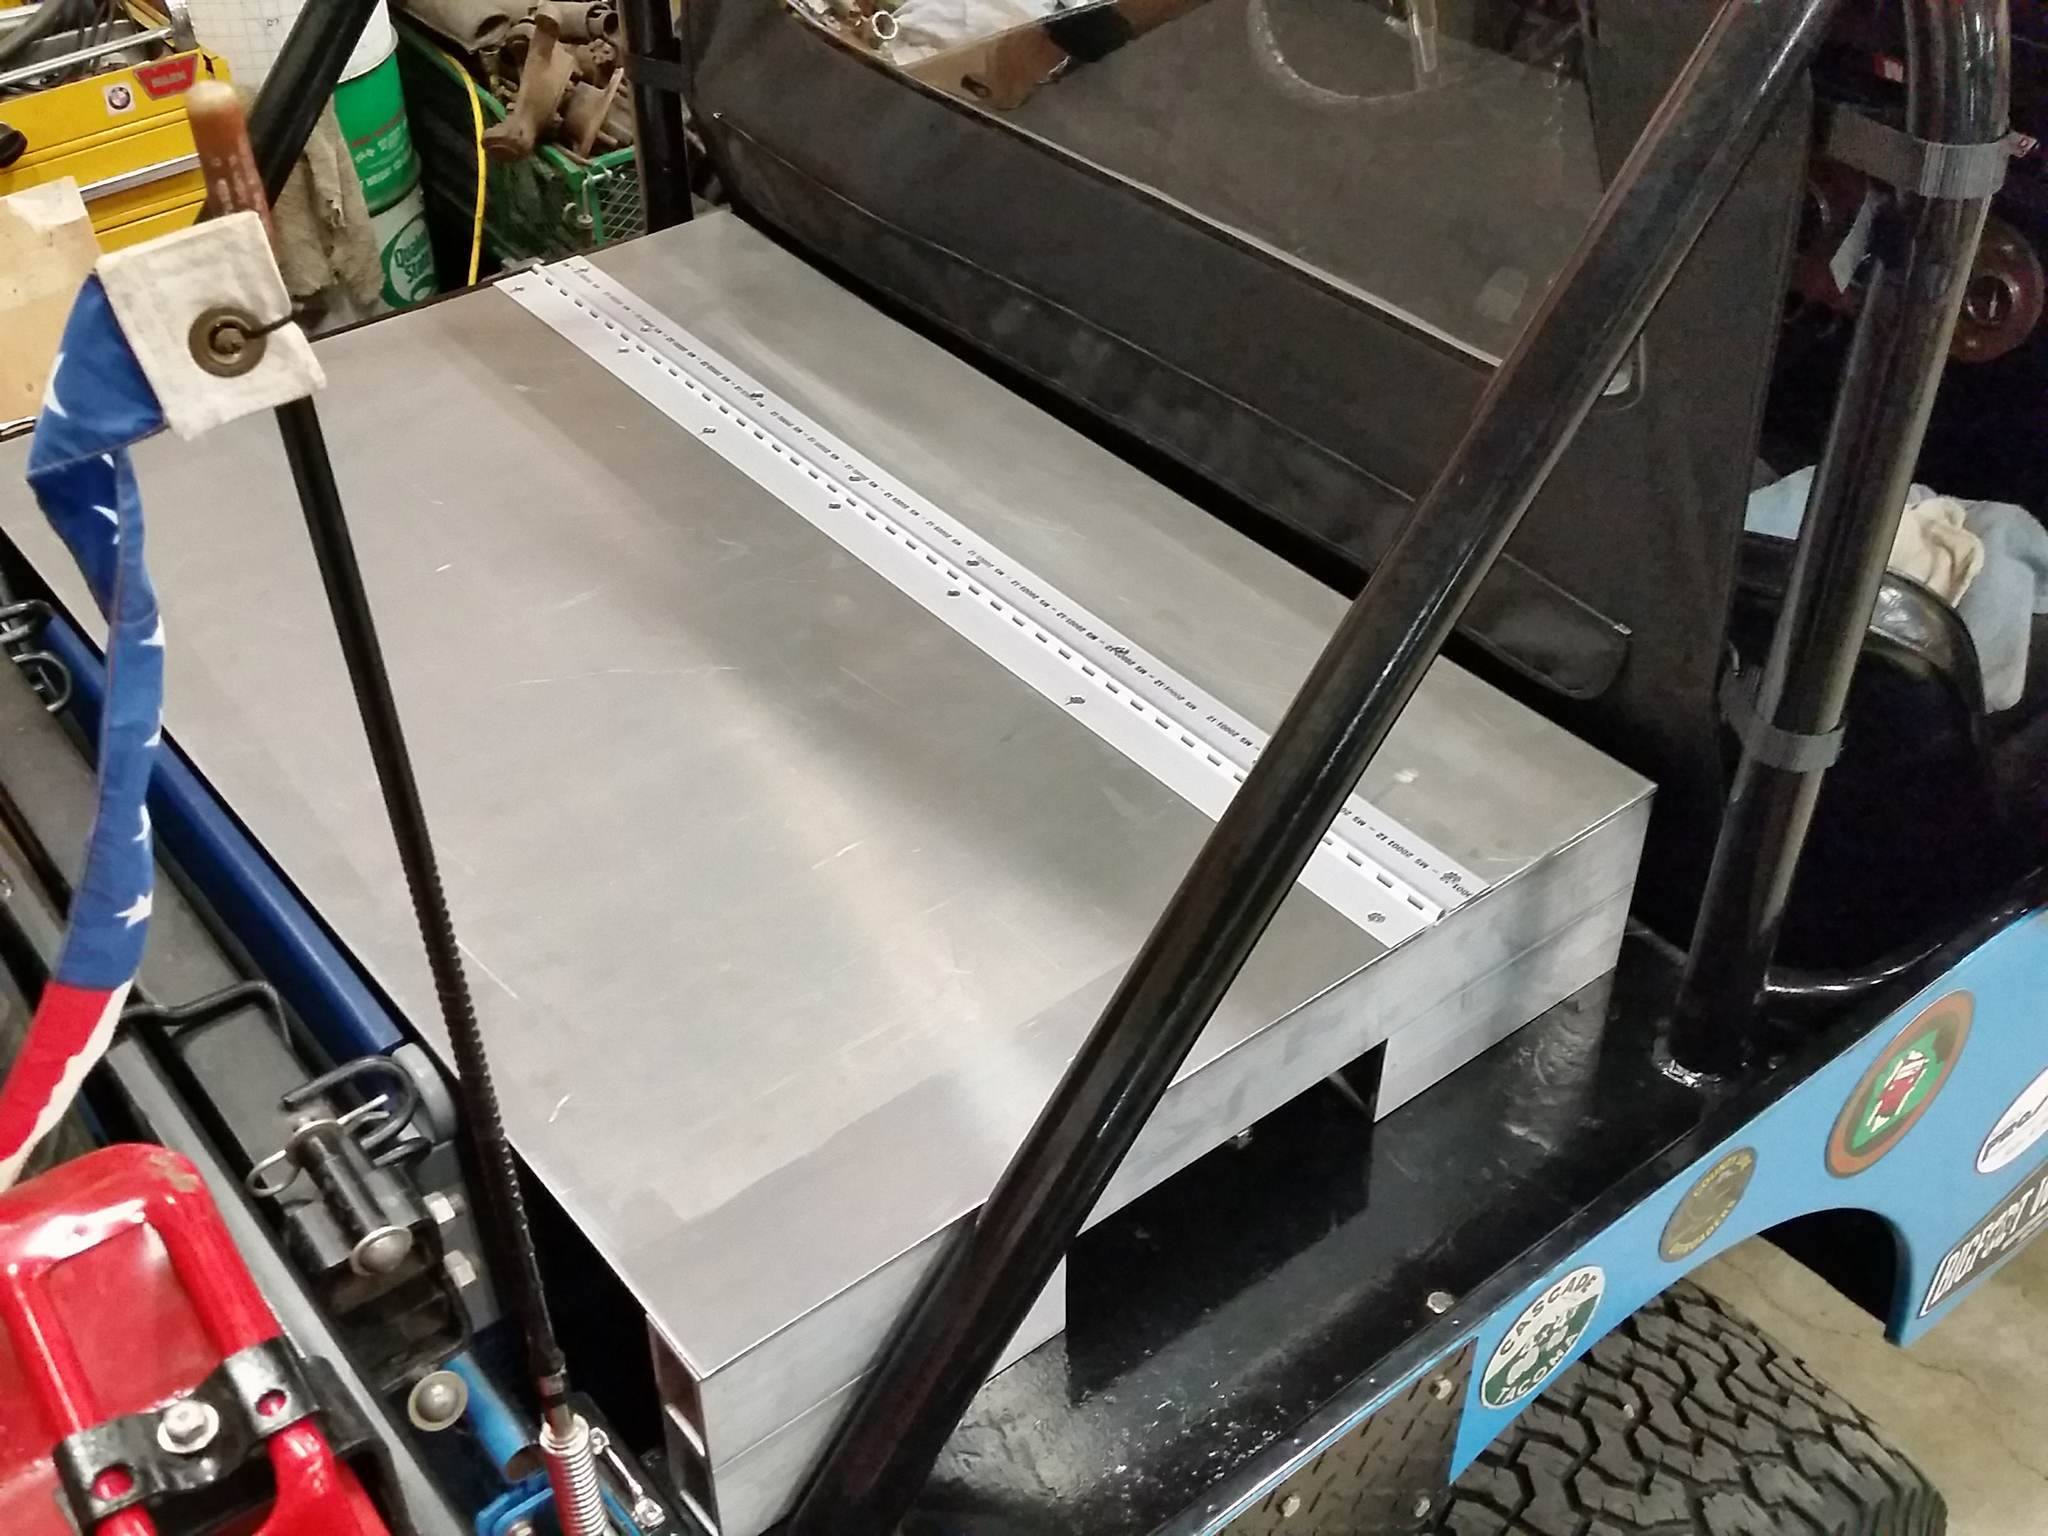
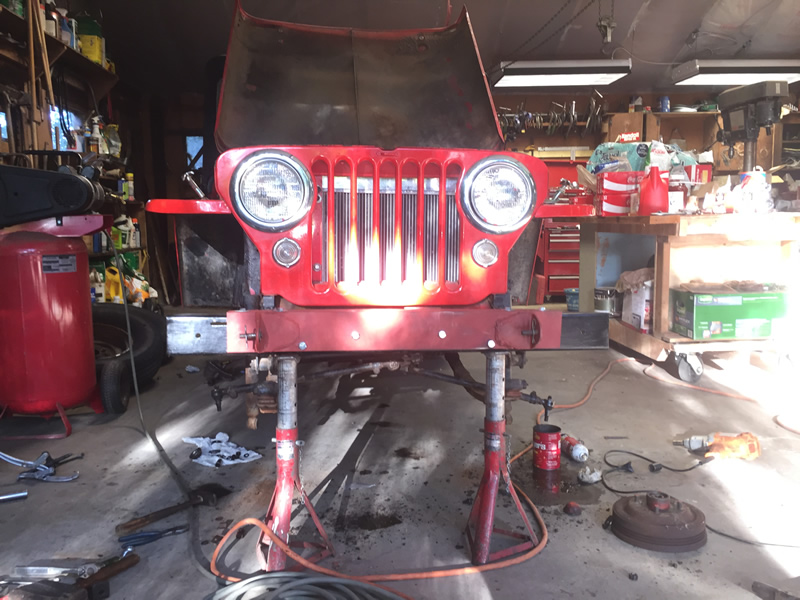
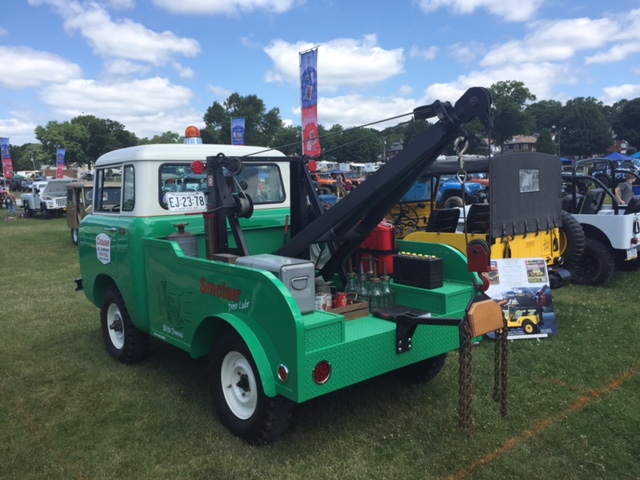
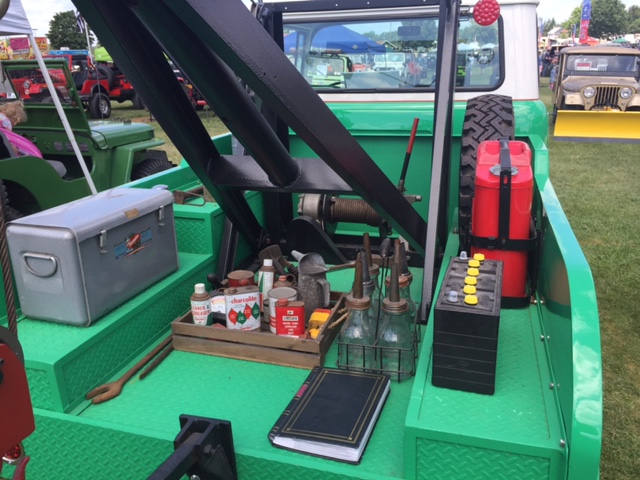
6. Rob’s got a new custom lock box on the back. That news saddened me, because I’m very tempted by that ARB cooler.


That’s all for now!
<– Day 3: July 23, Alaska Updates | Day 5: July 25, From Earthly Mountains to the Plains of Vulcan –>


