Just a few posts today, but some good ones!
I’ve been very interested in the Hudson Hornet Steering Modification since I heard about it a decade ago. Unfortunately, there’s scant information about implementing the modification, but reports were that it was a relatively easy one that produced fantastic results, offering a power-assist feel to the steering and reducing play (a similar, alternative steering modification is the use of a 1980s Ford Ranger box, which Lawrence Ellliot shared back in 2018).
Now, thanks to Adam, we have some new insights into the obstacles and benefits of installing a Hudson unit into a vintage jeep! Perhaps the most difficult obstacle to overcome is locating the steering box itself! Adam’s provided some great details below, but If you want to ask Adam more questions directly, he’s offered his email ahedgcock @ gmail.com (remove the spaces around the @).
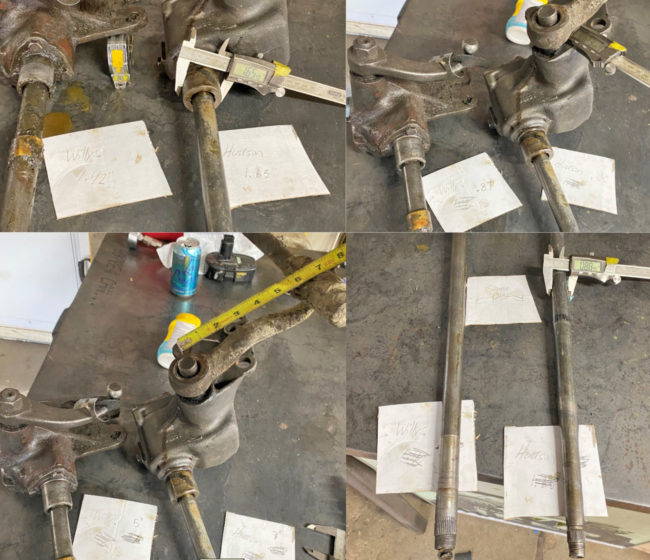
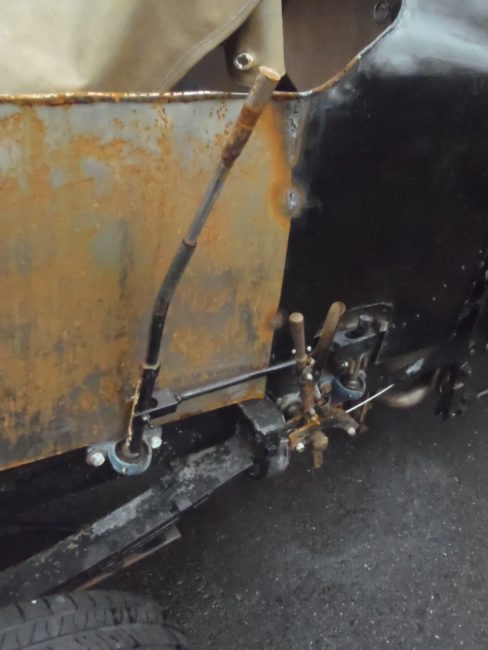
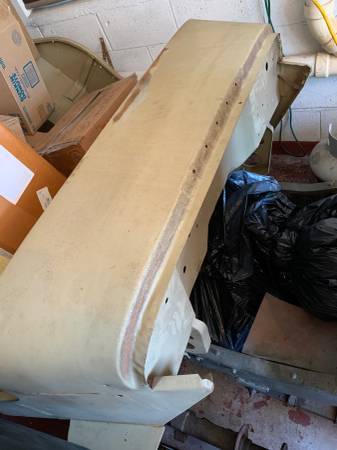
Below, Adam shows some of the differences between the Hudson and Ross (Willys) units:
Here’s Adam’s description:
- Find box. Perhaps the most difficult task .. 51 to 53 Hudson Hornet.
- Pitman Arm/Get Drag Link. Try to get the bell crank and drag link. The Hudson splined pitman shaft is quite a bit larger than the willys splined shaft so it is good to use the original. The pitman arm itself is similar in how it bends, but is 7” long ( instead of 5” on the willys)
- Pitman Arm Ball. The pitman arm ball end on the Hudson is larger than the willys, so I welded the Hudson drag link end onto my willys drag link.
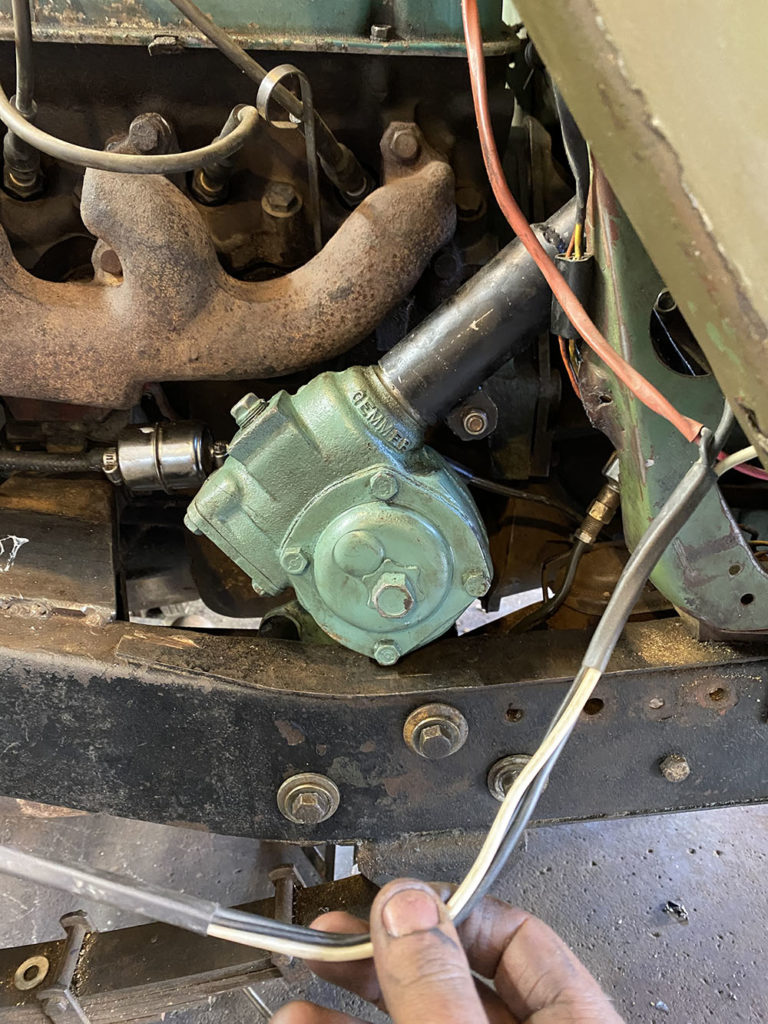
- Hudson Box bolts right up, but …The Hudson box could be bolted directly to the frame rail with 3 bolts, but the steering column will be 2.5” too far on the drivers side to hit you body tub hole. Having all stock brake and clutch pedals, and not wanting to make my tub Swiss cheese, I chose to move the box 2.5” off the frame with a fabricated spacer. This would be similar to the level of fab needed to convert a Saginaw box up front.
- Or Shift the Hudson Bracket. The cast steel Hudson bracket could be cut and re-welded to the box 2.5” over also, with the same results.
- Modify the Column Tube. The steering column is similar to the willys but the Hudson column tube is larger than the Willys. I welded a larger OD sleeve at the base of an existing willys column, cut a split in it and welded on 2 ears so I could clamp it tight.
- Steering Shaft Differs. The steering shaft does not have the same end spline for a willys steering wheel, so you can either cut and weld a willys spline to the end, or find a Hudson steering wheel.
- Gear ratio. I did not take the box apart, but it is clearly a roller bearing worm shaft, and this thing came tight, even after presumably many years of use. The Hudson box is 6 turns lock to lock, and the Ross is 3 turns. It is worth noting the pitman arm is longer, 7” vs 5” on the willys, but you get a definite advantage in ratio. A bit less than half the effort to turn the wheels. I have taken it on road, and there is not the same “twitch” at speed, and off-road it does not tear your thumbs off like before. The wheel still happily spins back to center by itself nicely when you let it go, just more revolutions.
- Placement of box. This will be subjective, I have a Buick V6 and I found the longer pitman arm worked better because it swings below my bellhousing rather than ramming I to it with the Ross. Just like placing an engine, you would want to mock up the ideal spot, and make the bracket accordingly.
- Original look. This is basically a similar box, and does not effect the outward appearance at all.
- Finding parts…this is the fun part, I needed to talk to people, and ultimately find a person willing to go digging through an old barn. Once I found my source, I bought 2. Paid $200 each.
- Very fun swap, more original than the Saginaw, similar performance to a manual Saginaw provided to have a good tight bell crank and good tie rod ends.. I don’t see any need for a steering stabilizer
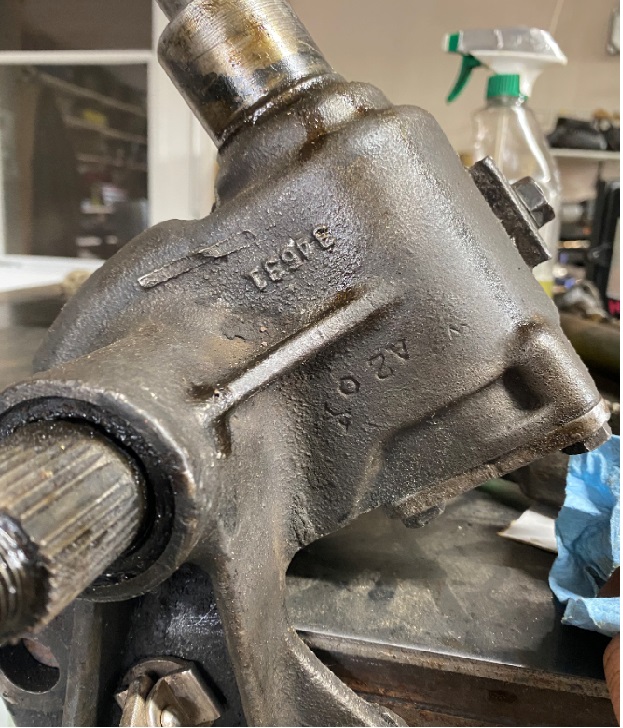
Hudson Horney Box casting number 34641.

