Yesterday I assembled Rusty’s column shifter. In my head, I took all kinds of photos. One in particular I took (again in my mind) showed the layout of all the parts prior to assembly. Alas, somehow that photo never made it onto my phone!
The DJ-3A shifter is slightly different from a VEC CJ-2A shifter. I can’t say how much it differs from a Jeepster or wagon column shifter. But, i can say that following these VEC CJ-2A instructions were very helpful.
After laying out the parts (and not taking a photo) I began the assembly process by learning how to install the horn wiring. After looking up how to do it on a 3B (thanks CJ-3B Page!), it turned out to be quite easy.
Step 1) Thread some of my grandfather’s wire through steering shaft.
Step 2) Attach the wire to the horn wire end. In this case, I ran it through wire connector and then bent it so that the wire would not pull back out of the connector. 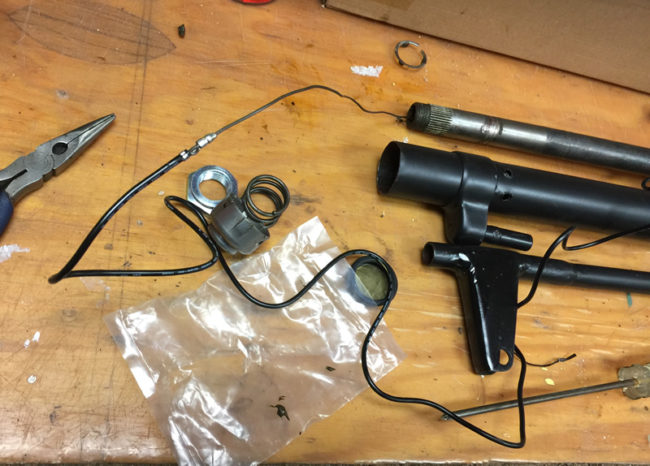
Step 3) Pull the wiring carefully through the end of the shaft. 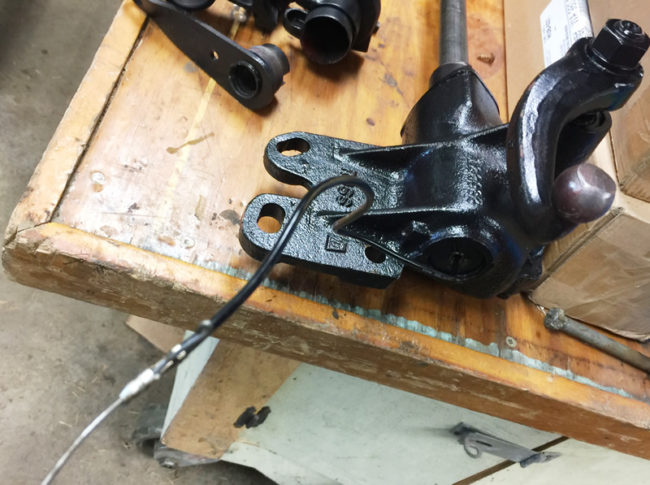
With the wire installed, next on the list was assembling the shifter. The first step involved installing a washer, a spring, and a second washer onto the column shift tube Next, the interior shift lever must be screwed onto the shift housing. Then, slide the shift housing onto the column shift tube, pushing it far enough up so that a special metal pin can be inserted. Once that is done, you have to weld the end of the tube to the pin to secure it.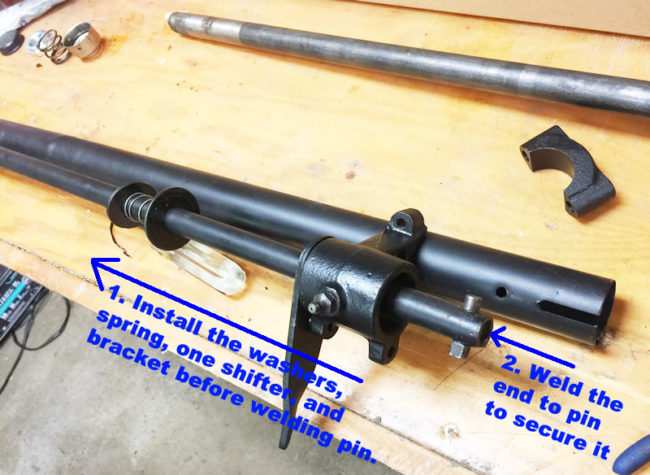
Once the pin is welded, slide the housing onto the pin and screw the end lever onto the housing. The last step is to slide the washer, spring, and washer down to the housed, then secure them in place with a larger cotter pin.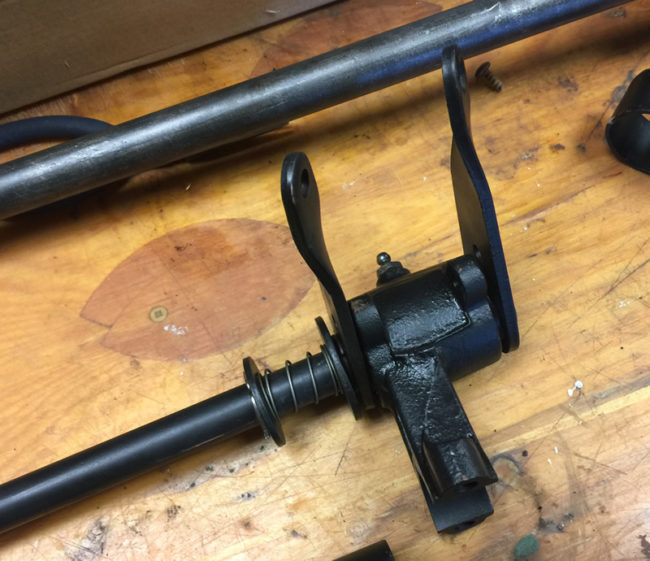
Once that is done, the shifter mechanism can be bolted to the steering column.
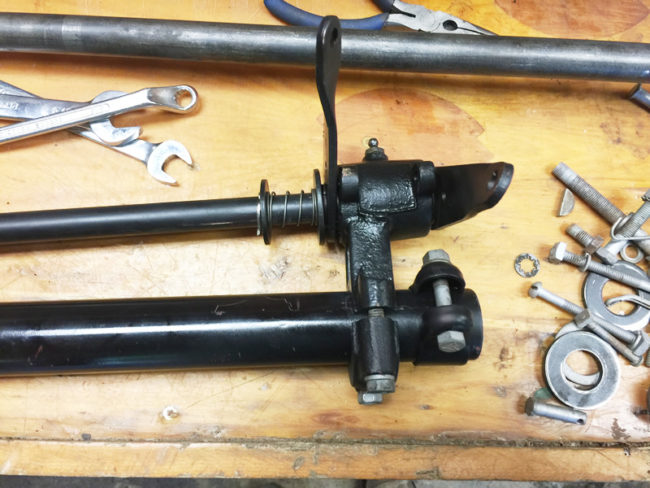
With that finished, i rebuilt Patterson’s broken shift lever. Here’s what it looked like before I started:
I ground down the old welds and media blasted both parts, then I welded the parts together. I also welded and ground the tip to extend it a little to fit Rusty’s slightly longer mechanism. It’s not perfect, but it will do for now.
With the shifter rebuilt, all that was left was to install and test it. Of course, I will have to remove the shifter when the column is installed. Here are some pics of the completed unit.

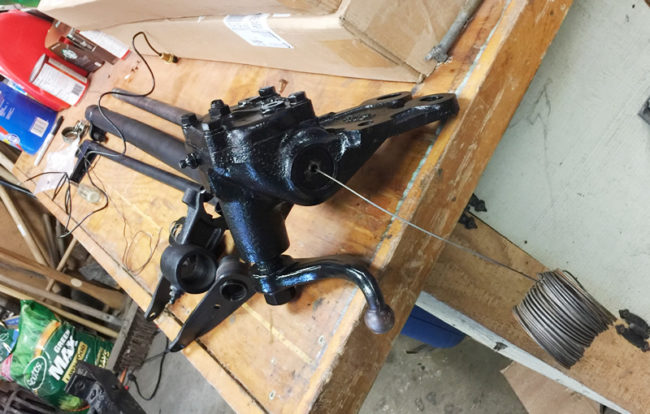

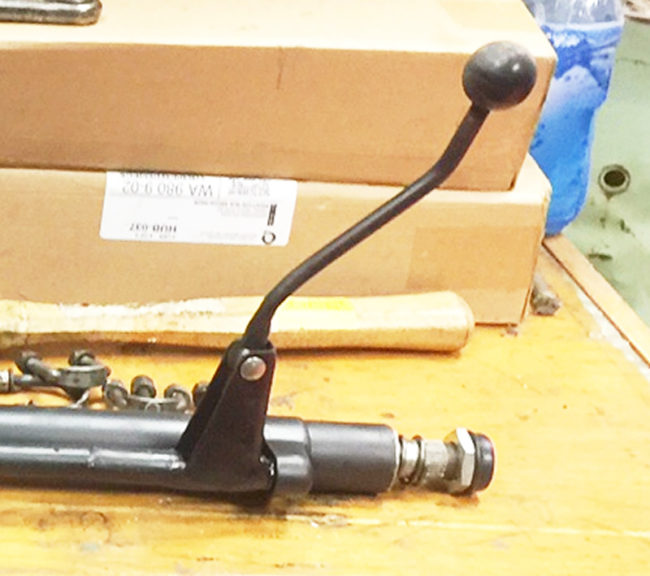

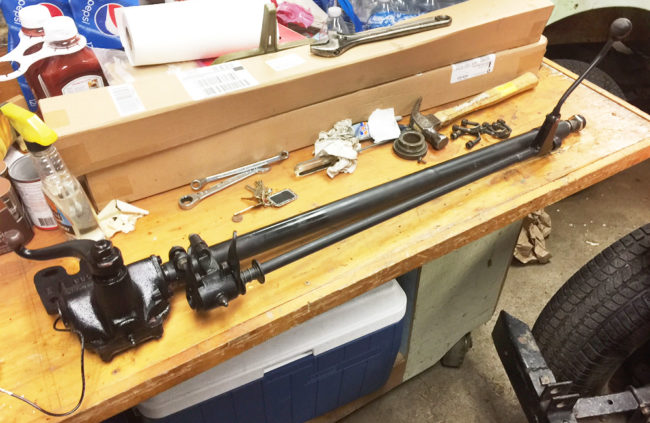
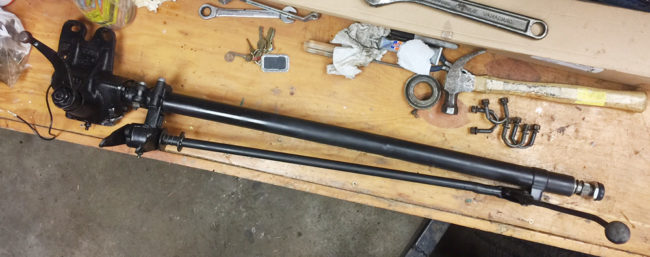
I say olé chap, it looks rather professional if I say so myself. Carry on.
I need better picture of the inside shift lever mine is broken off I need to weld a piece on have nothing to go by. What kind of bushing can be used to tighten all this up?
Bill,
I will need a pic of what you have to see if I am able to get a good pic. My my shifter and column are installed in the DJ, so I am not sure if I can get the pic you need. Feel free to email me directly at D@deilers.com.
– Dave