The last couple years I’ve made a major update to eWillys every September. This September, based on the feedback I have received, I’ll be making a push to create a better how-to area and improve the ability to find content. As a part of that effort, Sam, who operates Flat Fender Willys in Arvada, Co, has offered to share his knowledge and experience doing a variety of repairs and improvements.
In this example, Sam explains his approach to rewiring a customer’s 1960 CJ-3B.
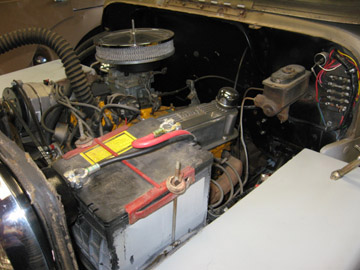
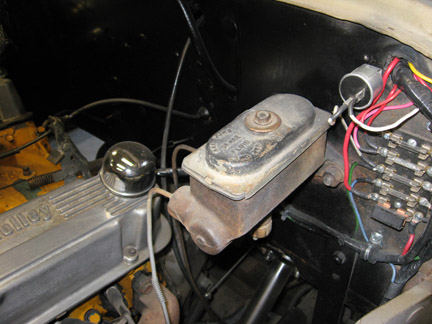
Sam writes, “This first photo shows what I run into a lot. Wiring that runs nowhere is a rat’s mess just looking for trouble. Notice the quick-fix on the battery cable and length and the mess of wires next to the master cylinder.
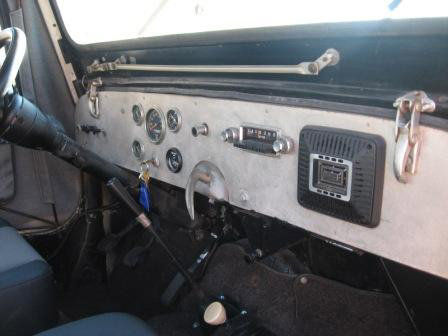
On the dash side, we have a photo before taking the dash off. The customer wanted a brushed aluminum dash, so here it is……..nice, but reflected alot of sun and the E-Brake doesn’t work because of too much rust and fire damage.
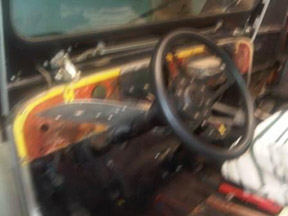
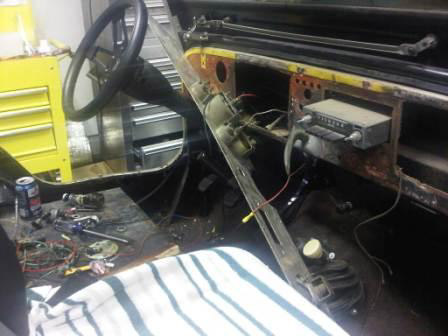
Now we have two photos that show you what happens when you have a major short and your dash goes up in smoke. I had to strip this 60 CJ3B of all the wiring and build a new harness. Several different owners contributed to the dash being cut out like this, sharp edges and all. Some of the burnt metal is from a torch and the rest is from the wiring harness burning. This jeep had NO protection against shorts. BTW: ALWAYS CARRY A FIRE EXTENGUISHER. You never know where or when or how but it is as important as a good roll cage and harness. Cheap insurance for your (or someone elses) vehicle and piece of mind.
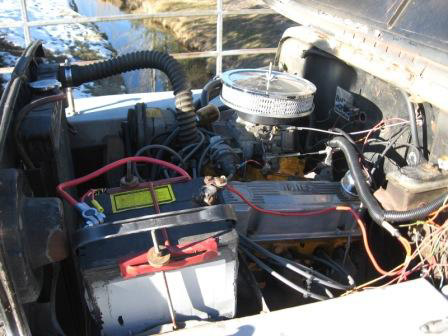
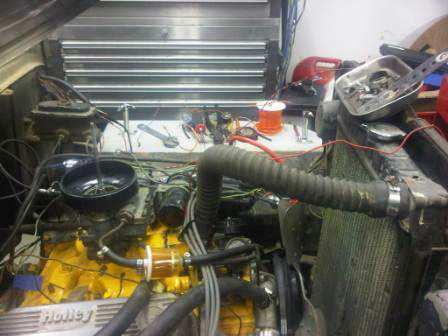
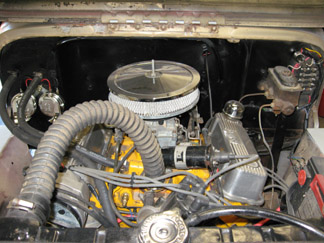
In this photo of the engine bay, you can see how NOT to plum your fuel lines unless you feel real brave. The plastic fuel filter is laying on the hot manifold and rubber fuel hose runs all the way from the tank, dangerously close to the exhaust manifold on the drivers side. Good place for a fire to start…… Also notice all the wires running everywhere on top of the engine and fenders.
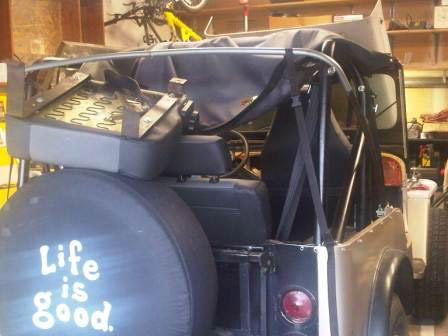
In the next photo, of the jeep you’ll notice that this has real potential to be a real top-notch runner. Body is pretty straight and sports new front and rear seats. This is a 60CJ3B on a CJ5 chassis.
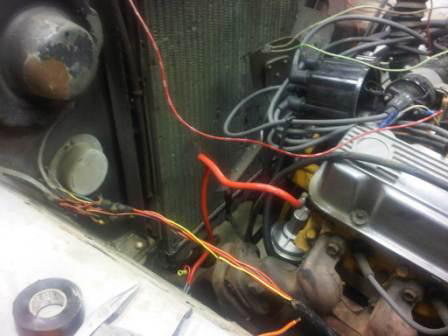
In the next photo, we see no.16 wire wrapped together and taped to no. 10 wire to the headlights and back to no.14 wire at the lights……..WRONG, WRONG, WRONG. Also notice how close the battery cable is to the engine fan and the rubber fuel line running beside the exhaust manifold. The fuel line is less than 1/2 inch away.
In the next photo of the engine bay, we can see how the firewall is a mess of wires running averywhere with NO rubber grommets protecting the wires coming through the firewall. Also another good shot of the fuel line wrapped around the distributer. Note, I moved the filter to the top of the heater hose for a moment for picture clarity.
In the last photo, this is the fuel tank that runs the full width of the jeep. Nice fuel capacity but very dangerous. ALWAYS leave CRUSH space between the body and tank. In a case of a roll over, the body WILL fold in at the dip in the body. If you leave at least 2 inches of space between the body and the tank, you’ll have far less chance of rupturing the tank in a roll over. You will also provide the fuel inlet to have room to bend, again less chance of rupture….DO IT RIGHT and LIVE…….SAFETY, SAFETY, SAFETY!!!!!!!!
AFTER WIRING:
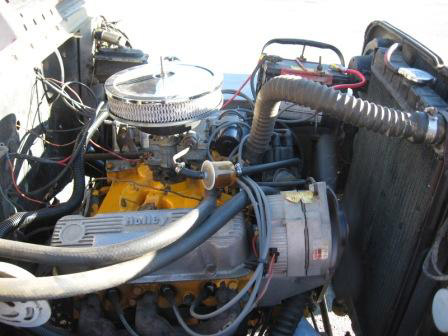
In this first image is the finished wire harness. Notice the battery cables are the right color, length, and size with correct ends. I also separated the circuits and fused everything with the exception of the main power source which is on a 30 amp circuit breaker. I have a steel fuel line running down inside the frame rail from the tank and steel from the pump to the carb with a steel filter. ALL of the old wiring is gone and as you can see, everything is put away and secure.
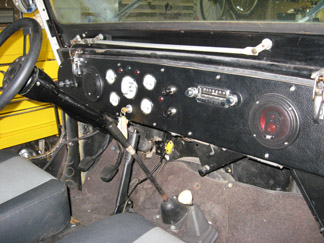
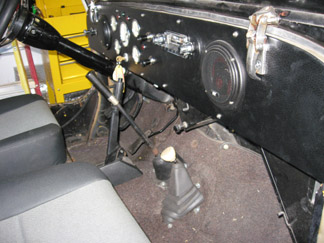
In this photo, I’ve built another dash which won’t reflect light, stays cool to the touch, matches the new seats and does not look old school. I put new guages and radio speakers (two this time) with a original JEEP radio. To the left of the radio are two power sources (cig lighters) up and down to power cell phones etc. I used cig lighters because they are closed and keep dust out and looks better than two holes in the dash. Above the speedo there are two red lights for the turn signals and one for high beam. You will also notice there is no E-Brake in the dash now. I put it on the floor. If the owner wants to work on anything behind the dash, the stainless bolts on top are removed and the dash folds down. It is on a piano hinge along the bottom.
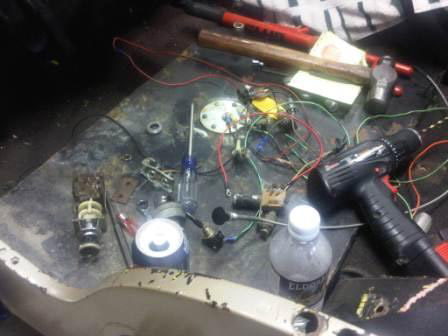
The new E-brake lowers to the floor and is easy to get to and work. When set, this jeep won’t move……we tried grins here. The cost? How about one hour of work and $5.00 for the brake assembly and housing.
The owner of this jeep has asked Sam to do some additional work, so you’ll probably see this jeep pop up in additional posts.

Would like to see more on the ebrake modification.
Me too please! Right now my emergency brake is a chunk of 2 by 4.
It’s on our list of things to add to the site. Sam has a brand new digital camera (happy bday Sam!) and he plans to put it to good use for us as well.
I can’t remember which vehicle he pulled the brake out of, so I’ll ask him about it.
Hello fellow “Jeeper Creepers”!!!!! The E-brake assembly is from a Merc Capri. I’ll send a complete set of pictures tomorrow on how to install it and what other makes and models of vehicles has similar set ups. It usually takes about a hour to install with 3 bolts, nuts, washers, and two cable clamps. The pictures above are of a CJ5 chassis which is different somewhat of that of the CJ2 etc. BUT once you get the brake installed in the vehicle where you can grab it comfortably, hooking up the cable underneith is a no-brainer, no matter what year it is. I have also used this unit on drum type brakes. Total cost of the E-brake and cover at Pick-in-Pull was $5.00. Cost of the clamps (2) and 3 bolts was $3.25 for a total of $8.25. Complete pics and info to follow tomorrow….
Thanks Sam!