 A reader just received a 1951 CJ-3A. Since the seats in it weren’t something he wanted, he asked what I had done for seats. I realized I hadn’t really covered the topic, so here’s what I did and why I did it.
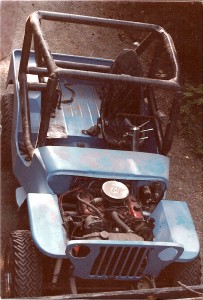
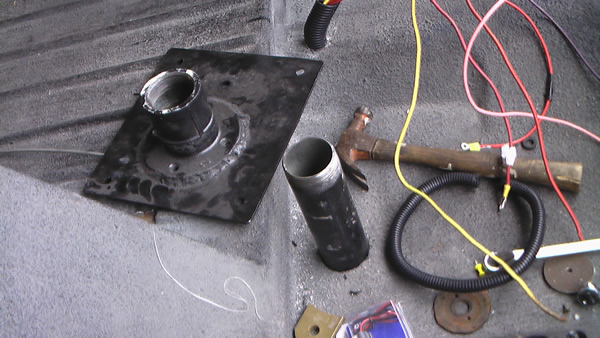
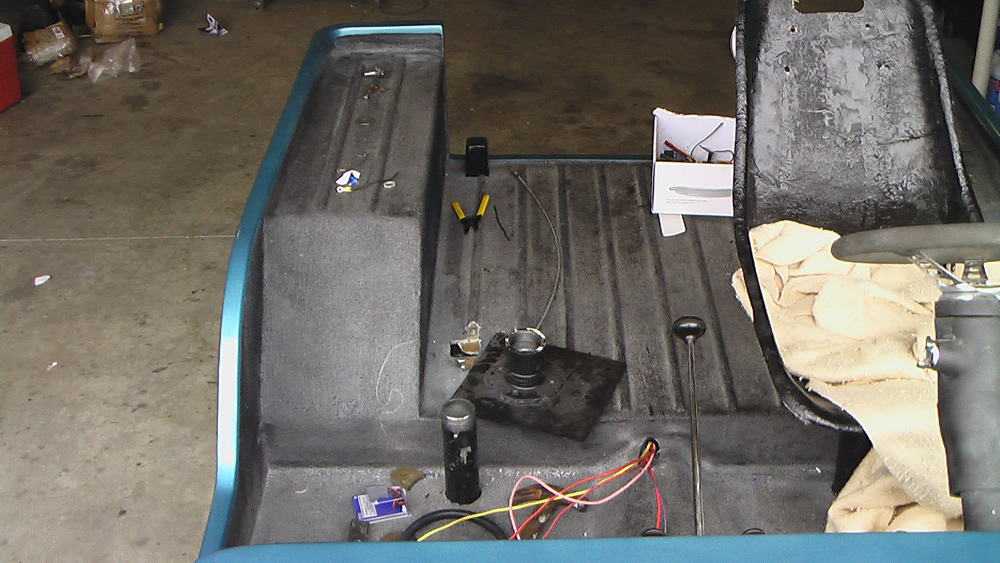
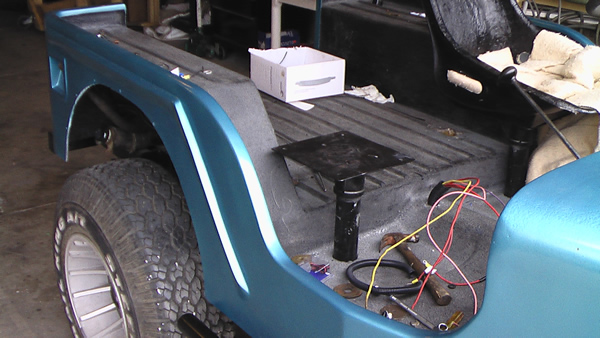
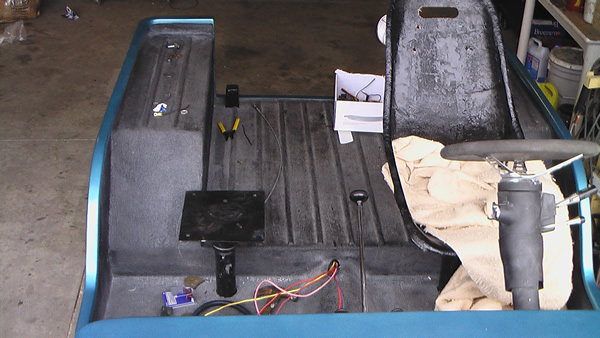
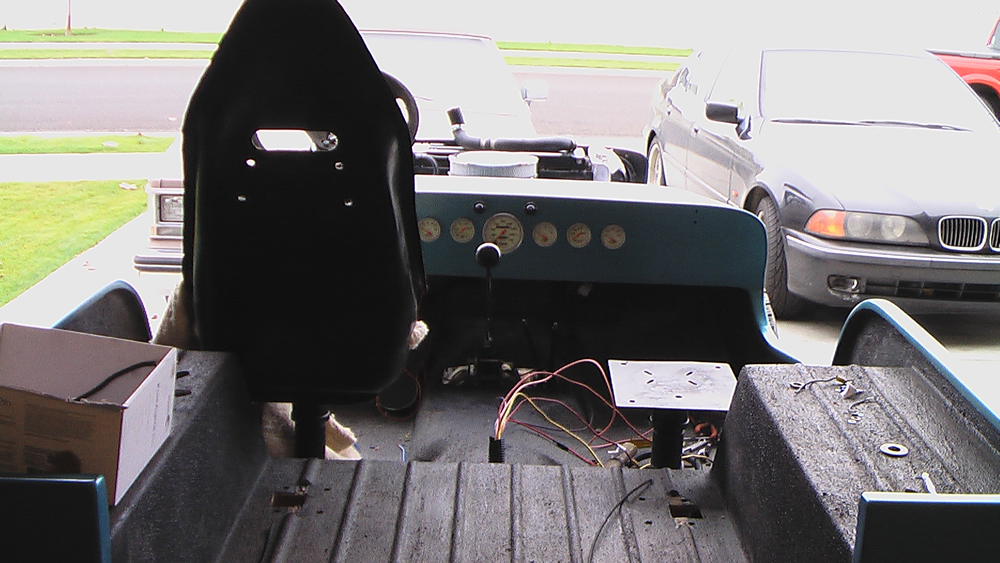
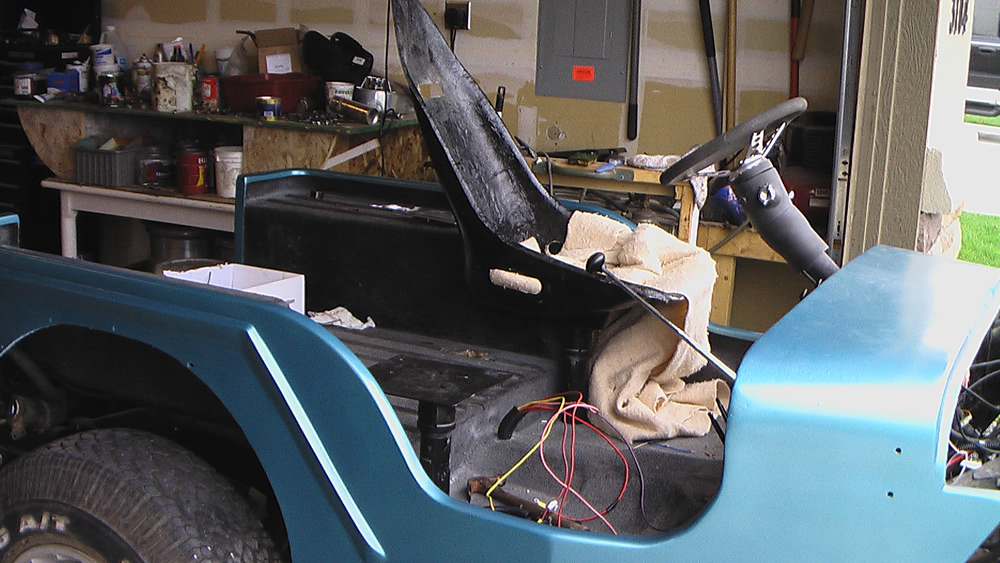
As you probably know, my first jeep was built from an ex fiberglass racing jeep (oh where oh where did those pictures go). From that jeep I used the body, frame, roll cage and seats as the foundation for what became my first jeep (which I called the ‘great escape’). The fiberglass seats were mounted on a 2 1/2″ pipe that was welded to the frame. A hole was cut through the bottom of the body and the pipe stuck through the body (not only did the thickness of the body help keep the pipes from moving, but the pipes held the body in place — a nice synergistic effect). On the upper end of the pipe were threads. Onto those threads a square platform was screwed onto the pipe. The seats were screwed onto the platform. It’s a one size fit’s me approach that works for me and people of similar size. The back of the seats were then bolted to a plate that connected to a bar that was part of the rollcage. So, those seats did not move. They were solid, despite their thin profile.
Because the seats were already there and they seemed to fit me fine, I went ahead and used them as is. As I raced, drove it every day, and used it in the trails, the positioning of the seats was perfect. I felt secure and tight when I raced, I never got uncomfortable during long drives, my back never got sore, and there was enough padding for enduring the trails. For me, those were some of the most perfect driving seats I have ever used.
When I started on my second jeep, I discovered I could no longer find those original seats. So, I purchased some of the cheap poly seats I found online, thinking they would be close enough. However, after getting them and testing them, I found the thickness of the poly design made them much harder to fit into the flatfender seating area without doing modifications to either the seats or the wheel wells. I also didn’t like the angle of the back. As I wondered what to do, I happened upon a set of the same fiberglass seats I originally had for only $20. Though I had to drive all the way to western Oregon to get them, I felt it was worth it (actually, I used it as an excuse for a vacation). I brought them back, sanded down the backs, refiberglassed the bottoms, drilled them out for seat belts, and rebuilt, as best I could remember, what was done with my first jeep (Here’s a post about fixing the seats).
The tricky part was getting the height of the seats just right in combination with the tilt and height of the steering wheel. Fortunately, because of the experience I had with my first jeep, I think I’ve got it just about right. Fortunately, my height (6′) and girth are about the same as they were when I was 20, so I didn’t have to make any modifications for that.
For my ‘new’ fiberglass seats, I still need to locate or make some covers. Also, as I did before, I’ll put some pieces of eggshell foam in the bottom to provide a little cushion. Note the blanket I was using as a temporary substitute for the eggshell.


are the seats able to swivel and lock when you want them to? because i know sometimes it’s kind of hard to get in and out of a cj
Nope, this is a one size fits me. The back of the seat is held in place by the roll cage (still forthcoming). So, it doesn’t swivel or move back. The purpose of the tilt column is so that the column will tilt out of the way to climb out. I’m not saying this is a practical solution for all drivers, but for me and my body size (6′ 190lbs) it has been an effective solution in the past. You’ll see that when I get the cage installed that a roll bar will curve along the seat in such a way that you kind of slide in and out of the seat using it.
Pingback: Specs of My Build | eWillys
Pingback: My Build: Seat Covers | eWillys